
Make an address sign for your house, you’ll be the envy of your neighborhood.
| Material | Description | Price | ||
|---|---|---|---|---|

|
Outdoor Mounting Tape |
1 in × 60 in roll of mounting tape |
$6.97 |
|

|
Silver Metallic Acrylic Sheet |
Dimensions: 8 in × 12 in, Thickness: 1/8 in |
||

|
Slow Bonding Extra Strength Glue - SLOW JET™ |
2 ounce bottle |
$11.99 |
|

|
Solid Carbide Upcut Fish Tail Spiral Bits |
1/16" Upcut Fish Tail Carving Bit |
$6.49 |
|

|
Walnut |
6" × 12" × 1/2" Walnut |
||
| This project's Bill of Materials is not complete. Add to Cart |
$25.45 |
|||
Clamp your wood down as shown and put the 1/16" fishtail bit in your collet.


Change the numbers, font spacing etc. until you have a design that you like. Select all of your design elements and make them “outline” cuts. For the wood piece we’ll be specifying an "inside’ path, that way we won’t see these cuts in the final piece. When you’re ready click “Carve” and follow Easel’s instructions.

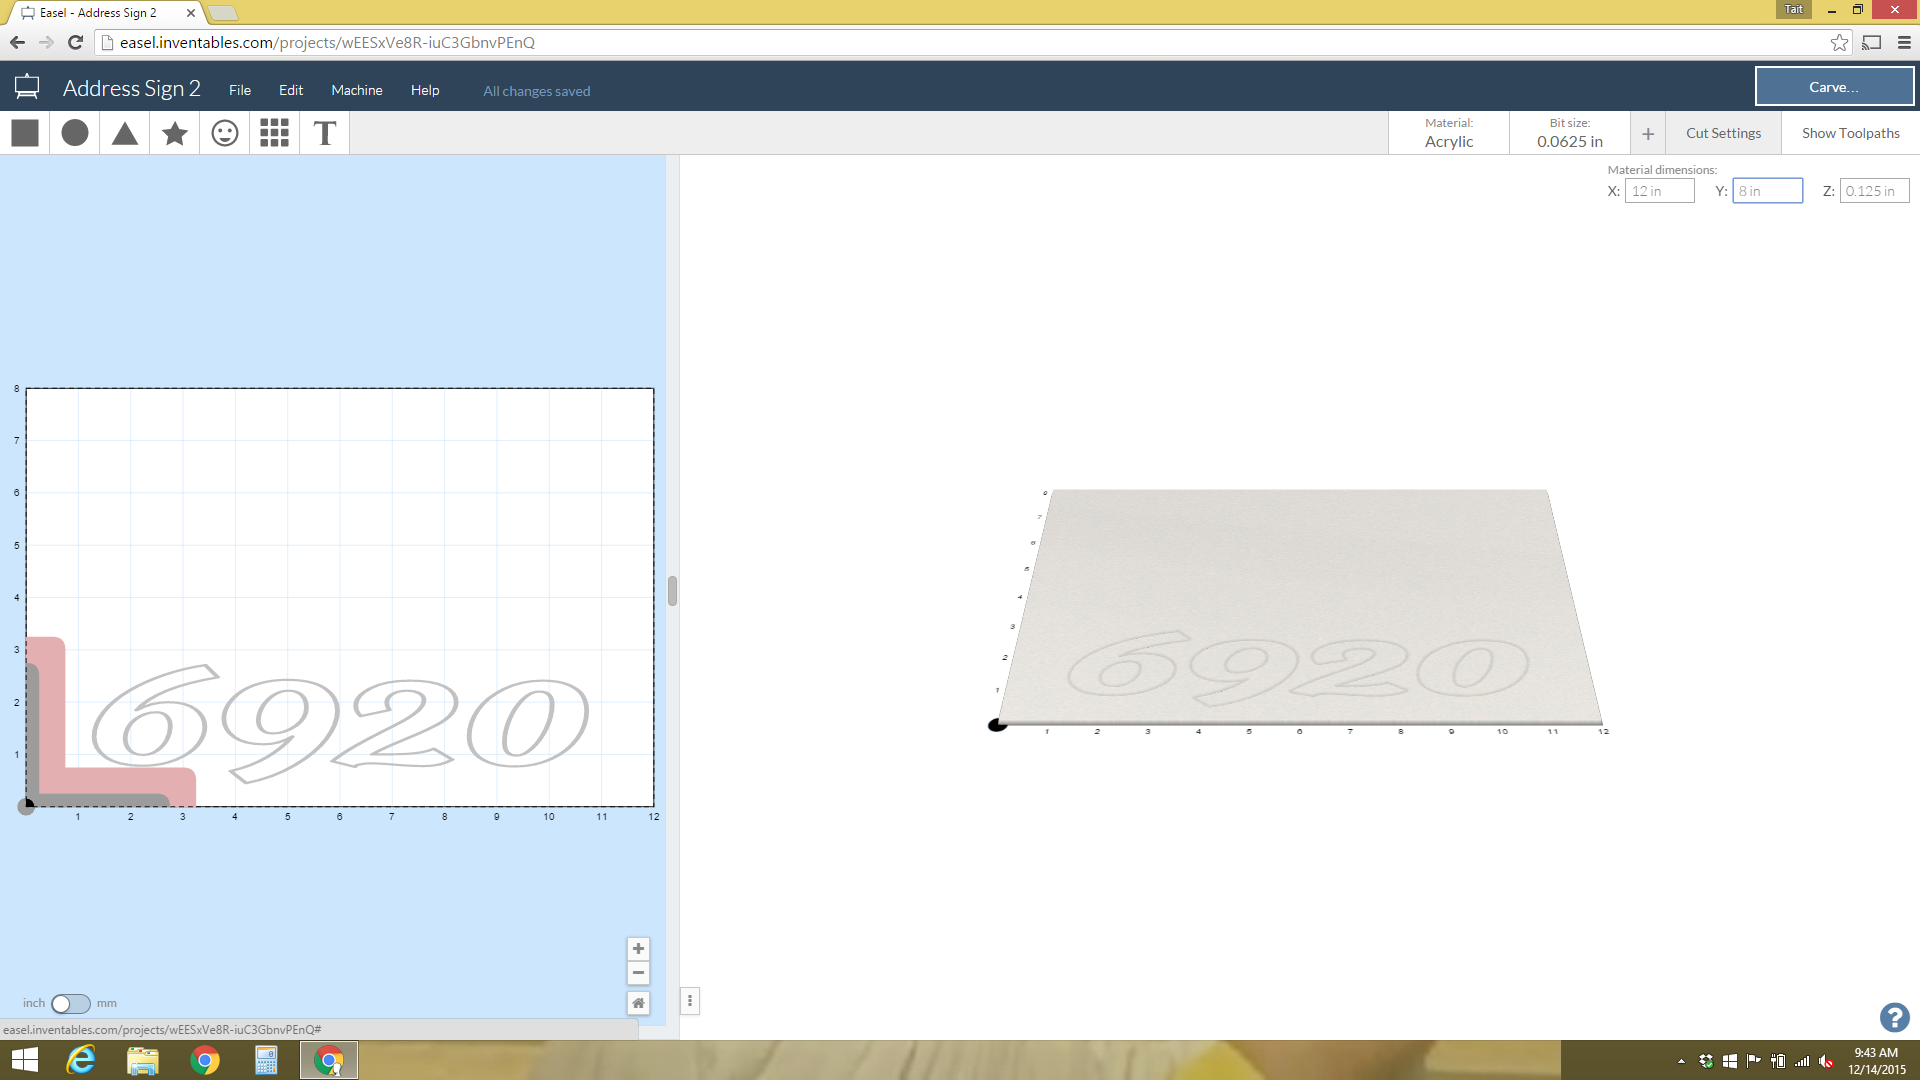
Now remove the walnut and clamp your acrylic down. The material has a shiny side and a matte side, choose which one you’d like to show on your sign and face it up.

Open the second workpiece and customize the design to match what you made in on the first workpiece. We’re using an “outside outline” cut for this material. Double check that all of your design elements are the same size they were for the wood. When you’re ready to go click “Carve” and follow Easel’s instructions.
Grab the tung oil and wipe it on the wood. Try to use light coats and pull it with the grain of the wood. Let the oil dry for a half an hour before continuing on to the next step.

All of the pieces are cut and we’re ready to assemble. Put the acrylic pieces on the wood without glue first just to check the fit. You should be able to cover up all of the lines you carved into the wood. When you feel confident in your layout you can start gluing the pieces together. Try to use a light bead of glue on the inside of your numbers, this way any excess glue will find its way into the trough you made in the wood. The glue should set in a few minutes.

When you’re ready to hang your sign grab the hanging tape that came in your kit and start putting it on the sign as shown. Peel off the red paper and press the sign where you’d like to hang it.


Dan Brown
Patrick Dunne
Chris Gray
Bruneau Fanor
Bruneau Fanor