Paul Jackman
Washington, DC
Countertop that is a set of 3 pieces for use when more countertop or table space is needed. This was made for a house with a small kitchen. These will sit on top of a half wall that runs around the perimeter of a set of stairs going down to the basement. The compass inlay is cut using the X-Carve.
7 minutes
This is a great short overview of the whole process from start to finish to create this piece.
These are the materials and tools I used to complete this build:
Materials
> Maple butcher block countertop
> Blue tape http://amzn.to/2jO5Gva
> Epoxy resin https://amzn.to/2LnVkAd
> Grout
> Epoxy syringe https://amzn.to/2Jh13ad
> Ammonium chloride https://amzn.to/2Ju8r5r
> Rare earth magnets https://amzn.to/2xHqVdY
> Quick set epoxy http://amzn.to/2kIH4J2
> Waterlox tung oil finish http://bit.ly/2svYsCR
Tools
> Hearing protection https://amzn.to/2JiLX3Y
> Dust mask https://amzn.to/2LVJXjY
> Circular saw http://amzn.to/2pindD0
> Drywall square https://amzn.to/2sFR5bw
> Table saw http://amzn.to/2j4bvVU
> Bar clamps http://amzn.to/2DMjReG
> Glue scraper http://amzn.to/2jrxJR0
> Belt sander http://amzn.to/2oS8zyE
> CNC machine http://bit.ly/2kOY5Pu
> Pipe clamps http://amzn.to/2jkLLbO
> Heat gun https://amzn.to/2xJLN4q
> Router https://amzn.to/2xIzHbD
> Table saw fence clamps http://amzn.to/2m7vtkr
> Random orbital sander http://amzn.to/2jrwsJC
Materials must be prepared to the desired final size of the countertop. I used a combination of my circular saw and table saw to cut them down to size. Because of the starting size of the butcher block I also needed to glue up one of the final piece to get what I needed.

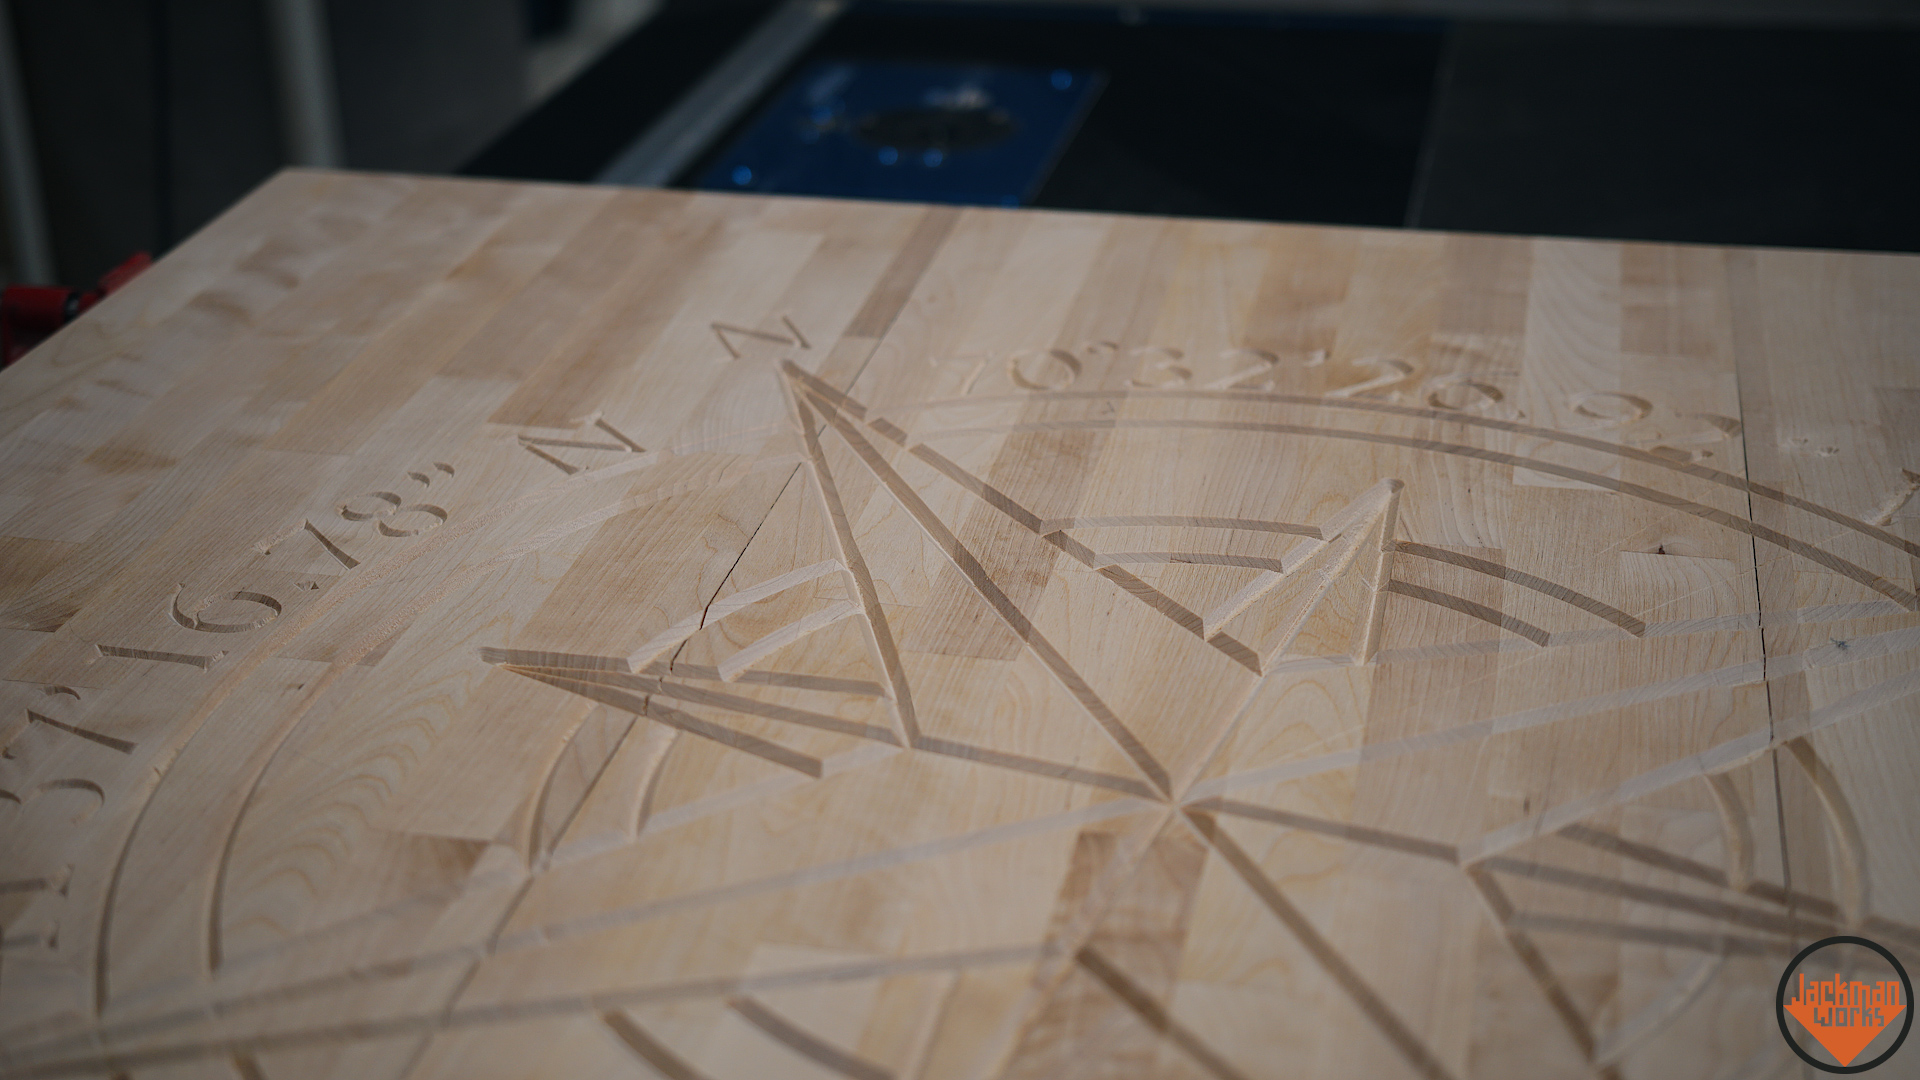
I carved it out using my CNC, but this one took some real problem solving to get it to work because all 3 sections won’t fit on the bed of the CNC at the same time. So what I ended up doing is setting it up as 2 separate tool paths where I carved 2 of them at once and then slide the center one over, installed the 3rd one, and carved that.
I used the center of the compass rose as my 0,0 point so that way when I moved the center section over for the 2nd cut, I could use the center of compass rose to line up the next tool path. Even though it shows the cut off the edge of the board in the software (Easel) it will still cut the entire tool path.
First cut (section 1 and 2): http://easel.inventables.com/projects/vsbB-xL4f9dIfrVyK9SPLQ
Second cut (section 3): http://easel.inventables.com/projects/OulsrY15yvuuc03msK4Pbg

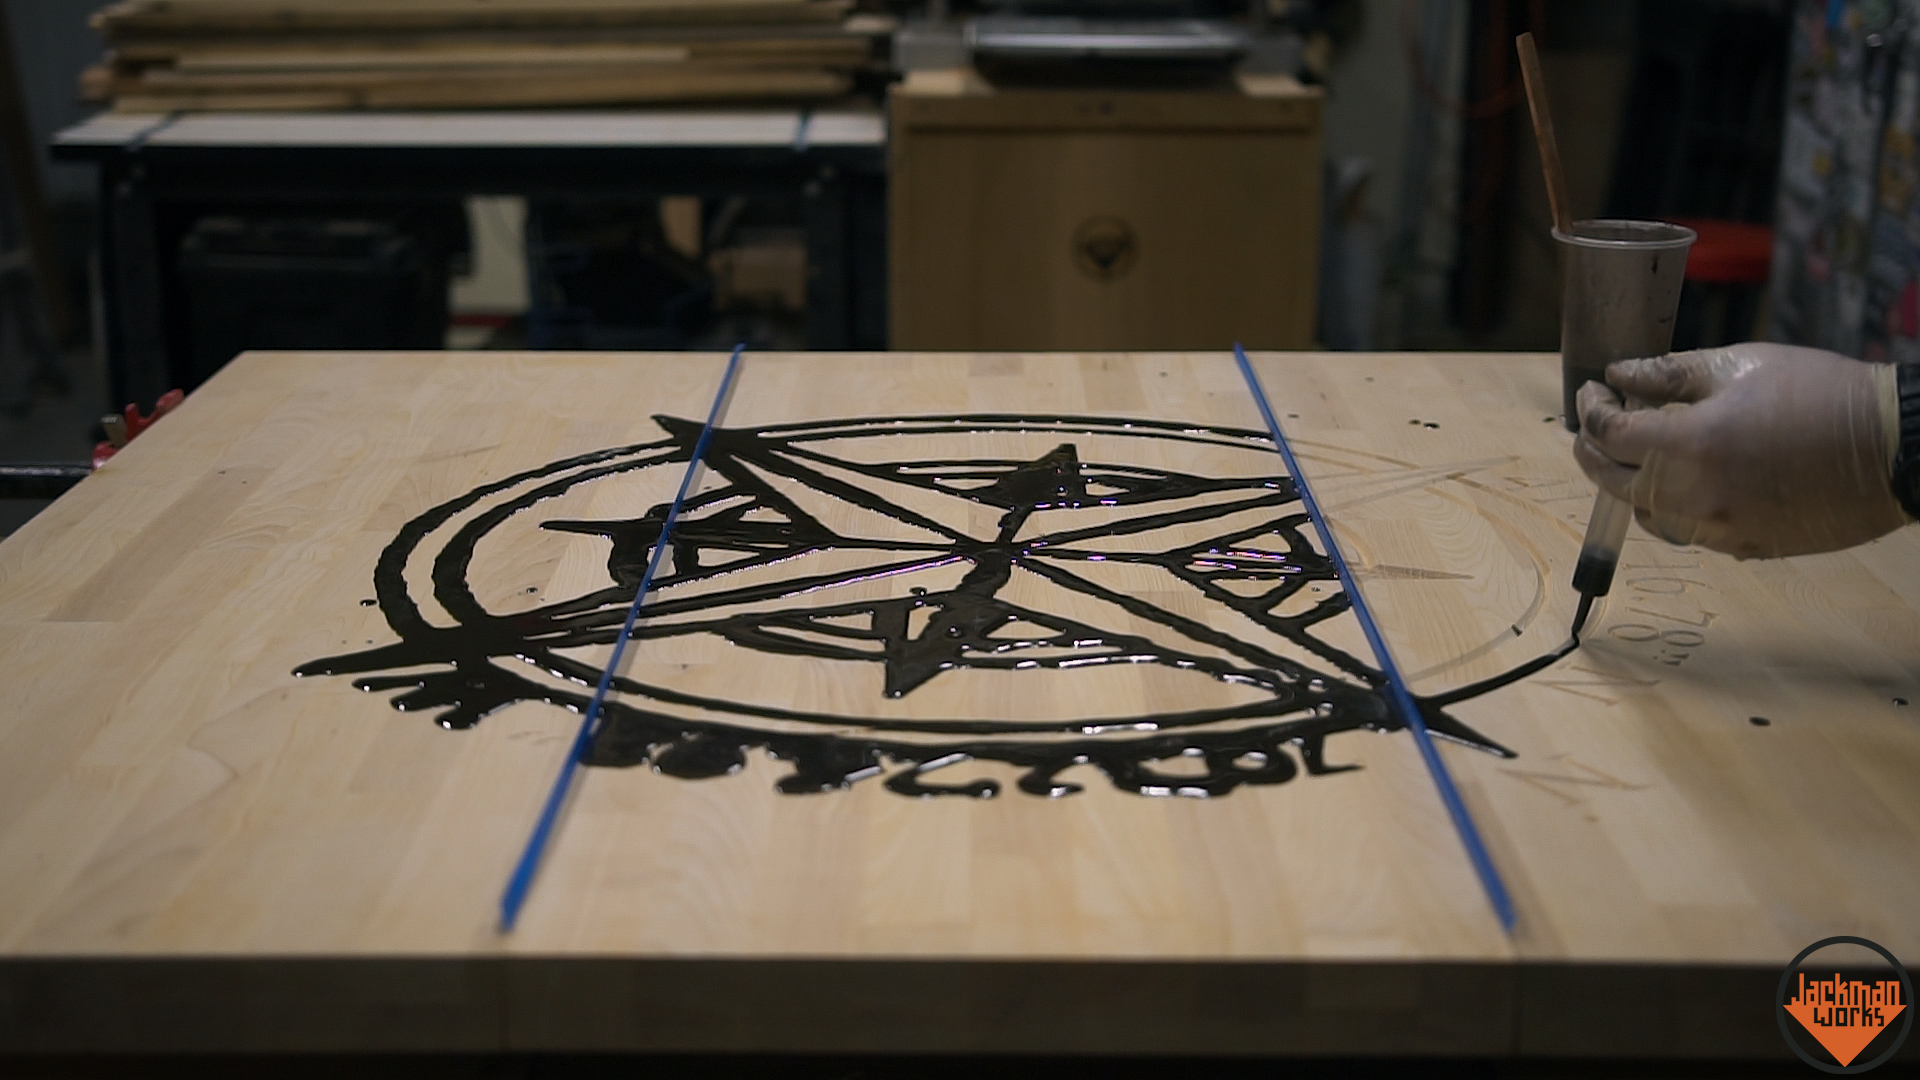
I prepare by installing blue tape along the edge where the sections abut one another since I don’t want the epoxy to leak out or stick the pieces together. For the epoxy, I use a 2:1 mix from Total Boat since it dries nice and solid with a fairly fast cure time. And then for coloring I mix in some very dark colored grout. Grout is a really fine powder so it mixes into the epoxy really well. I like using this as an alternative to a powdered or liquid dye because a lot of times dye likes to bleed into the wood, which doesn’t make for a very crisp inlay (I confirmed this with a test piece of butcher block, it was a mess).
For applying the epoxy, I actually use a plastic syringe. This helps to keep me from making too much of a mess since I can direct it very specifically in the areas that it is supposed to be. It took me about 2 of these cups of epoxy resin to fill in all of the engraving. After the epoxy sits for a few minutes, bubbles will start to rise up to the surface. To pop those, I just hit it super quickly with some heat and that will pull all of them up and out of the epoxy (so they don’t cure in place). After about 5 hours, the epoxy was cured enough to hit it with the belt sander to bring it down flush with the wood surface.
So with the surface all pretty and looking the way I want it, it’s time to add the 2-tone look that I’m going for. For this, I mix up a batch of 1 tablespoon of ammonium chloride with 100 mL of water and apply that to the surface of all the areas that I want dark.
Then I can just go over all of those areas with a heat gun. Due to the chemicals applied to the surface, this will cause a chemical reaction that will make these areas burn at a much lower temperature than the surrounding areas. This is what enables me to get the selective burnt surface. I actually resorted to the propane torch because I’m impatient but that caused me to slightly char a couple of areas I didn’t want and had to sand down later so I don’t recommend that.

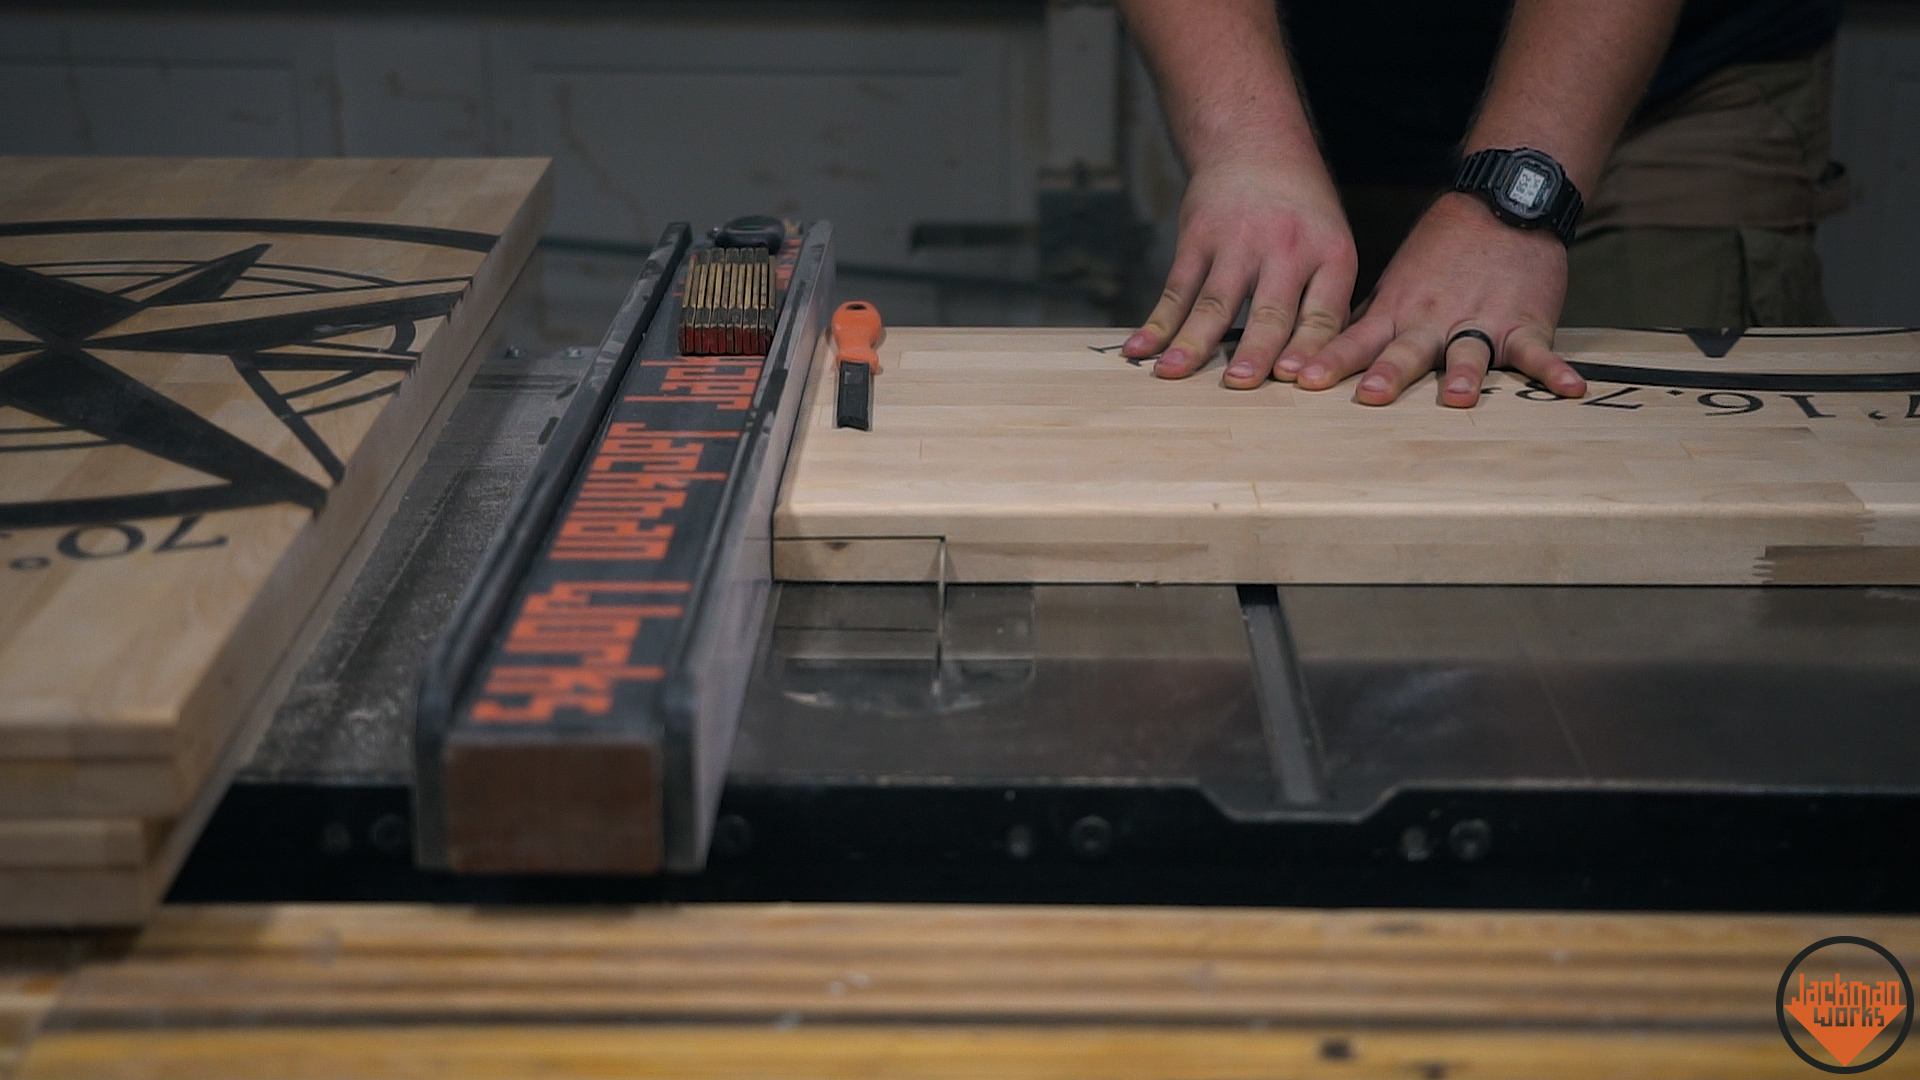
Next I need to cut out the chunks of wood around the perimeter where the wall will sit. For this, I will be cutting some really tall pieces, so I clamp on an extended auxiliary fence temporarily for this operation. I raise up my table saw blade as tall as it will go and set the width to leave a half inch behind for the top of the board.
This is a very very slow and careful cut because it is a bit awkward and we are taking away quite a bit of material, slow and steady wins the race. I cut the 3 sides where the wall will be sitting, the one shown here is the end pieces so I cut the long edge and also the short edges.
Then to remove this chunk of wood, I lower my blade down and cut it off with the table saw. I’m careful to make sure I have my push stick at the ready to push the cutoff piece through the blade, since it can be very problematic once it gets cut off from the main piece and has a chance of getting pinched against the blade and kicking back.
The last step in shaping these pieces is just to install some magnets. I use a forstner bit to cut a recess just deep enough for the magnets and then hold them in place with some quick set epoxy. I use 3/4? rare earth magnets which are super strong, the only trick is to make sure you have the polarity right.

And finally, what is always my favorite step, finish! I use Waterlox Tung Oil to finish up this countertop. I love Waterlox because of how it always makes the grain pop and gives a nice subtle shine to the surface. It’s also food safe and waterproof, so it’s perfect for countertops. It doesn’t matter how many times I do it, my mind is blown every time I do this. If you don’t like that color, there’s something wrong with you. I just love how it pulled the color out of the 2-tone surface on the front of the counter tops. I did a total of 4 coats with a quick sanding with some fine grit (~600) sandpaper in between.


Garrett
Derek D
Michael Monteith
Jonathon Savill
JOSHUA PETERSON
John Eckman