
Using three separate blocks and a positioning guide, we make a simple trick-or-treat bag with three color block printing. The blocks are carved from simple MDF, which gives the canvas a very rustic and worn look. Full video and step-by-step instructions
First, watch a complete walk-through on youtube. Includes designing, carving, inking, and pressing. Also, see an associated blog post here: http://www.craftingintherain.com/2015/10/block-printed-halloween-bag-xcarve.html
Carve out the blocks. For this project, we are using three blocks – one for each color. The key is to have only what is to appear for each color stand proud on the block. So it’s just a portion of the image on each block, that all together would add up to the whole thing.
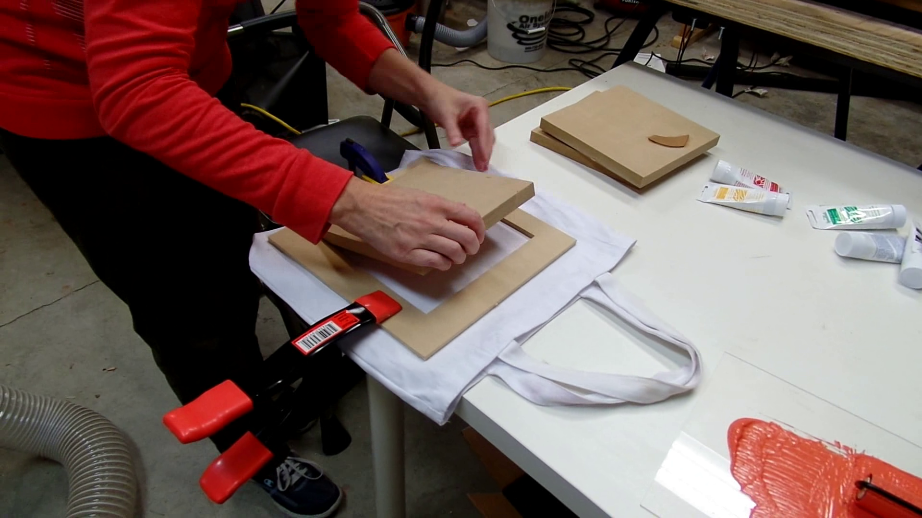
Also, all the blocks should be the same size, with the part being printed on each block being in the right relative position. That way, with a simple positioning template clamped onto the canvas bag, you can print each block in exactly the same spot.
For this step, for the trick or treat bag just cut out the pumpkin background, the face, and the step each separately from 3/4" MDF, and then a positioning template from 1/4" MDF. The blocks are all exactly 7" square. Seal each block with shellac or something similar. Otherwise, the MDF will soak up your ink and your block printing will come out looking rough.
Pumpkin background: http://easel.inventables.com/projects/7kWkD34IWfd33aYUY0es4Q
Face/Eyes: http://easel.inventables.com/projects/S9hff4ZUwb7LJEp2fs8tvg
Stem: http://easel.inventables.com/projects/l46NXaJY93aRZvhOS8EXOQ
Positioning template: http://easel.inventables.com/projects/Rn-W0UW4Cov7C6SfO5ilvQ

5 minutes
For each block, you’ll want to thoroughly ink the image. Using a hard rubber brayer/roller, and a flat, washable surface, put a bit of the ink down and roll it until the brayer is evenly covered with ink. Then roll in all directions on your block, making sure your entire image is well covered in the color you want to use. For the pumpkin, we use orange. Face, black. Stem, green.

2 minutes
Now, you should have your bag/t-shirt/paper/whatever you want to print on clamped down with a positioning template on top of it. Take your freshly inked block, fit it into your positioning block without moving it around, and press it down thoroughly. Give it some good pressure, all over the block. You really only get one shot at this.
Then remove this block, leave the positioning template in place, and repeat the last two steps with the rest of your blocks. You can clean your brayer between blocks with soap and water, even with oil-based ink, if you hurry. We used an ink from Speedball inks that is great for fabric, doesn’t need heat setting, dries overnight, and can be washed in the washing machine after 5-7 days.
Be sure to keep track of which way is up in the positioning template!
Now after finishing all your blocks and colors, you’re done. Just wait for it to dry, and enjoy.


Deon
Deon
Amy Kraemer