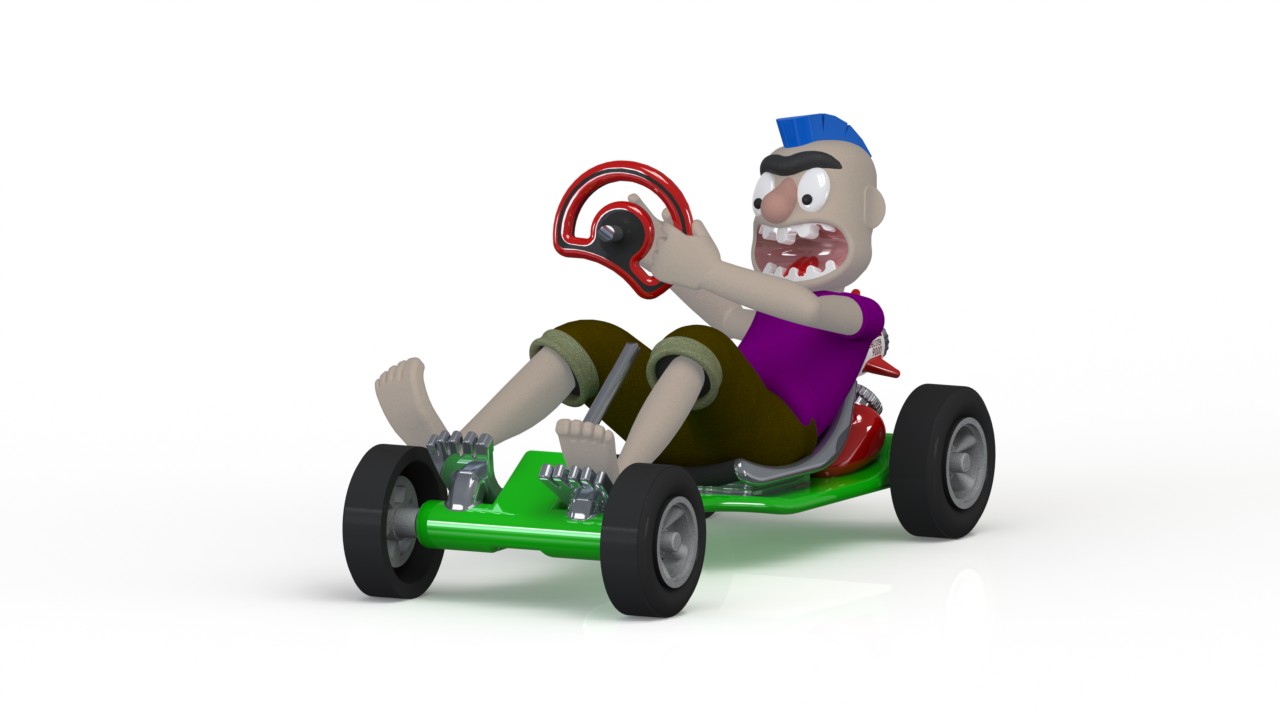
This is RocketMan, my entry for the IDSA Launch Day Challenge. Dimensions 67.52mm(W),159.77mm (D), 74.49mm(H) excluding wheels. 3D printing requires structural support.
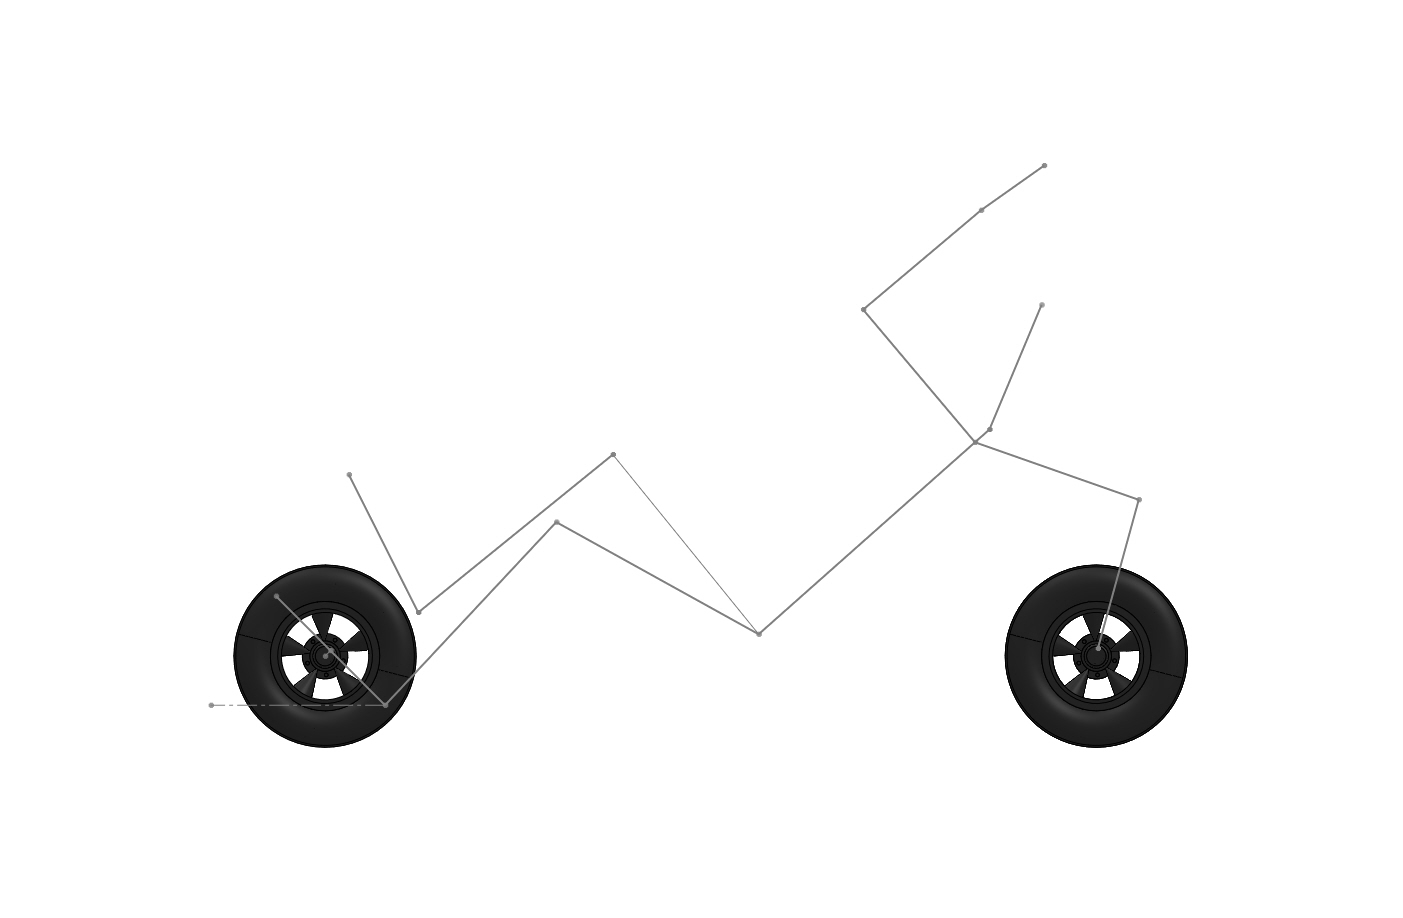
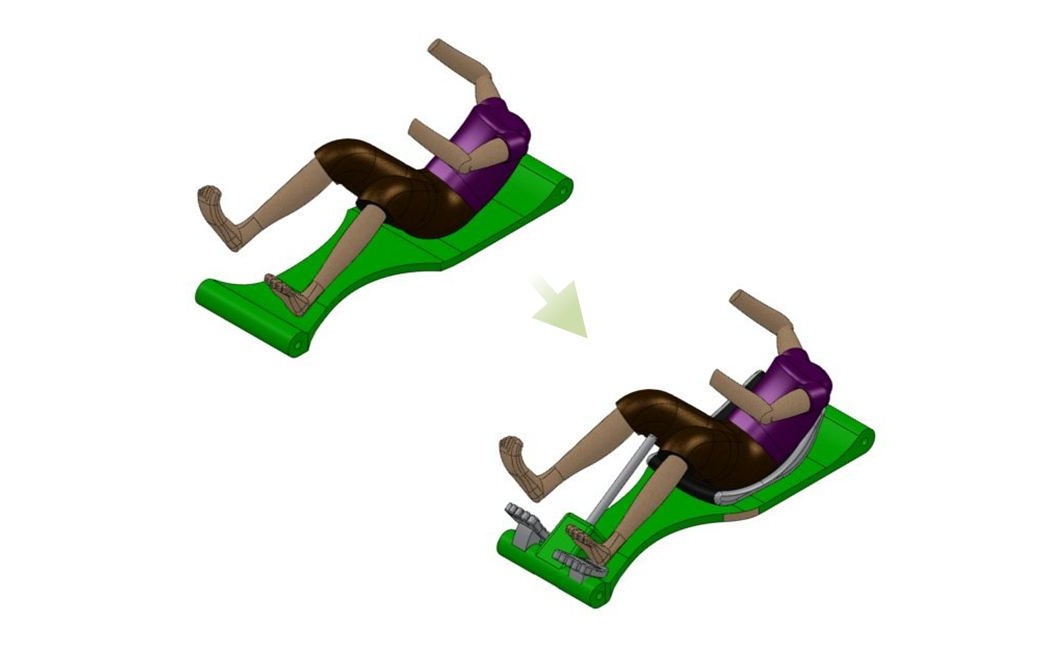
Trying to decide what to model was the hardest part of the design stage. Initially I was thinking about modeling a 32’ Ford or maybe the IRobot Audi concept, however, this has been done time and time again. A regular ol’ car was not going to cut it. RocketMan came to me completely out of the blue. He was originally going to be holding on to the axles but after the model was completed he seemed to be missing something. I have always been taught if something is missing but you just don’t know what, add a rocket somewhere and all will be well. The original sketch still shows him holding onto the axles for dear life.
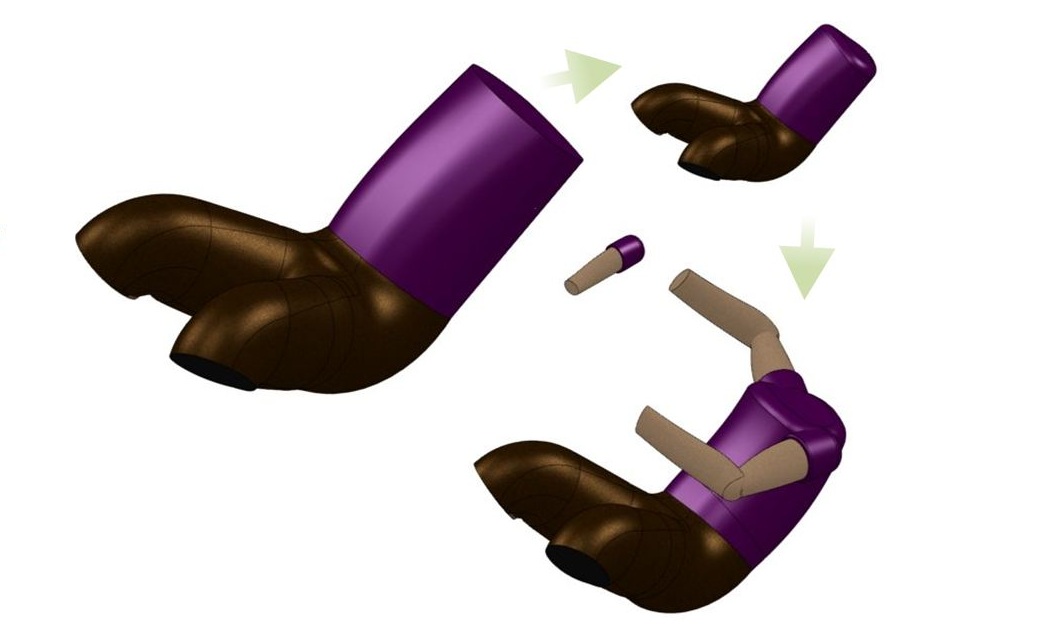
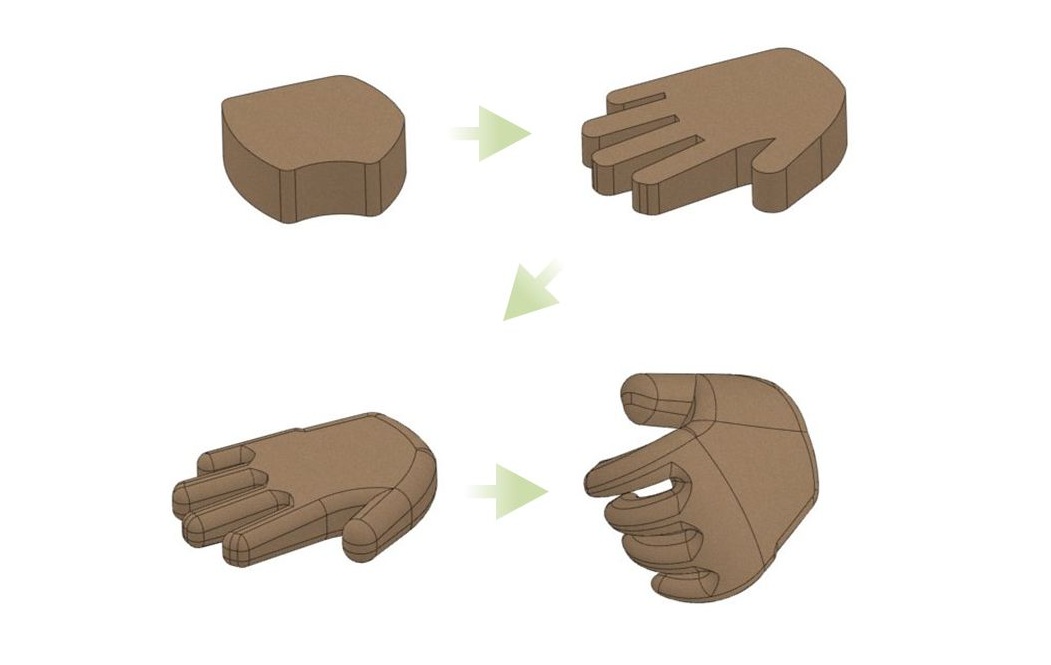
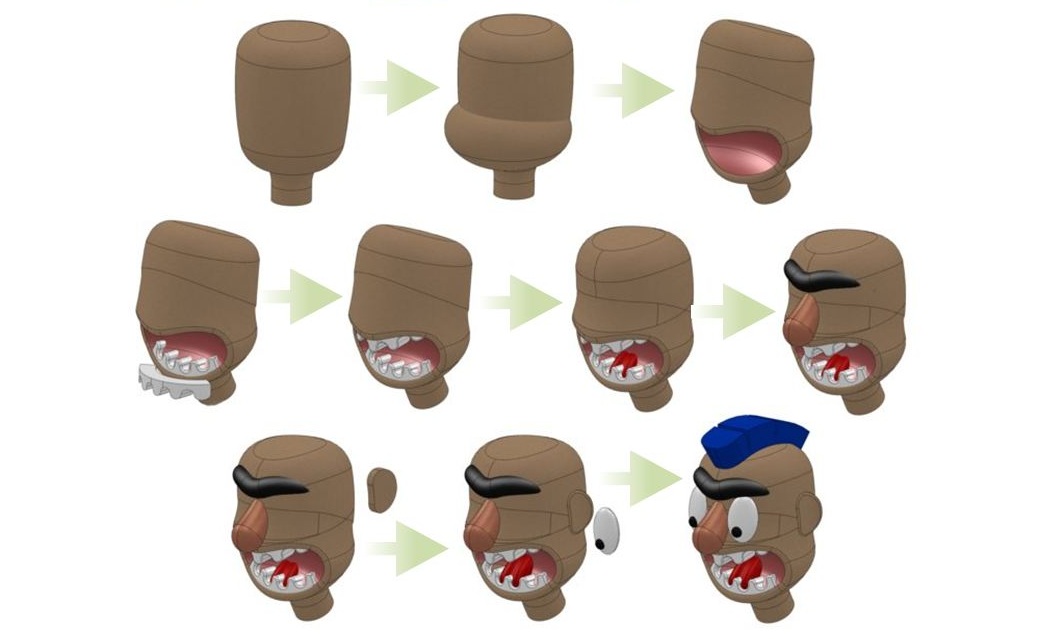
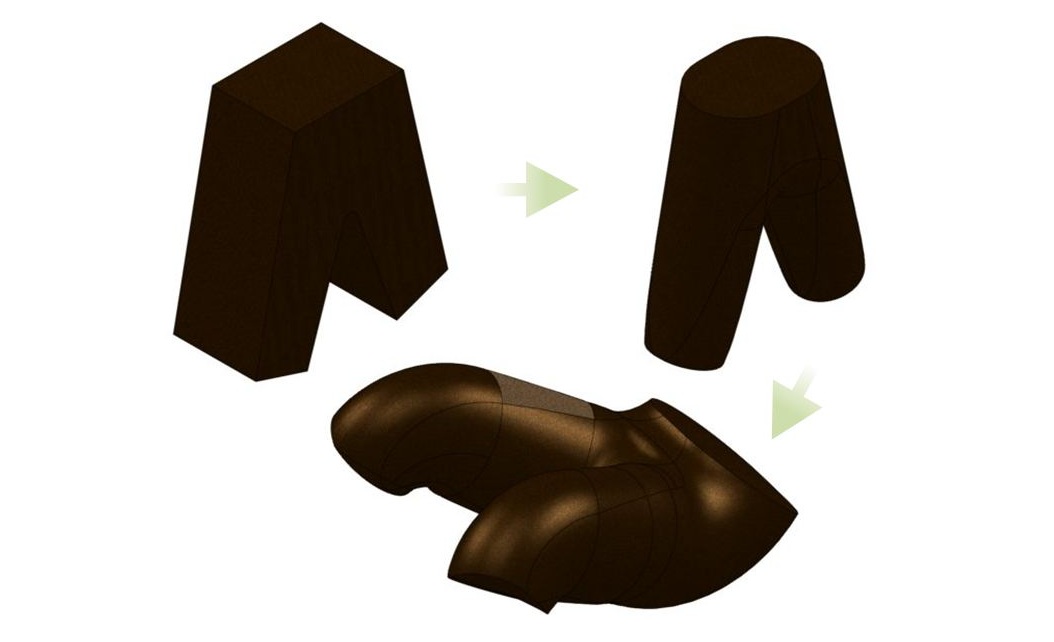
SolidWorks is a great modeling software and it is not solely for mechanical modeling. Very organic shapes can be created using Boolean features, surfacing, move/rotate, and the flex tool just to name a few. Nearly every body created for RocketMan was flexed, surface trimmed, multibody add/subtract/combine, moved and rotated, or a combination thereof to add curvature and proper placement of the body.


If you have seen the competition you already know that details go a long way. In my case driving instructions on the foot pedals, adding some identification to the rocket, and labeling where to preferably put the gas took the blandness out of the cart. The rocket fins and iris nozzle maybe helped a lil’ too!


SolidWorks comes standard with PhotoView 360 which is what I primarily use to render models with. I wanted to render RocketMan in both acrylic green and the intended painted colors. My first step was to set up cameras which not only automatically add perspective but include a whole range of options for depth of field, field of view, and camera position. In my case the cameras allowed for a fixed point to shoot my renders from. This really helped with getting the green and colored renders from the same location in space. I moved on to PhotoView which allows the use of multiple cores for rendering. Rendering starts out with four irradiance passes then moves on to the final stage with all cores completing the rendering. Two 4 core 2.27 Xeon processors made quick work of all the renders. SolidWorks can also save animations ranging from a simple rotation like the clip below to full blown working, exploding, and rendered animations. Be sure to check out the overview for all the renders!


This is the first model I made of a detailed “cartooned” human figure and I am quite pleased with the result!! Feel free to post any questions in the comments section below. Thanks for looking!