
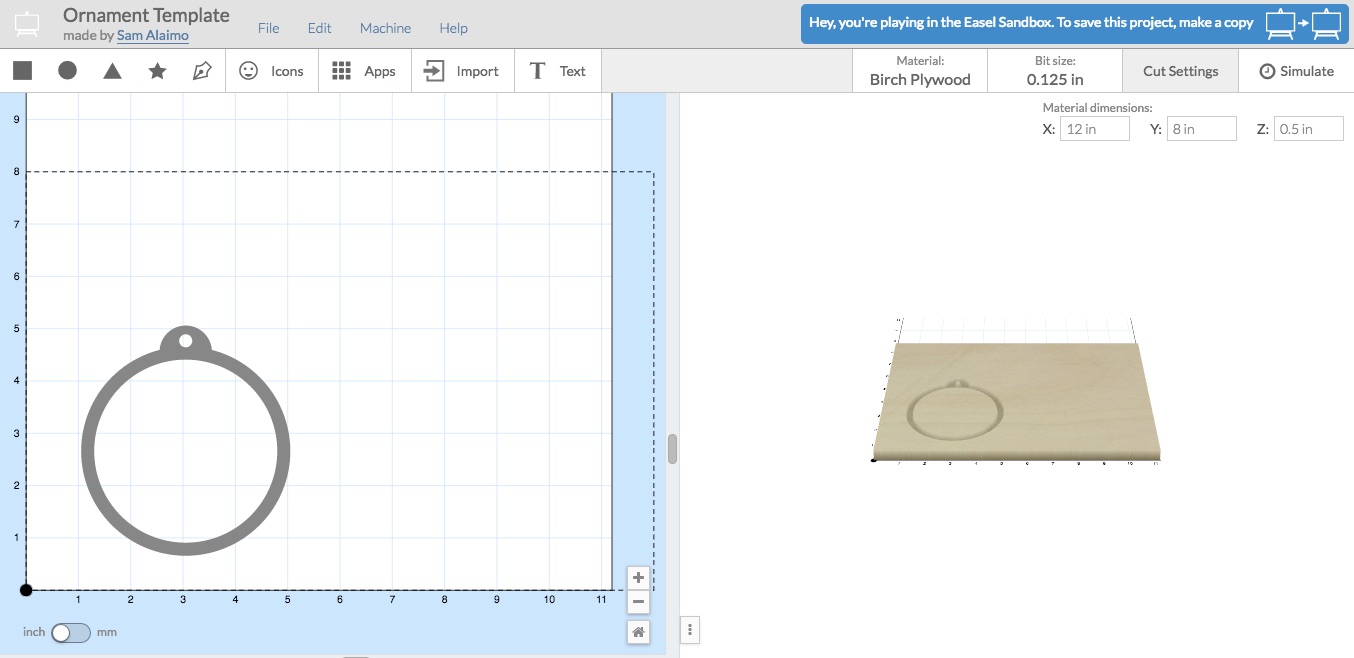
A template for making quick and personalized gifts. I am making an ornament for everyone in my family this Christmas. Open the template, add text or an icon, combine, and carve!
| Material | Description | Price | ||
|---|---|---|---|---|

|
Holiday Project Bundle |
Bits and materials for your family's holiday projects |
$35.00 |
|
| Add to Cart |
$35.00 |
|||
1 minute
Click the “open in Easel” button to get the ornament template. Copy the template over to your projects. Name your new file.
Use the text tool to pick a font and add the text you would like.

1 minute
In order to make the text usable, we will need to use the “Xploder” app. This is a tool that turns text into shapes, so we can move the parts around. Highlight the text, click Apps, and select “Xploder”.
You do not need to adjust the “gap” setting, click import. Once imported, delete the original text you created. Now, move the different sections of text to arrange them in the circle shape the way you would like.
You can use the icons or image import to add other elements other than text to the design.
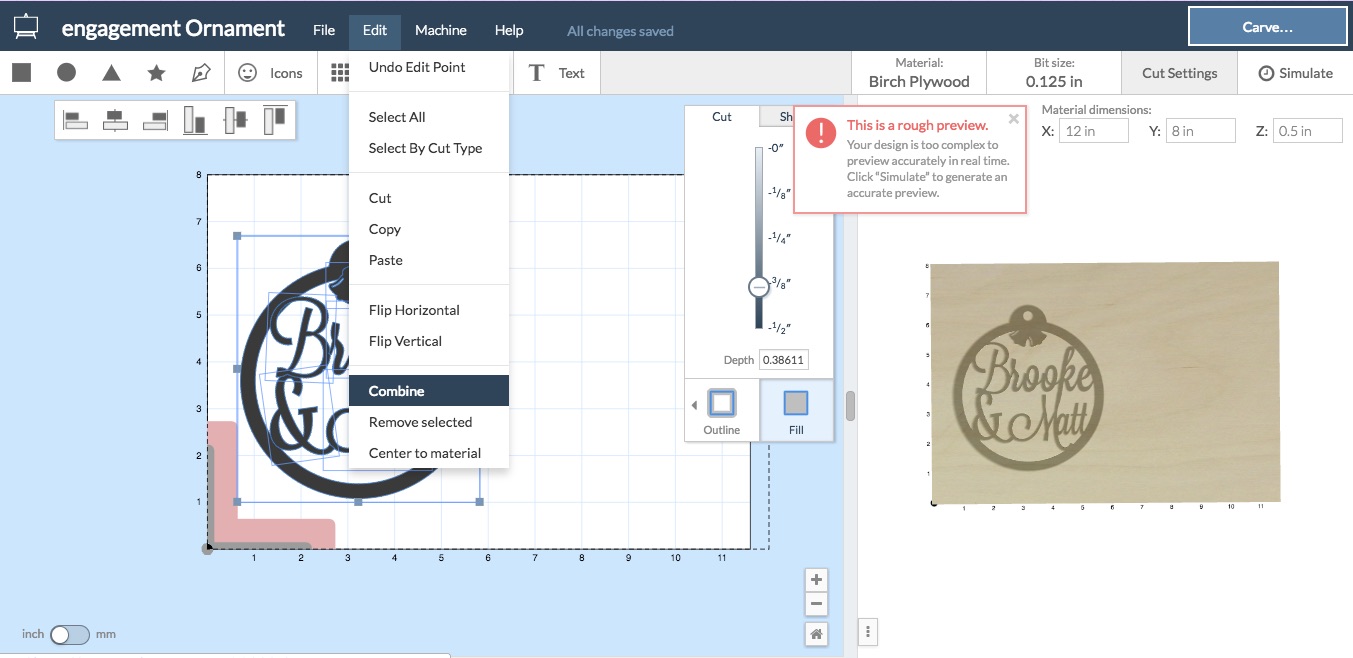
Overlap your text, images, and ornament outline as fills to until you are happy with the design. I find it easiest to design with all fills and change to outlines later.

1 minute
Once you have the overlapping elements arranged the way you like, highlight everything, make sure they are a filled shape, and click “edit” than " combine".
This should take the overlapping individual elements and make them into one shape!
Once combined, changed the “fill” setting to “outline” and “outside”.
1 minute
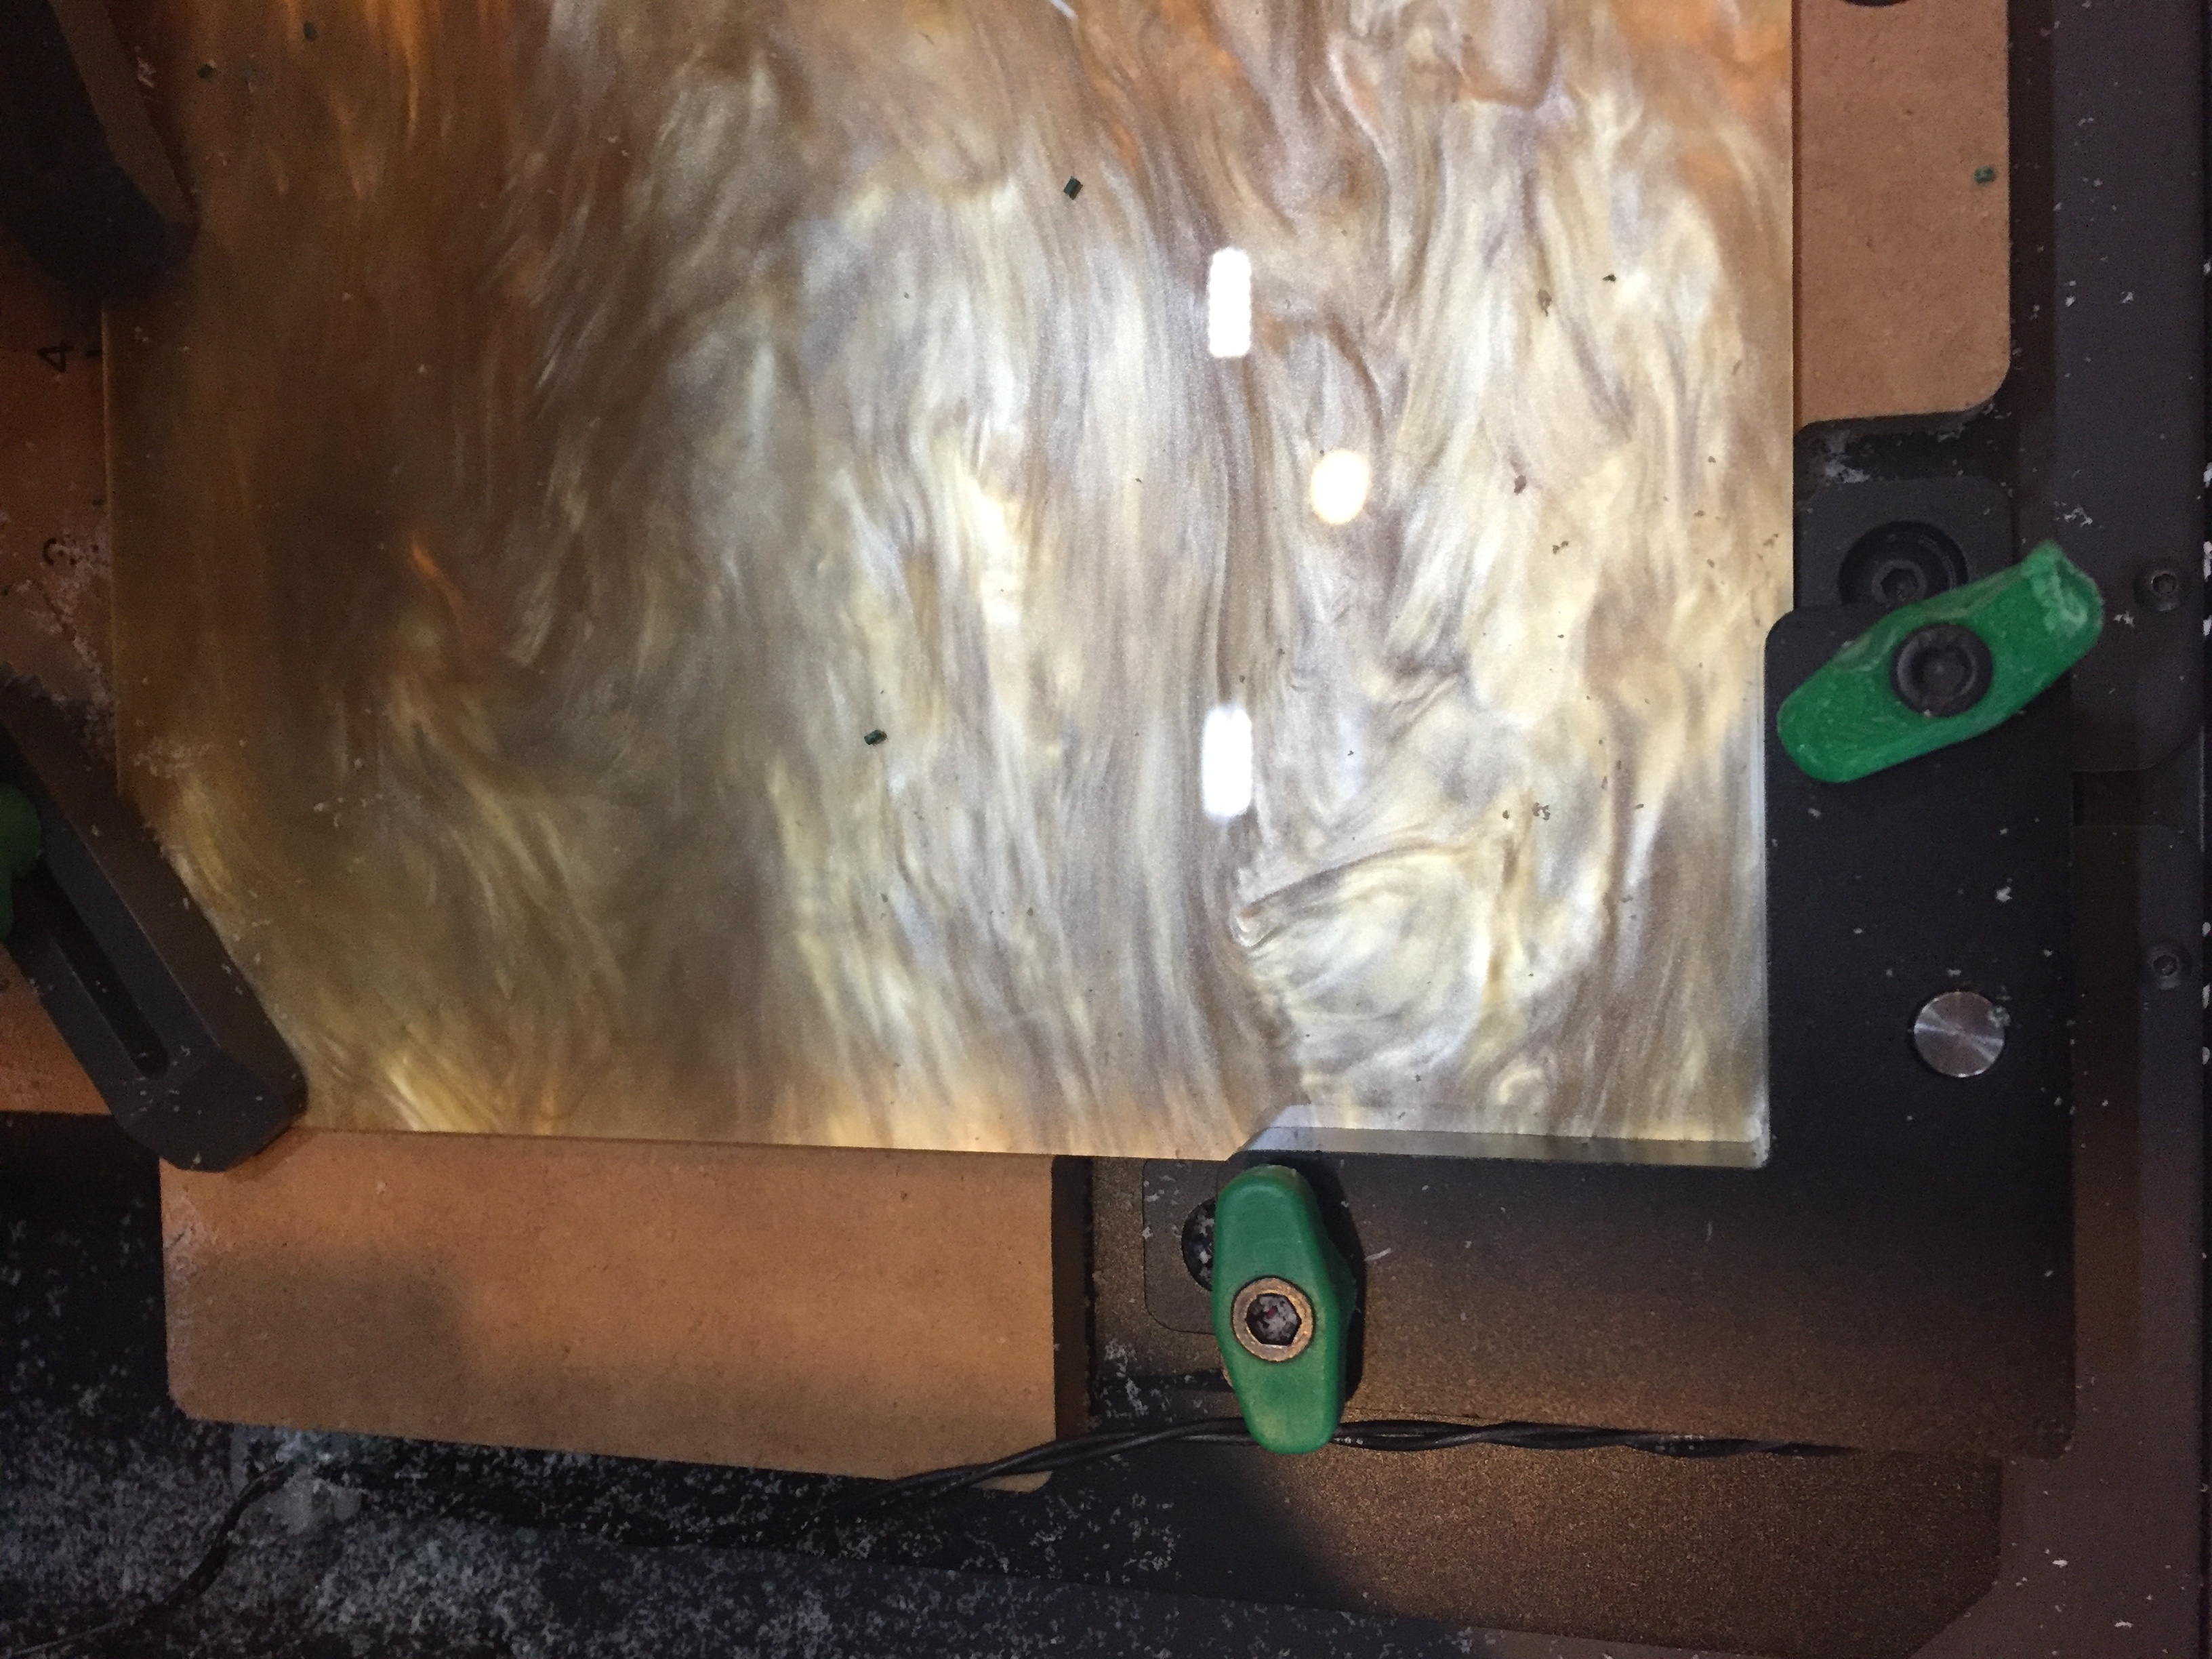
Now that the design is done, select the material and bit you would like to use. I have been using the 1/6" upcut fish tail but (blue collar) and glitter acrylics.
Make sure to:
- Change the bit in Easel.
- Change the material in Easel
- Change the material dimensions in Easel
Changing these settings will effect how your project is cut out.
I also going to use double sided tape to secure the material down to the waste board so I do not have to use tabs. You can disable tabs in the shape panel.


10 minutes
Click the “simulate” button to make sure your project will cut the way you are anticipating. If you see red, don’t panic. Red parts will not cut. You can either make the design larger, or if you are happy with the simulated carve, ignore the red areas.
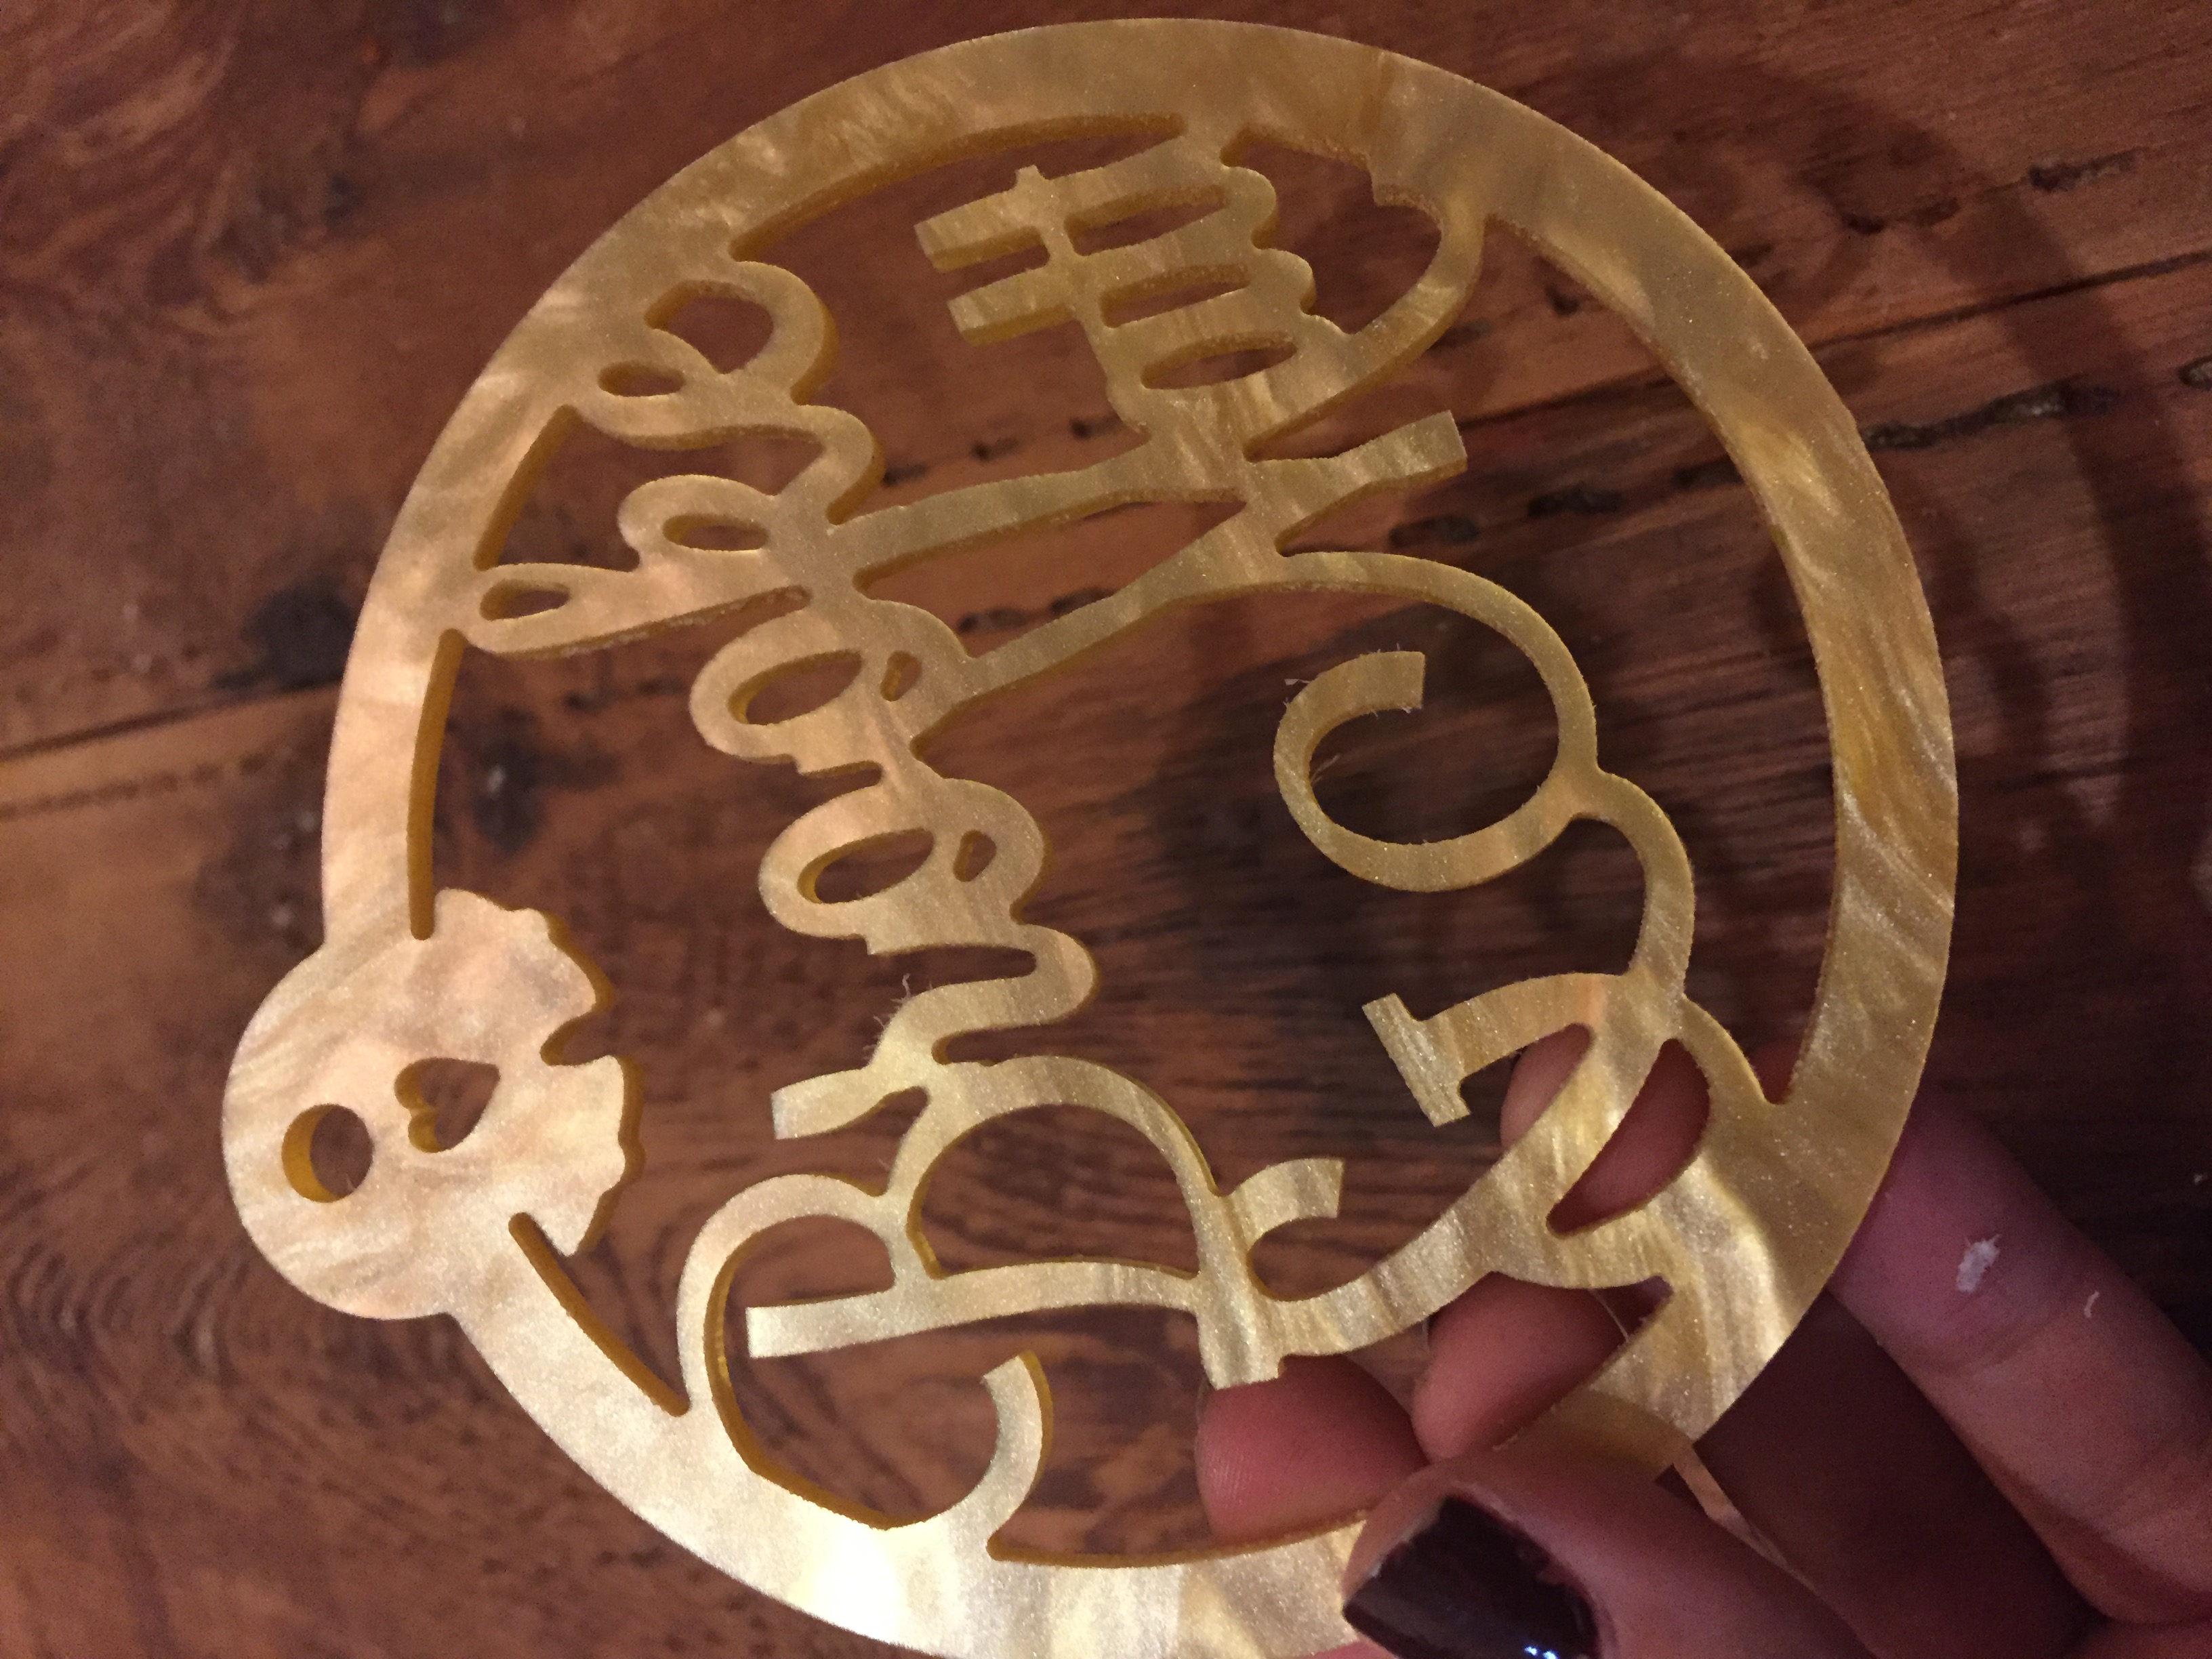
After any final adjustments, you are ready to carve!
1 minute
If you use the template to make a design, please share it on this forum thread


Andrew
Terry K
anton ritzu
Sam Alaimo
Terry K
Hank Wilson
Von Redman
Sam Alaimo
Laura Spurway
RODNEY MYERS
RODNEY MYERS
Jaime Chanter
Jackie Kane
Travis Raymond
Shawn Morris