
Brian Gidney
Arenas Valley, NM
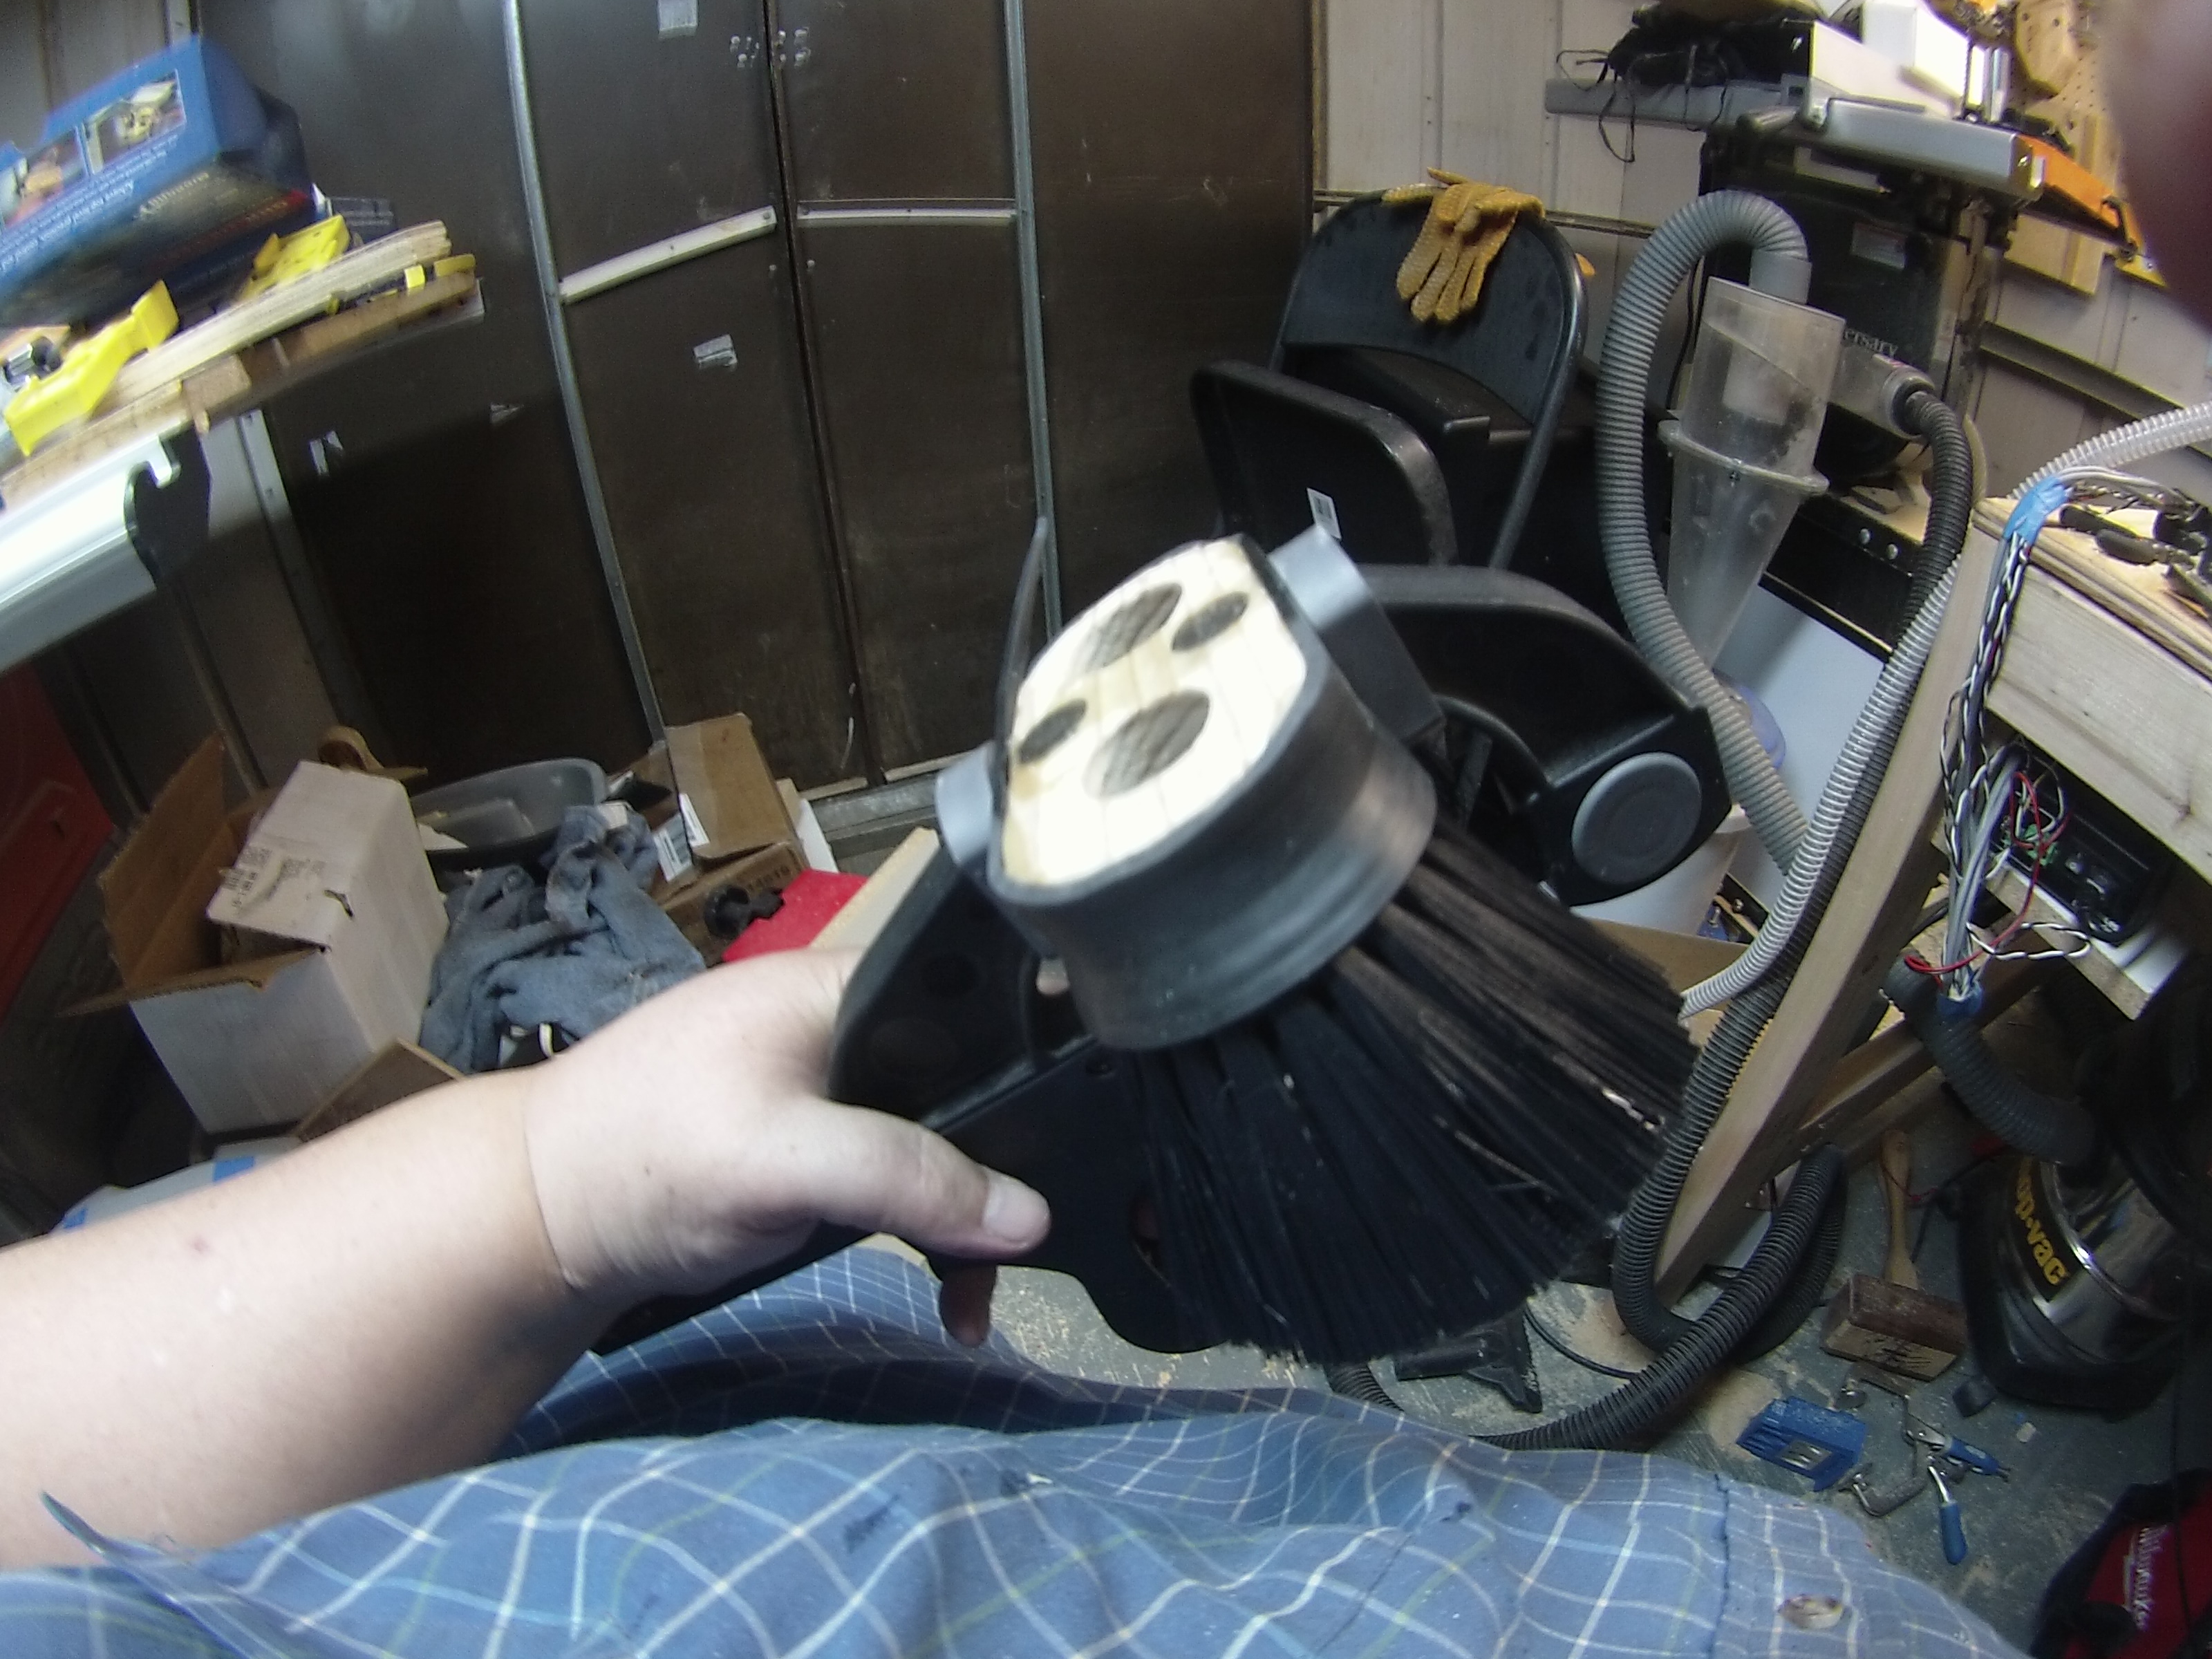
I was tired of DUST all over my machine and rails, and chasing the cuts with the vacuum. I made a dust shoe that the top part is permanent, and the bottom section removes for bit changes. Made of Acrylic, Pine, FastCap’s Sawstache, (4) power magnets, and 2P10 CA Glue, (2) M5x6MM Bolts, CPAP Hose.
10 minutes
First thing you will want to do is carve out of the acrylic sheet which is the top.
http://easel.inventables.com/projects/ZD0Z4oAW4foWJtjsVuknhA

10 minutes
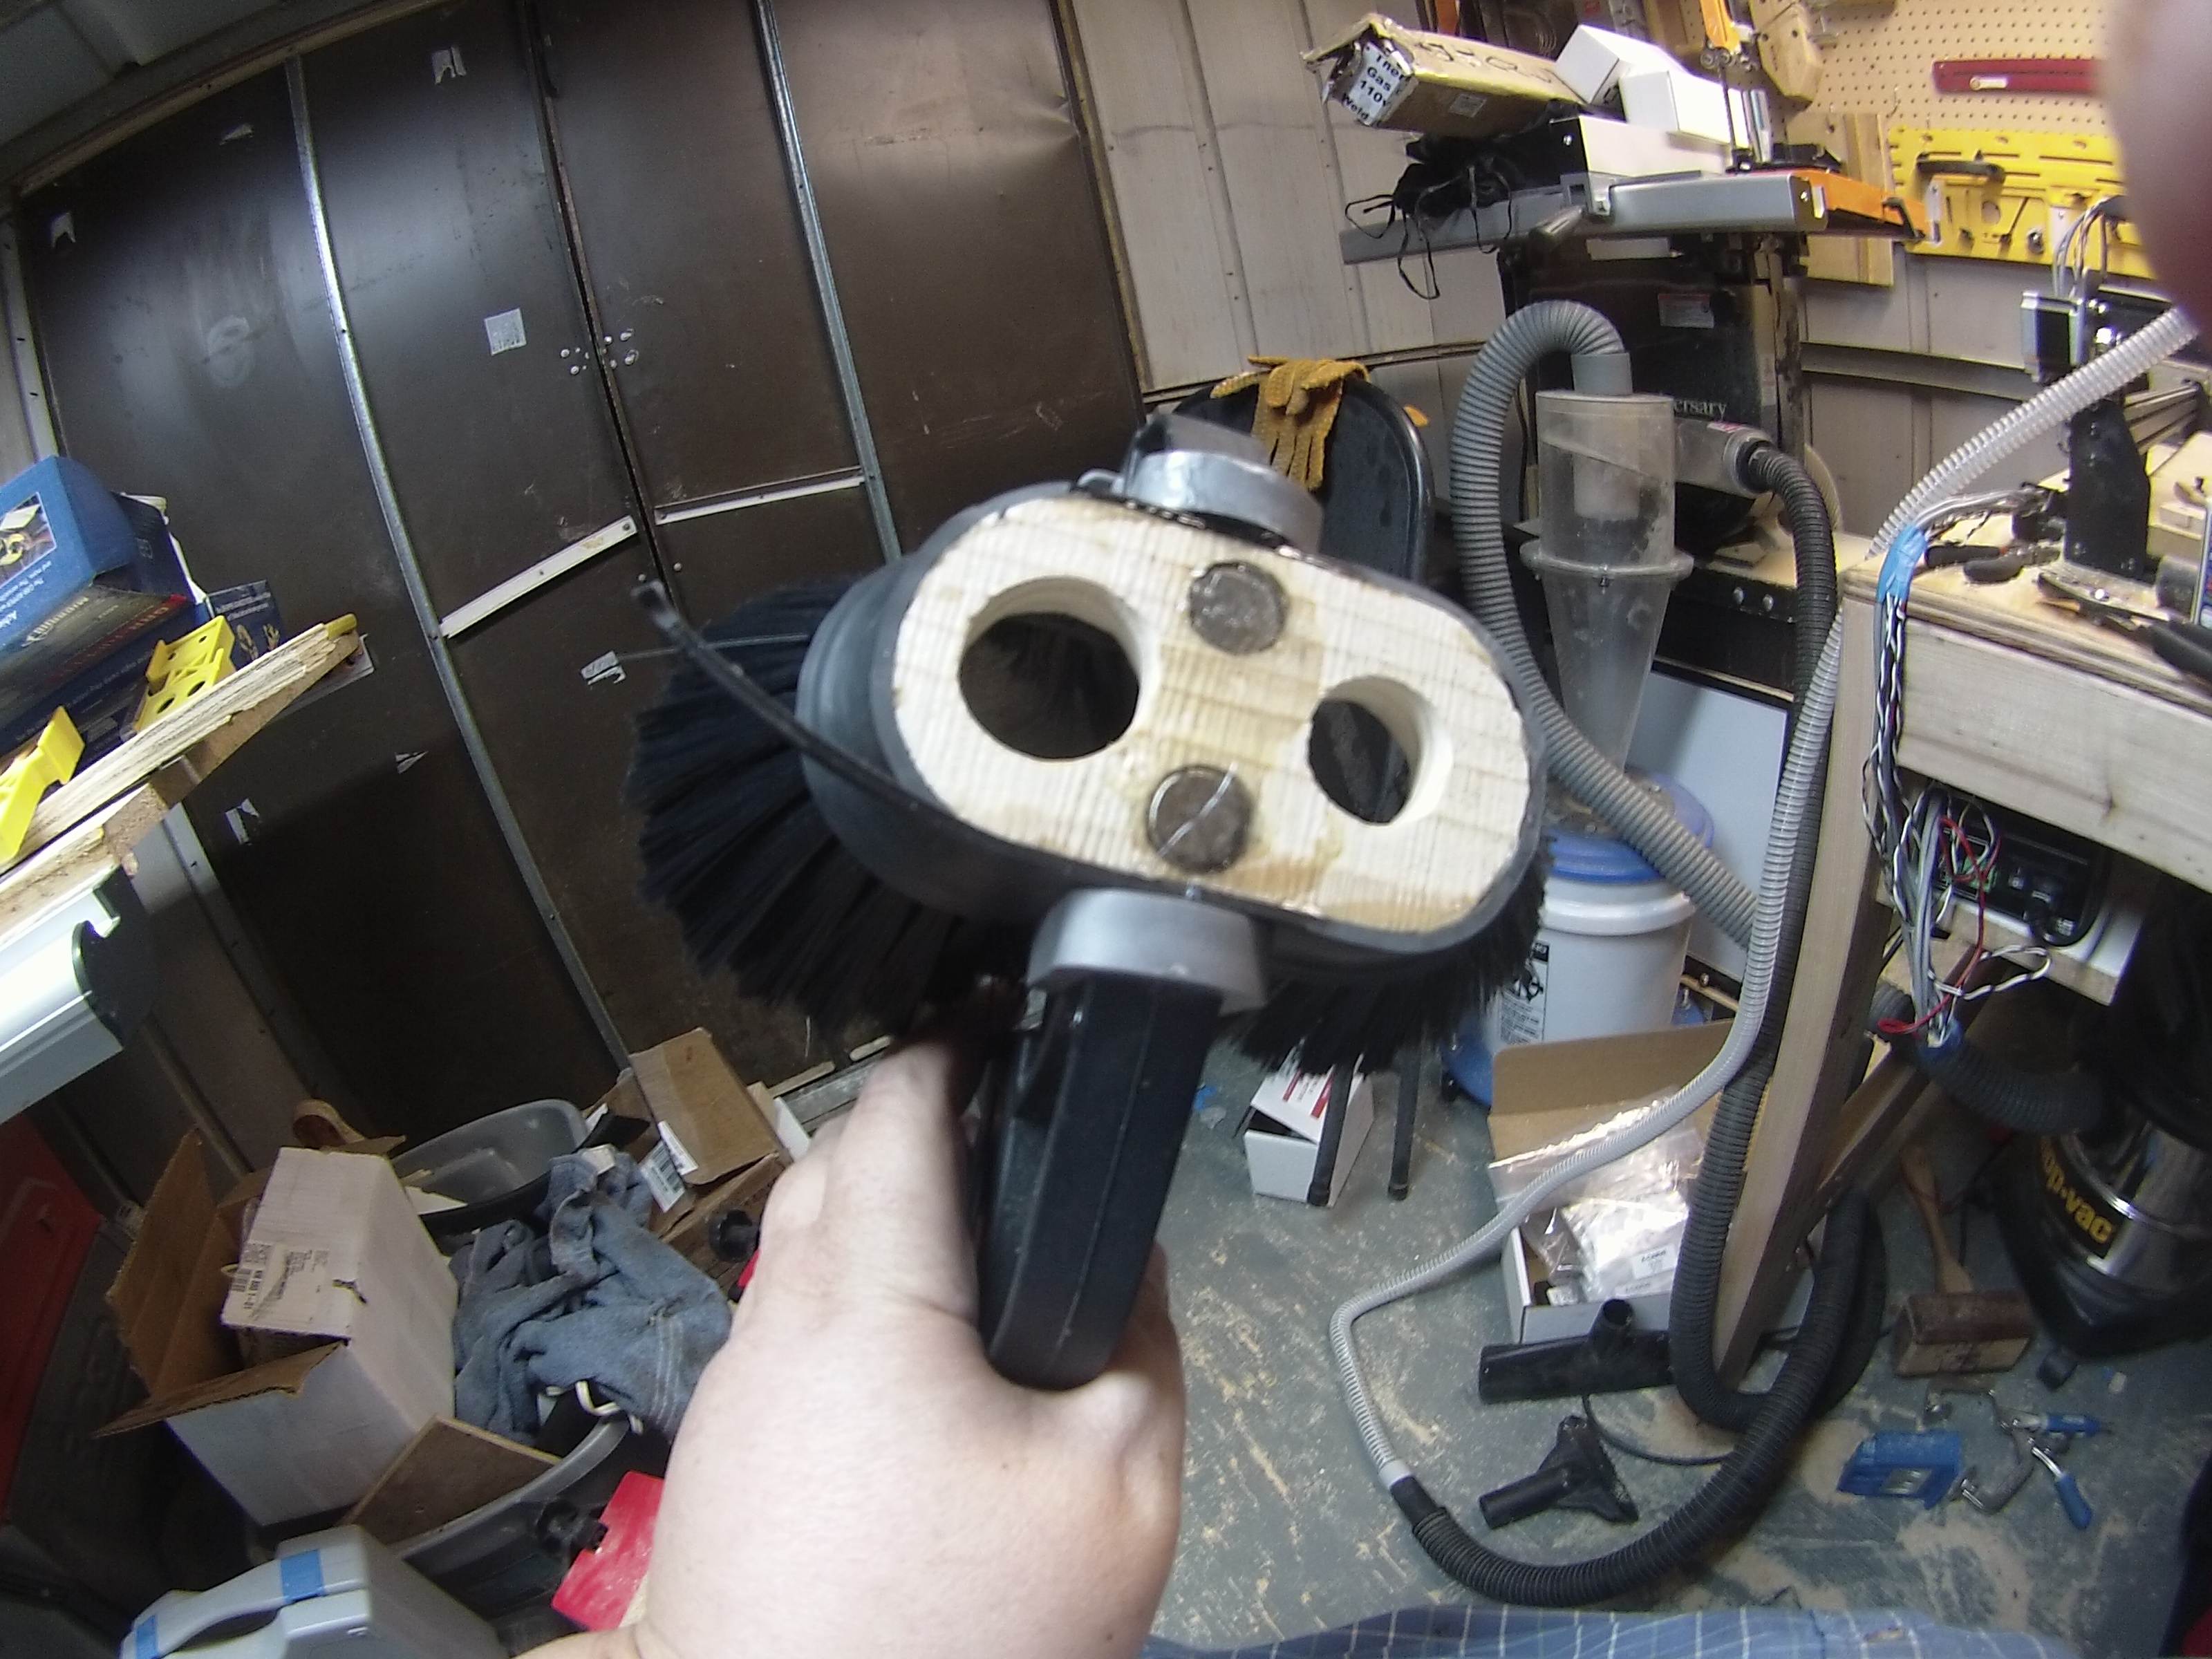
Then you will want to cut the bottom out of 1/2 pine.
http://easel.inventables.com/projects/YyVE01a_z5psbK1XQeibJg

2 minutes
Next, you will want to get some power magnets. 9/16" x 3/16", sand the gluing surfaces, and glue them in the recessed holes. I used Power Mags from FastCap. http://www.fastcap.com/estore/pc/viewPrd.asp?idproduct=302
I used Thick CA Glue from FastCap called 2P10.
http://www.fastcap.com/estore/pc/viewPrd.asp?idproduct=12811

20 minutes
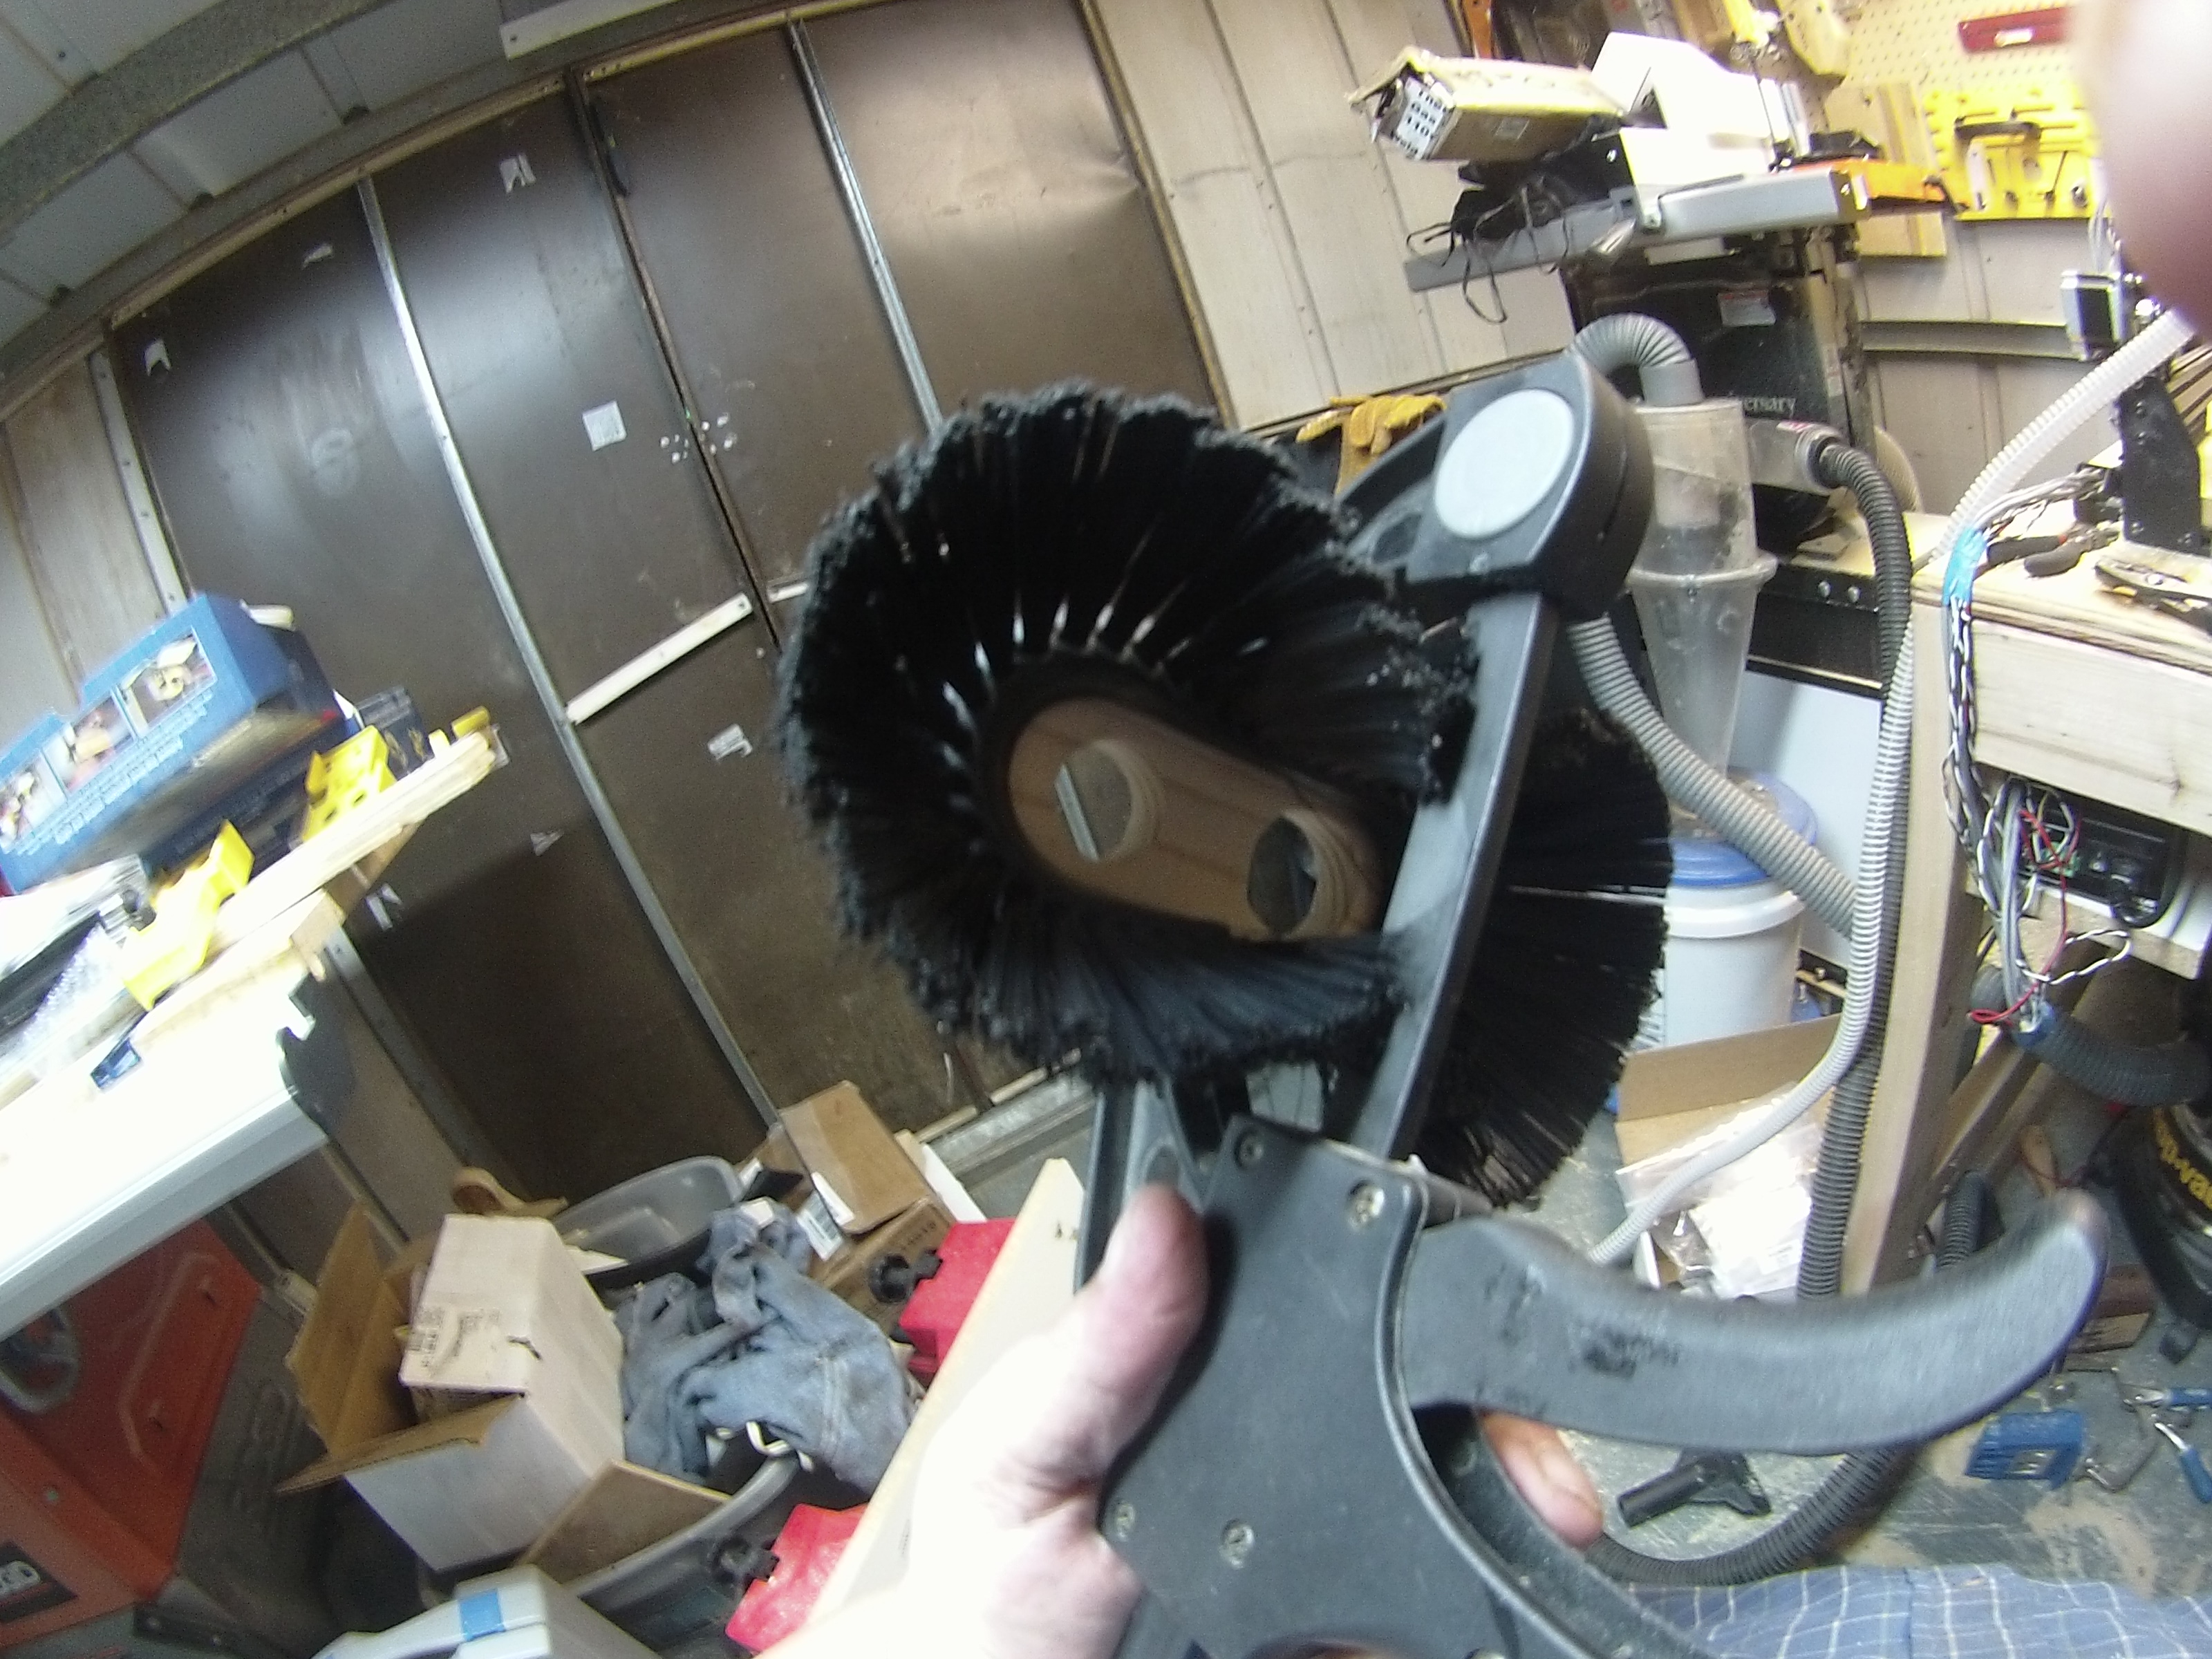
Now, it is time to install the stache to to the bottom pine piece. I used the same CA glue as above to attach it to the piece and clamped for 5 minutes each time I clamped a section. After you have the Stache attached, and it has cured for 5 more minutes. Trim the access rubber from the top of the bottom plate.
You can get your stache here:
http://www.fastcap.com/estore/pc/viewPrd.asp?idproduct=53770&idcategory=0
2 minutes
Onward, you use (2) M5x6MM Bolts to attach the acrylic plate to the bottom of the router.


1 minute
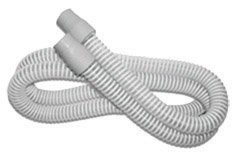
Following, a CPAP hose to the other hole opening and bod it with the CA glue as in the steps above. You can find the CPAP hose here:
http://www.amazon.com/gp/product/B00BHEMK2E/ref=as_li_tl?ie=UTF8&camp=1789&creative=390957&creativeASIN=B00BHEMK2E&linkCode=as2&tag=summerwoodwo-20&linkId=XBJNNUWDJJ5RAJRJ
1 minute
Finally, attach the XCARVE 24VDC Dust Shoe once you have a bit installed and GET CARVING!


Joshua Albers
Colleen McGuire