
Make an MDF mold with your CNC router, and then use it to cast pewter! Lead-free pewter is a great material to get started in the world of casting metal. It’s low melt point (~425F) means you can use simple tools and materials to make a really great looking project!
2 minutes
Pewter’s melting point is low enough that we can safely cast it using an MDF mold. This project will walk you through all you need to do in order to successfully create your first metal casting.
You will need:
Access to a CNC machine
A design for a mold (one is included with this project, or you can make your own)
Approx 12″×12″ 1/2" or thicker MDF
A handful of wood screws and a screwdriver (to clamp the MDF together)
Lead-free pewter (approx 2.5 oz for the example project)
eBay is a fine source, for this project, I got mine from http://www.metalshipper.com/pewter-bar.html. Expect to pay around $15-18 per pound. This project will require approximately 3oz of pewter.
A receptacle to melt the pewter
(I used a stainless steel ladle I got at the grocery store)
A heat source – this can be a blowtorch (which will take about 30 seconds to melt the pewter), or you could use a bbq grill, or even a gas stovetop (with proper ventilation). You only need to get the pewter up to about 425-450 degrees or so.
Safety equipment:
Goggles
Gloves
Water/Fire Extinguisher
Finishing tools:
Some way to cut off the sprues (diagonal clippers, a dremel, hacksaw, etc)
Sandpaper (120 grit or so, working up to finer if you want a smooth finish), just to take down the stubs left by cutting off the sprues
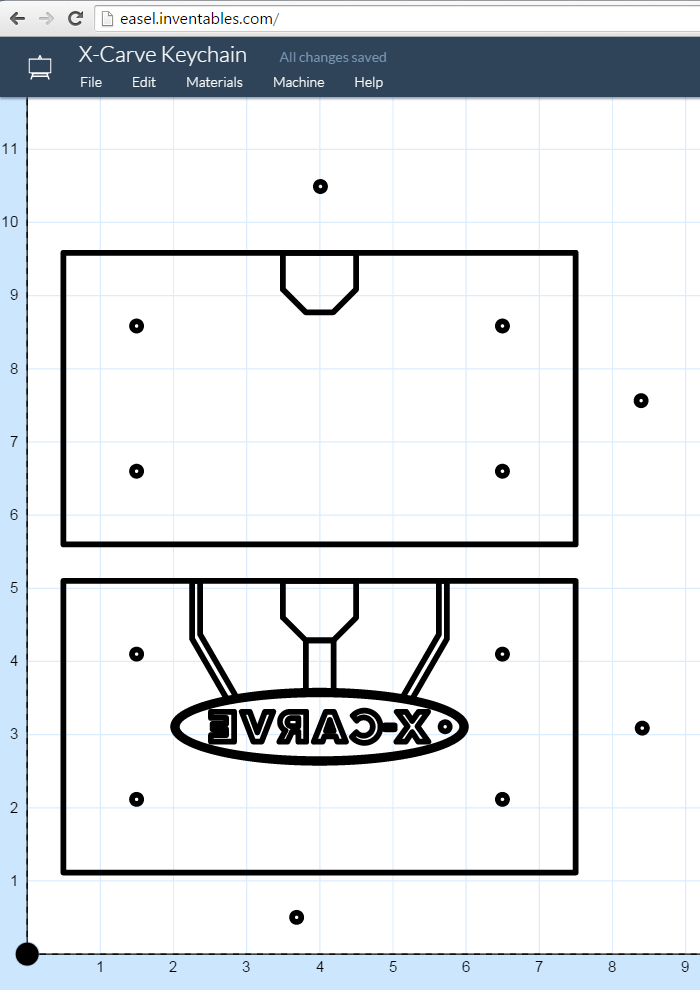
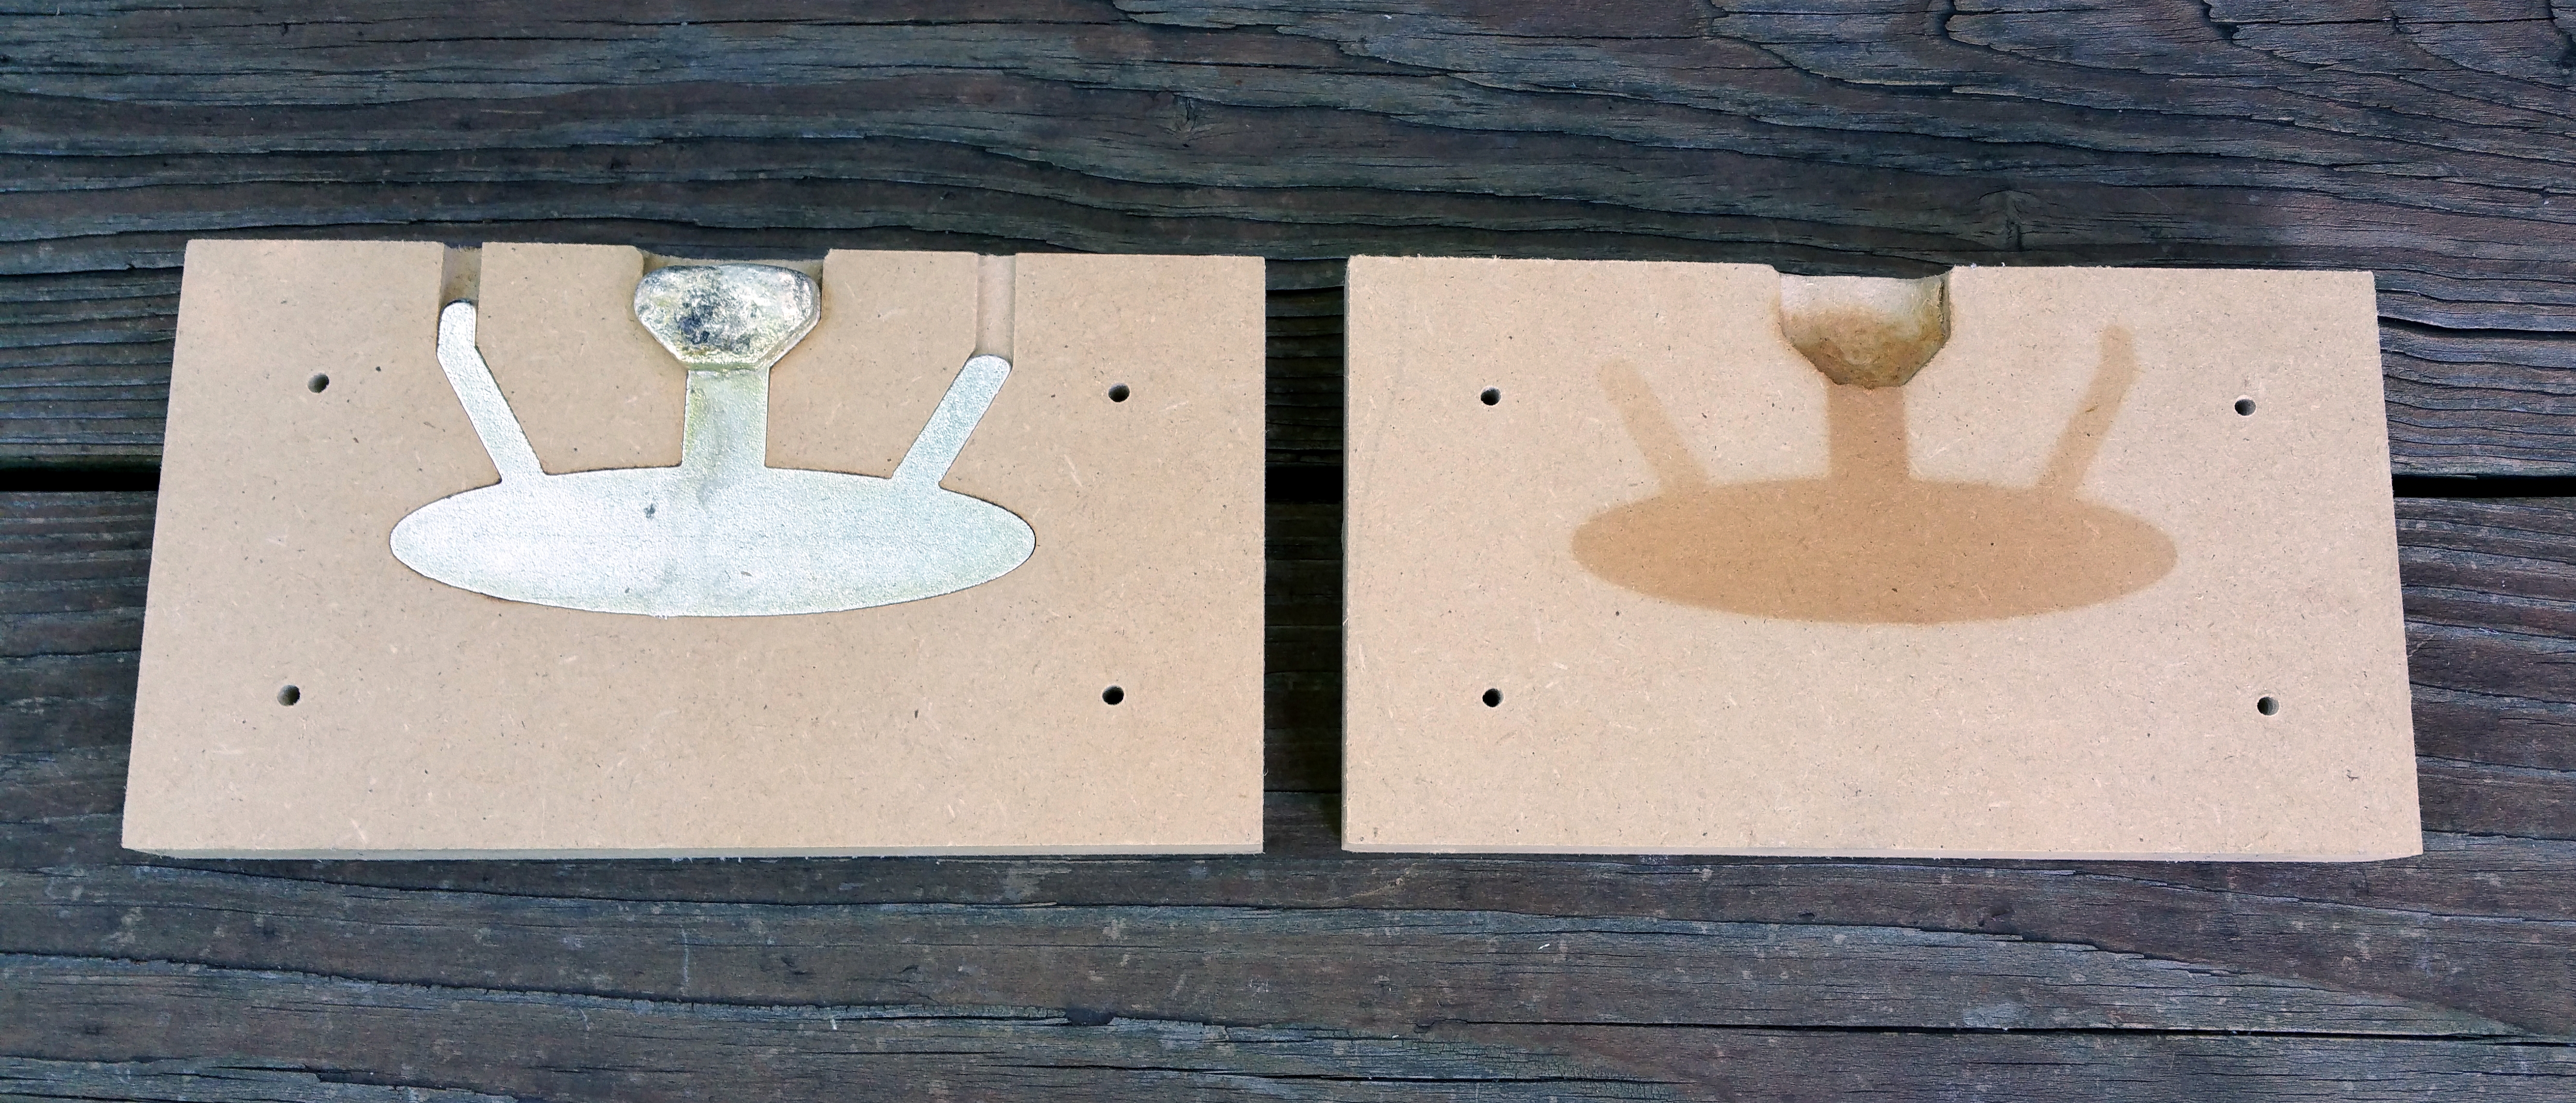
Using the example files, or a design of your own, you’ll want to cut out the mold from MDF. Remember that we’re going to be creating the negative of our finished product, so all text/images need to be reversed, and the deeper you cut into the mold, the taller that portion of the finished product will be.
If you’d like to create the same mold that I did, you might want to use either the SVG or gcode files attached to this project. I have linked to an Easel project, but I have been unable to get the project to correctly reflect all of the cutting depths involved (Easel is adding features all the time, so hopefully I’ll be able to come back and edit the project, at which time I’ll update the instructions).
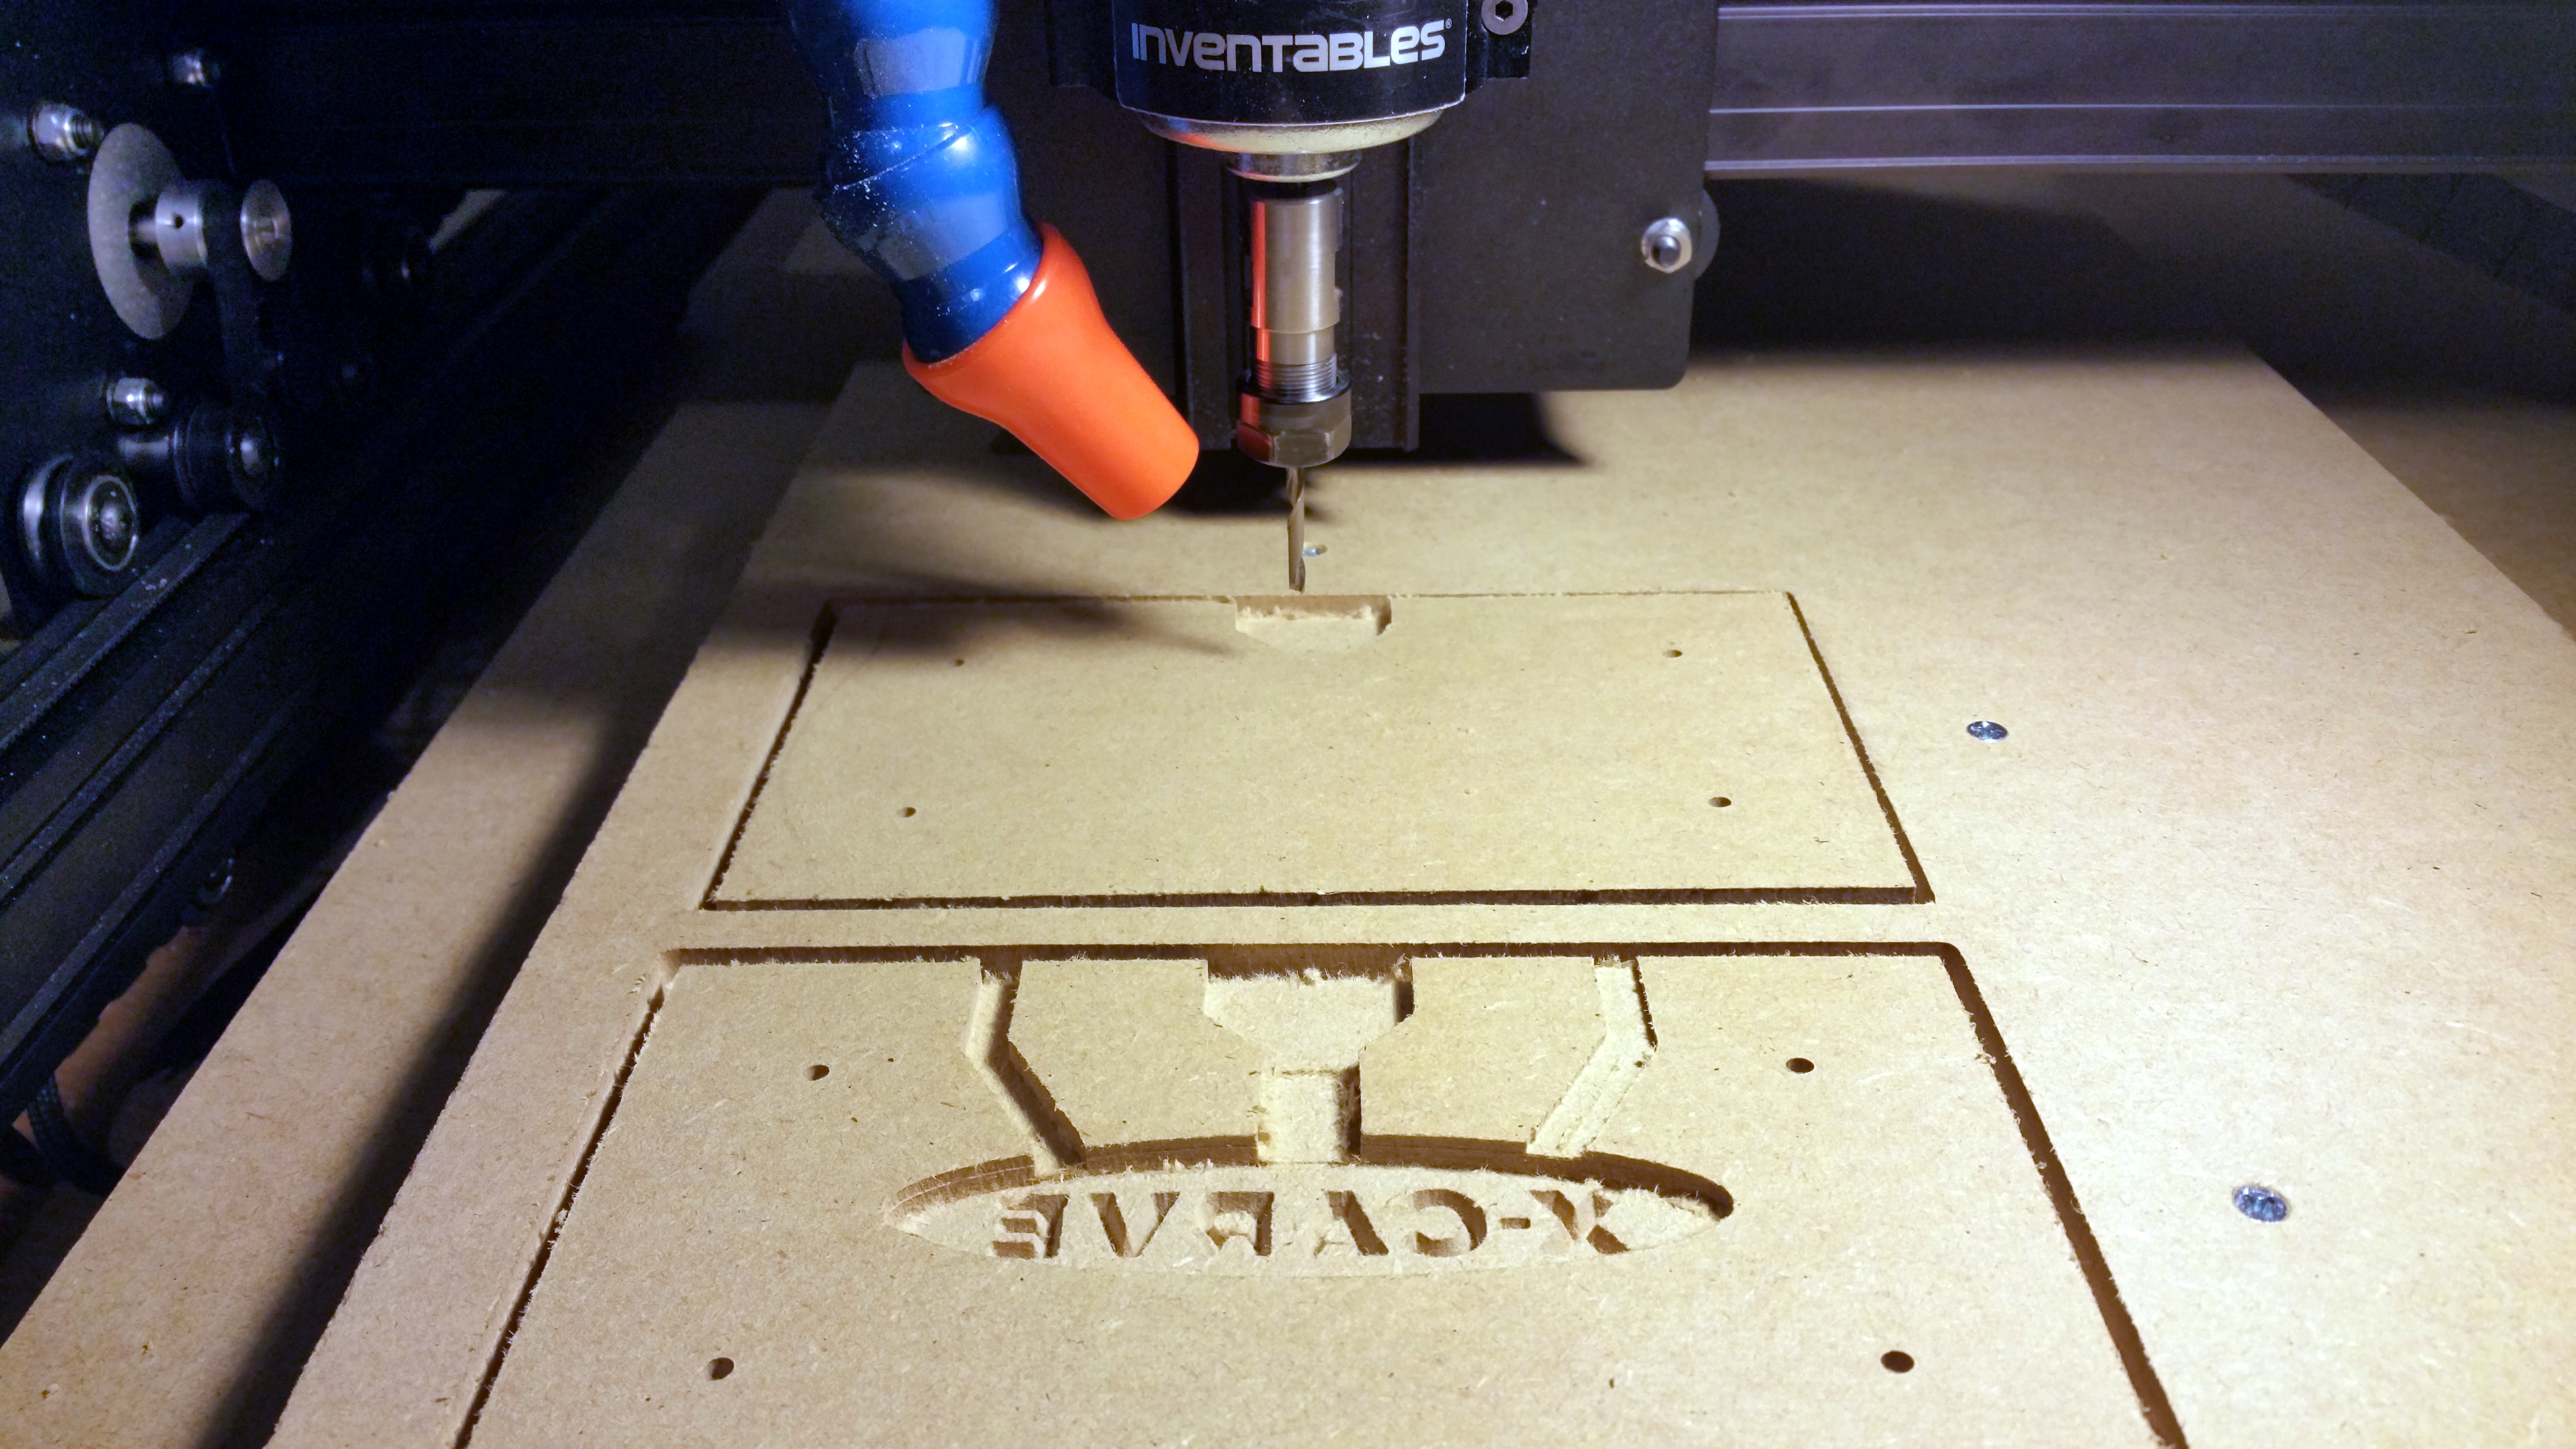
When I cut this project, I used a 45 degree v-bit for the lettering, and a 1/8" endmill for the rest. I started by drilling the circles on the outside of my project, which I then use to screw down my workpiece to my spoilboard. Next, I pocketed the filling channels and the oval body. Then I switched to the v-bit and carved the lettering. Finally, I switched back to the 1/8" bit and drilled the clamping holes, and ran the outer profiling cuts.
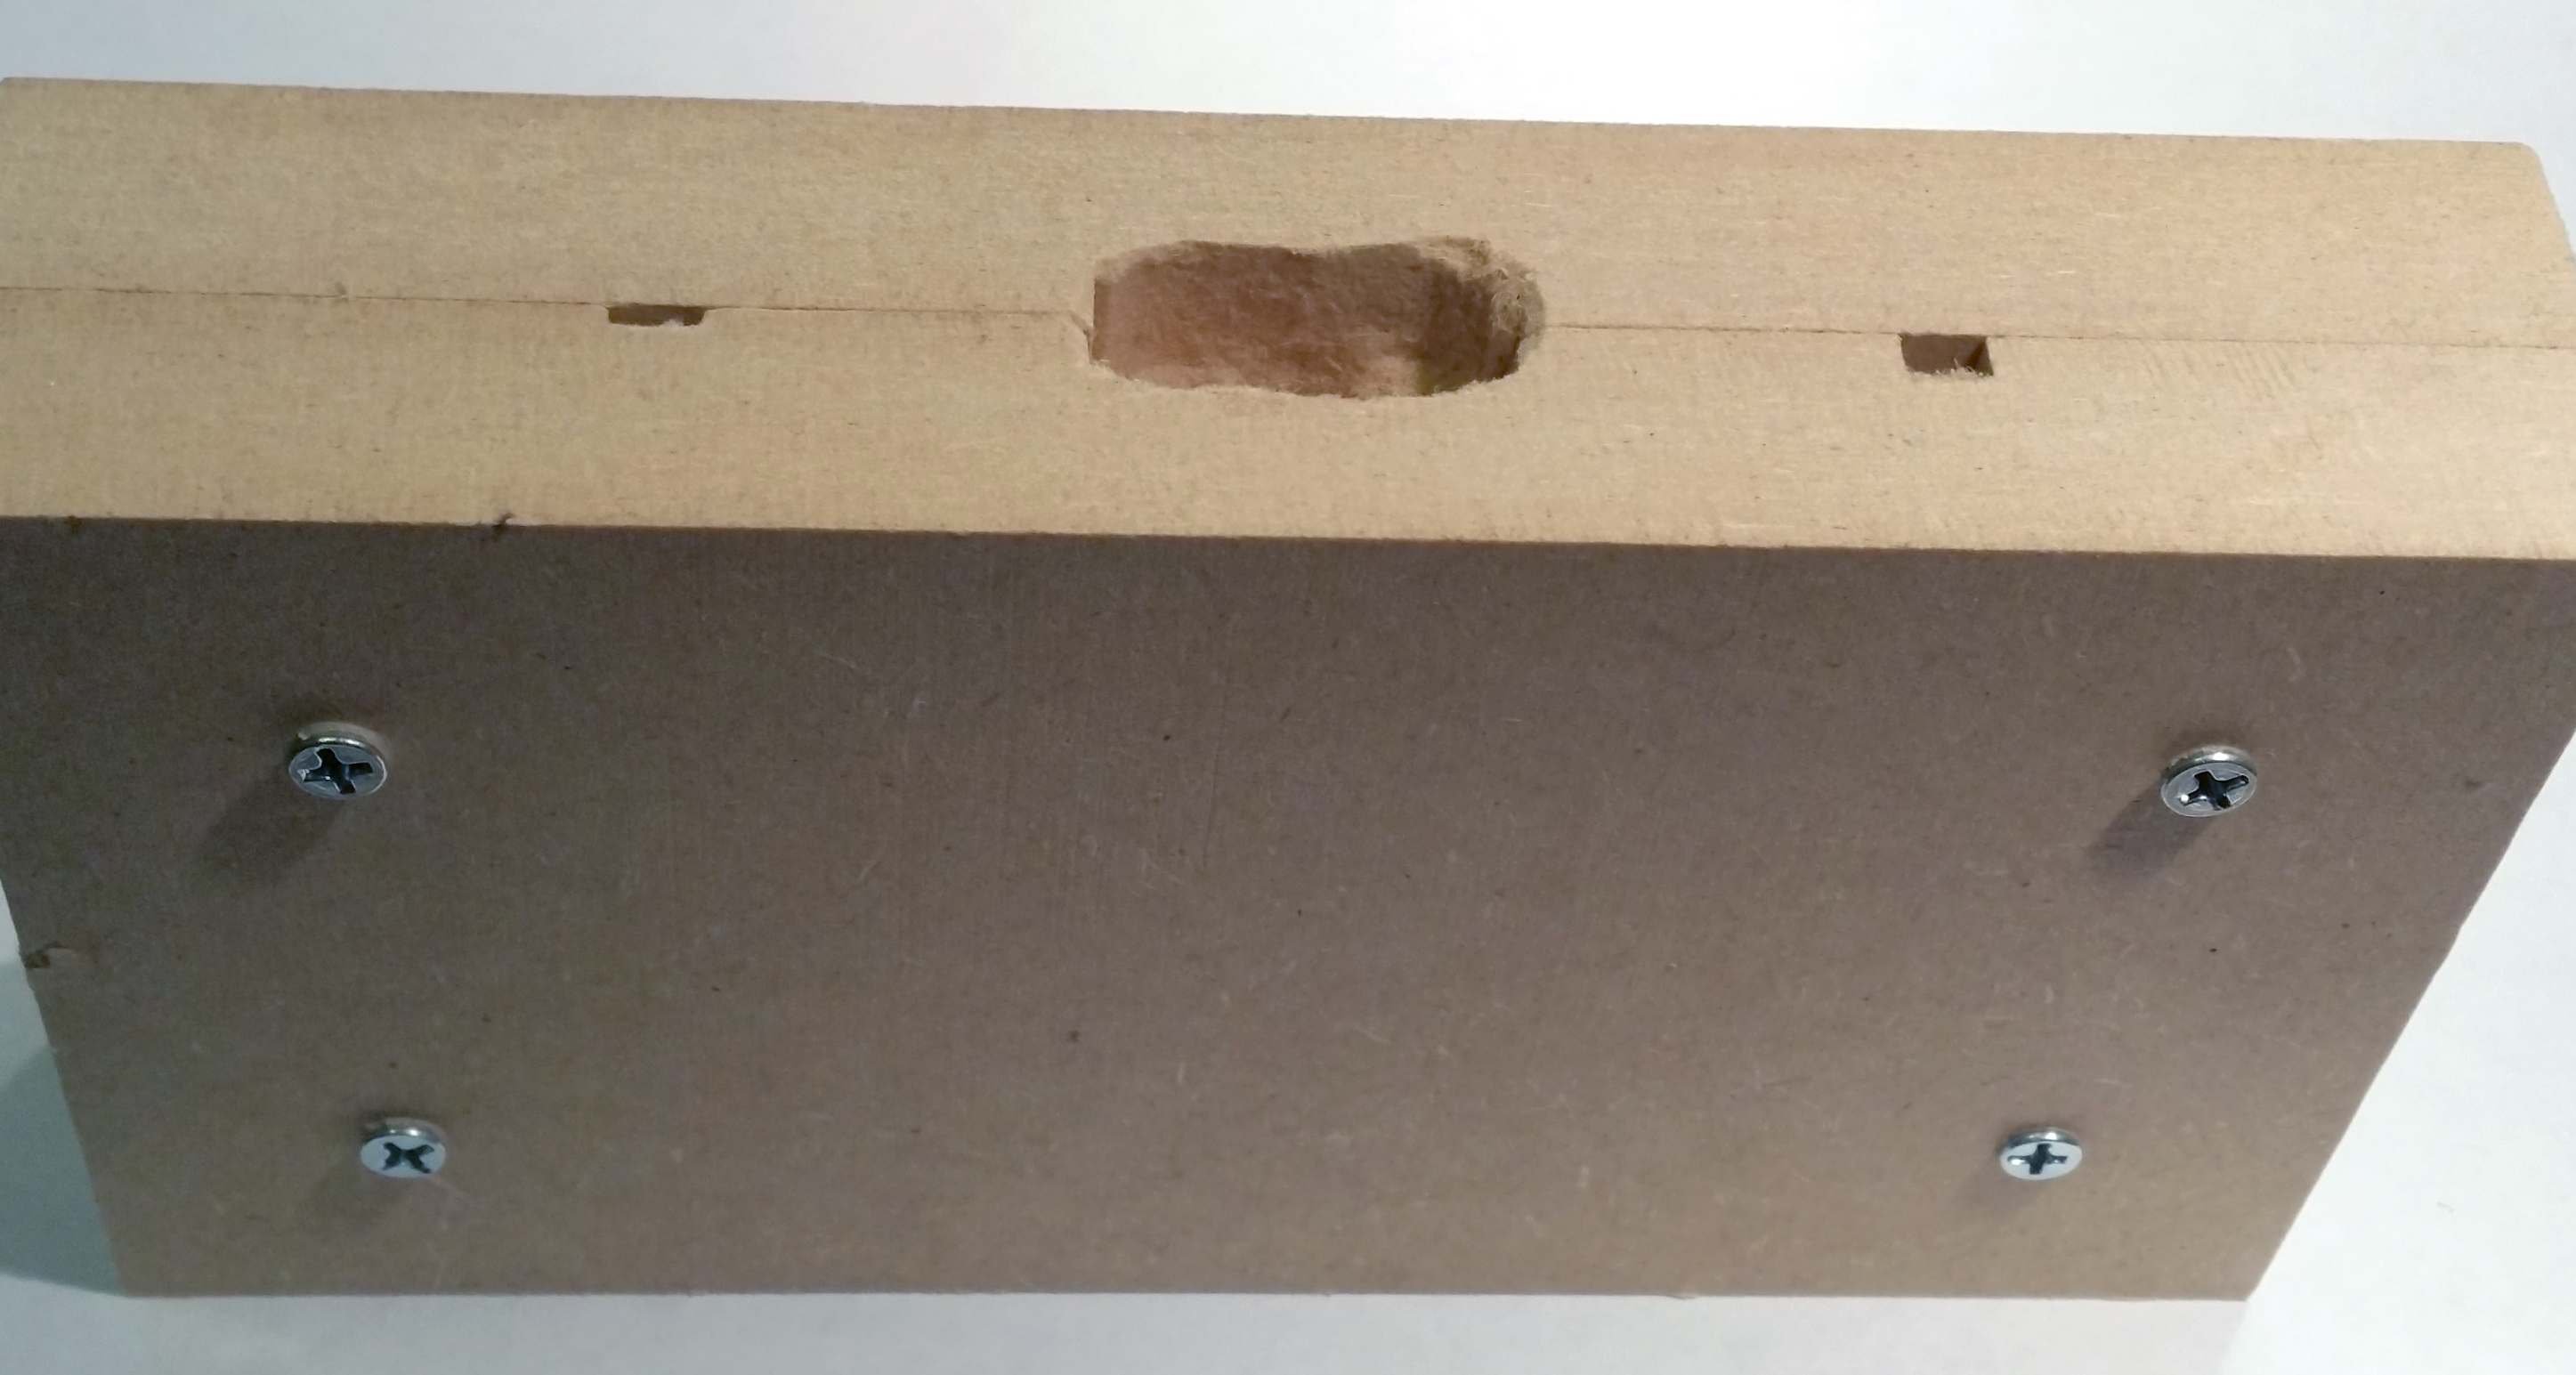
Once the pieces have finished, I removed them from the machine, sanded any rough edges, and the screwed the pieces together. At this point I also used a countersink drill bit to ream out the fill hole.
5 minutes
Now it’s time to gather your casting supplies. You’ll want to do this in a well ventilated area, and make sure that you have your safety equipment ready.
For this pour, I’d suggest about 2.5-3oz of pewter. The finished keychain weighed a little under 2oz, but you’ll want a little extra to make sure it properly fills the mold. You can re-melt the excess pewter, so it’s better to err a little on the side of too much rather than not enough.
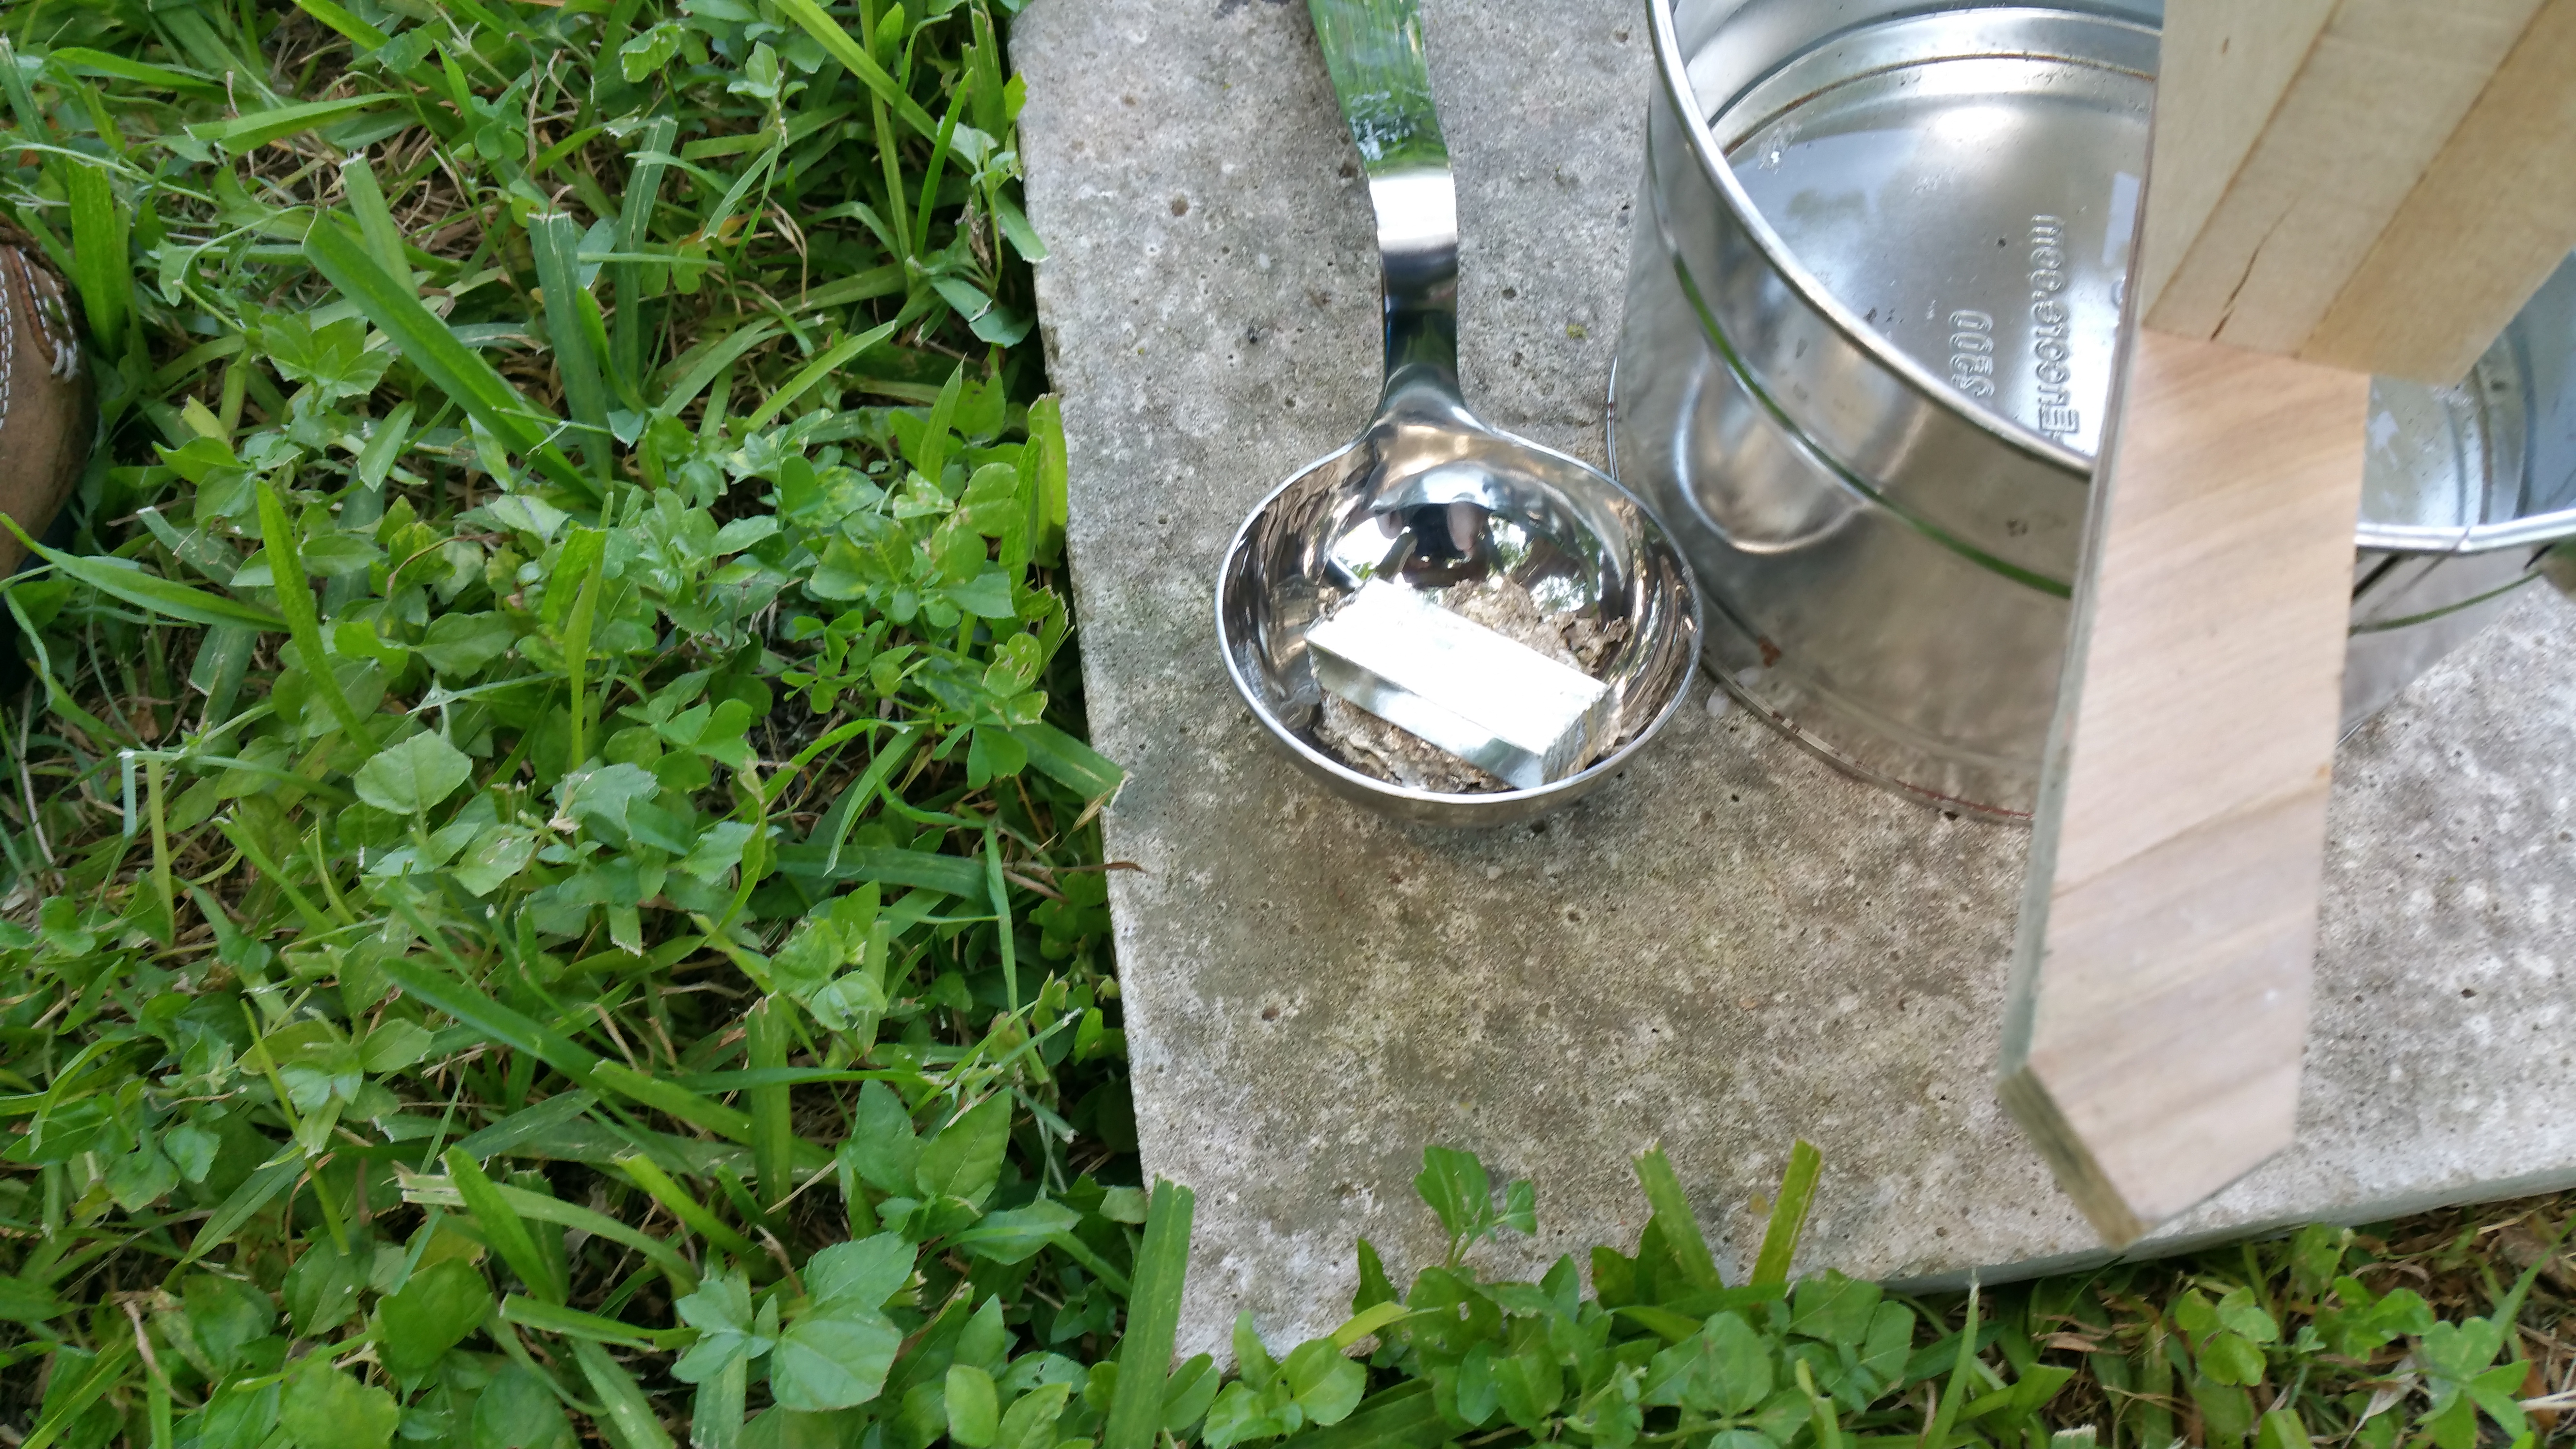
When I did my casting, I poured a little water into a bucket, and set my mold on top, so that if there was any accidental runoff, it would be safely collected. You could do this over concrete, or whatever surface you feel comfortable with.
Once you’ve measured out your pewter, and prepared the mold and your environment, you’re ready to get casting!

2 minutes
Ok, this part’s pretty straight-forward: Put the pewter into your heating vessel (a ladle, in my case), apply heat, dump it into the mold!
You have a little while to pour while the pewter is in a liquid state, so don’t worry about trying to move too quickly. Once you see the mold filling up, stop the pour, and set the heating vessel aside on a heat-proof surface.

The hard part’s over! Now you just need to wait for the mold to cool down (maybe 15-20 minutes for a project this size).
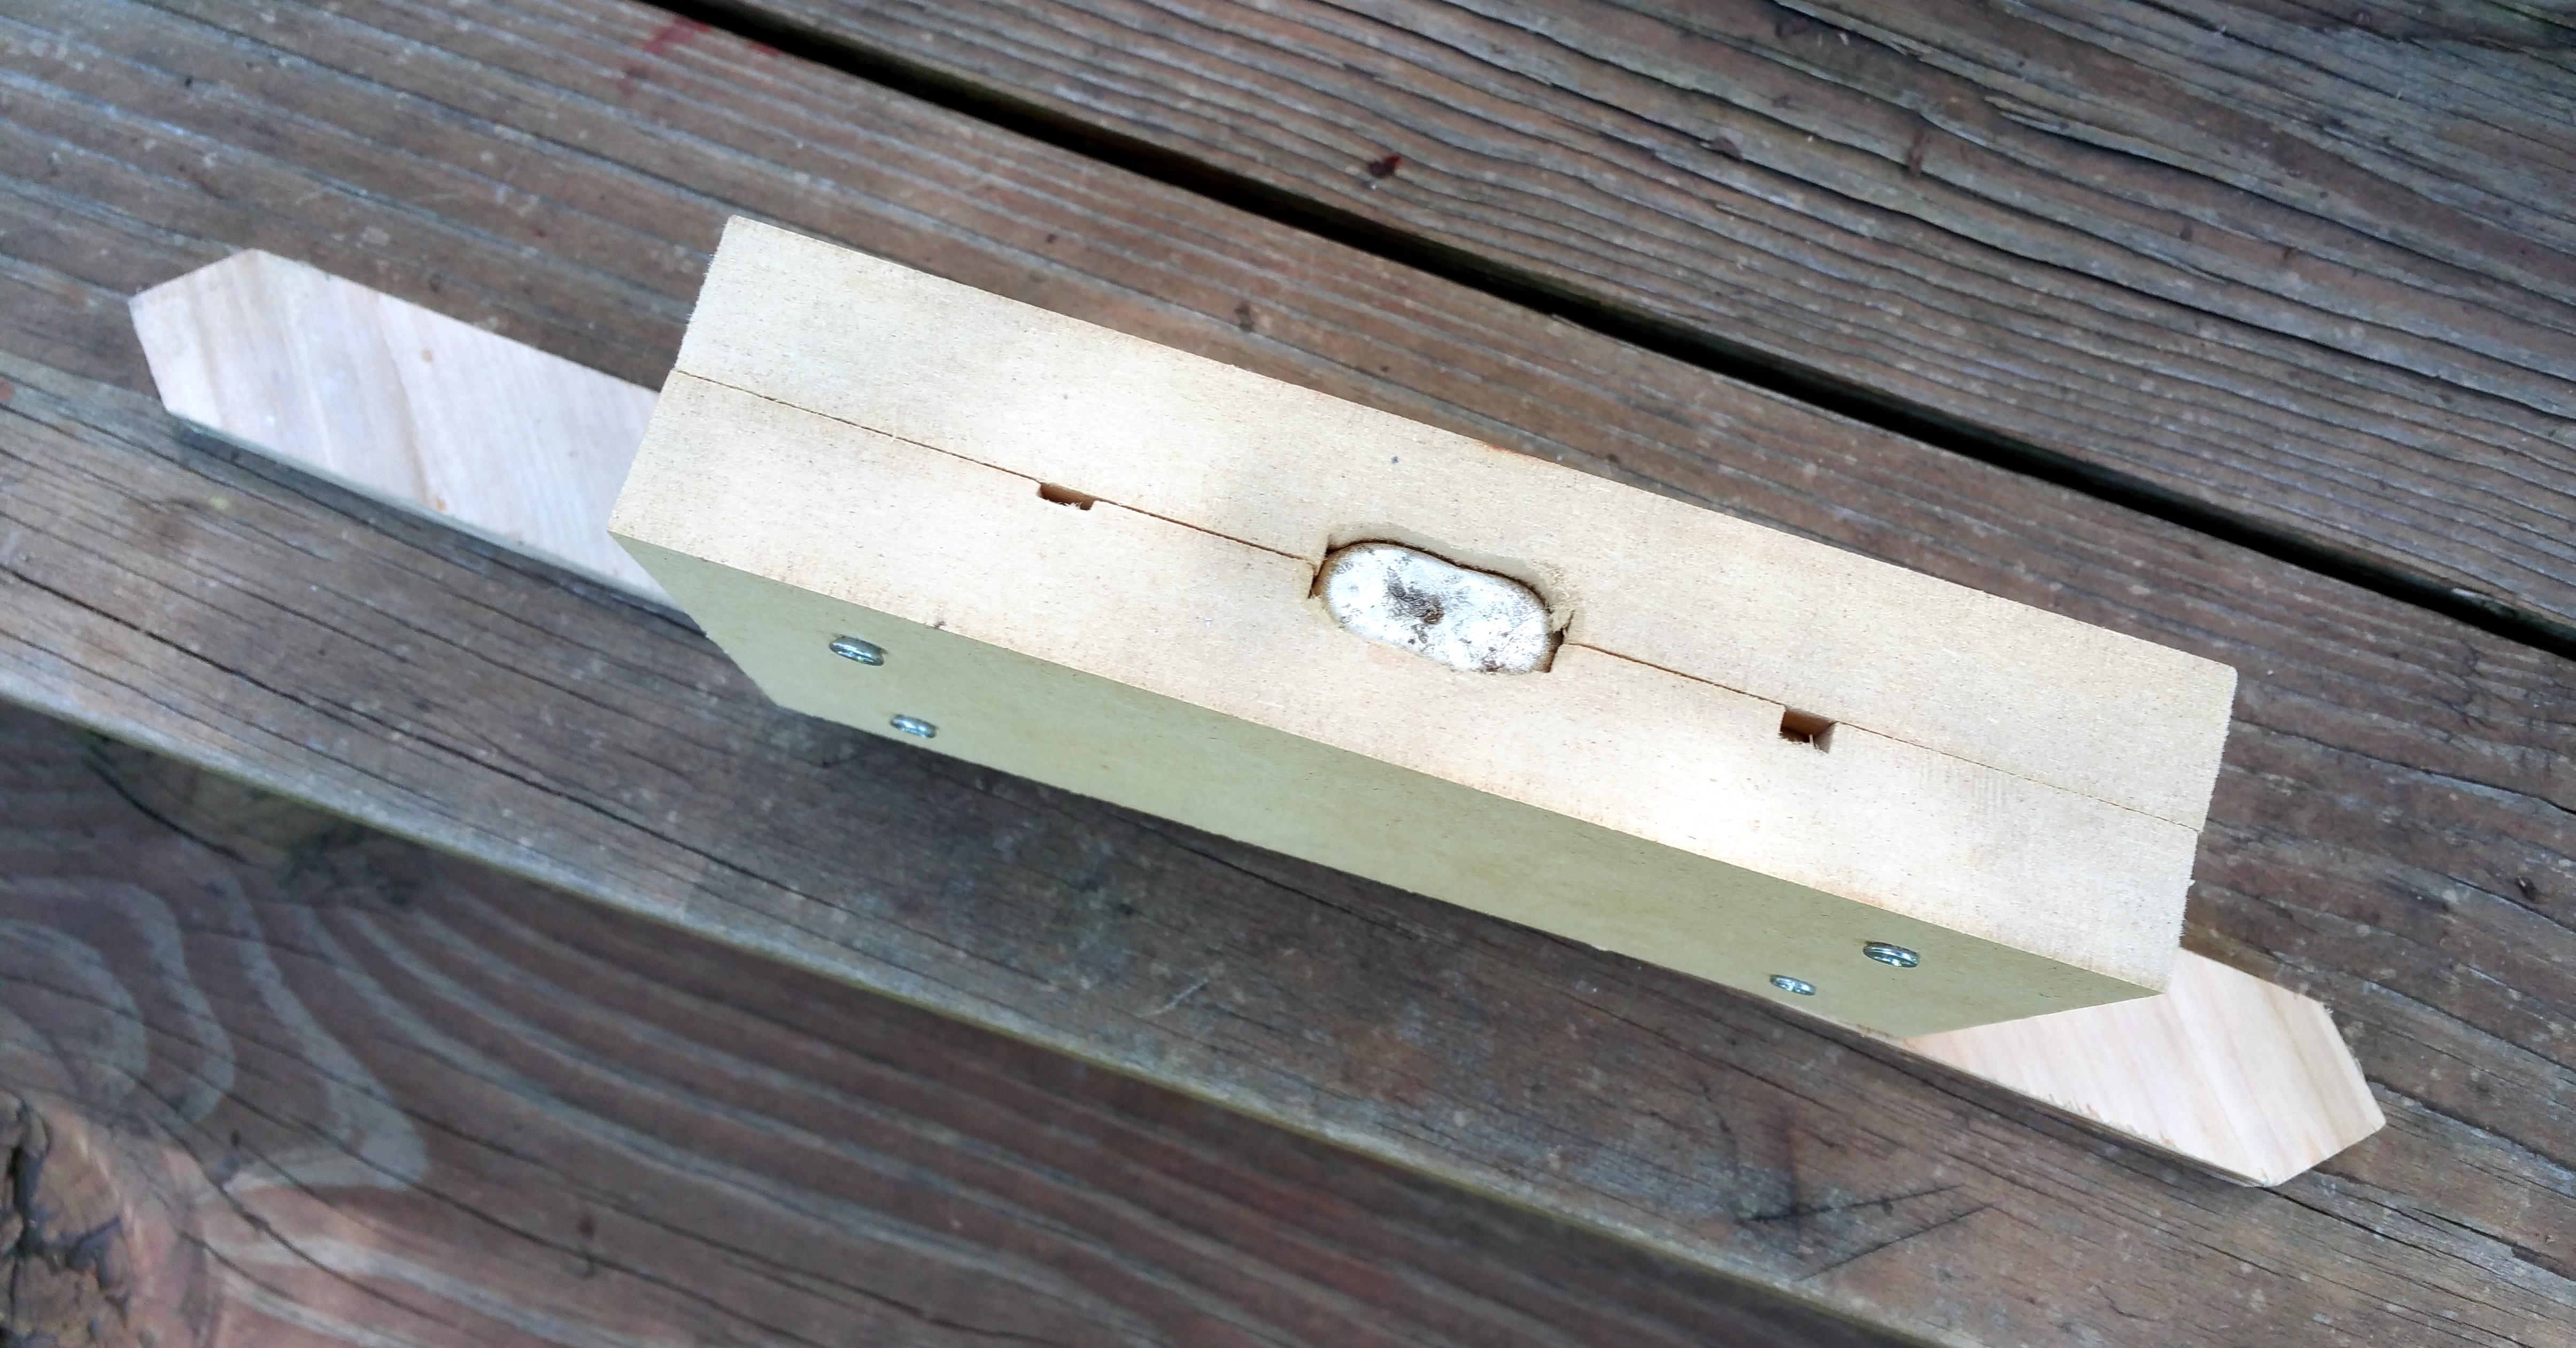
Once it’s cooled, unscrew the mold, and pop out your piece. You can use the sprue to help pry the piece out, but just take your time, knock the edge of the mold against a hard surface a few times, and once you feel it loosening up, just work your way around until it pops free.
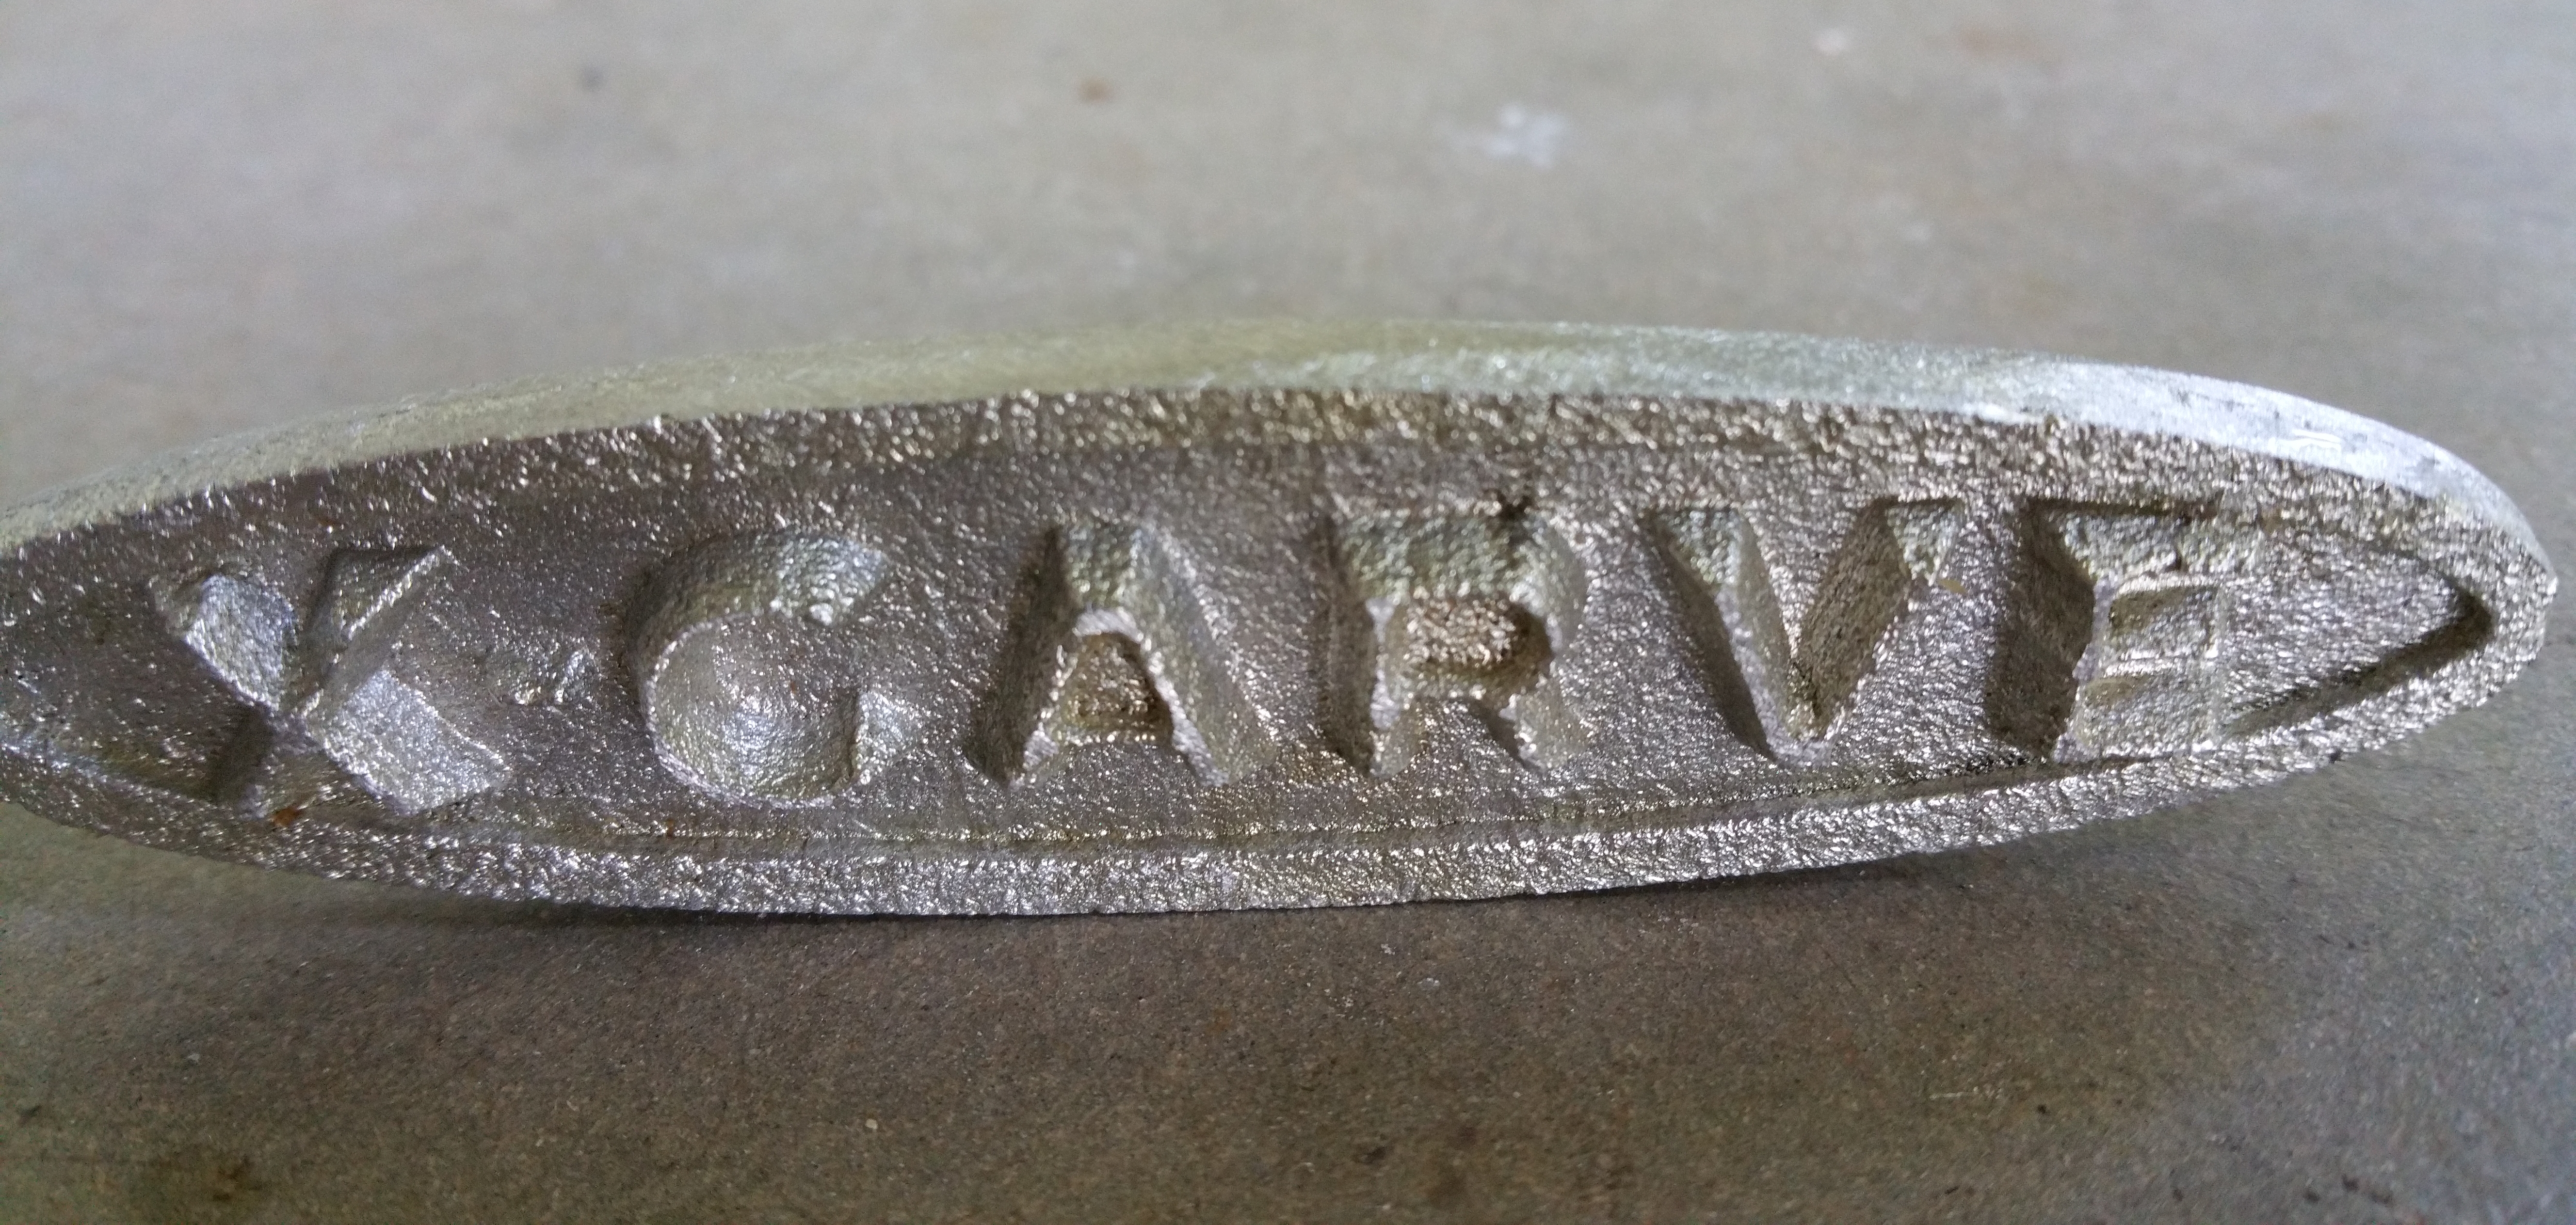
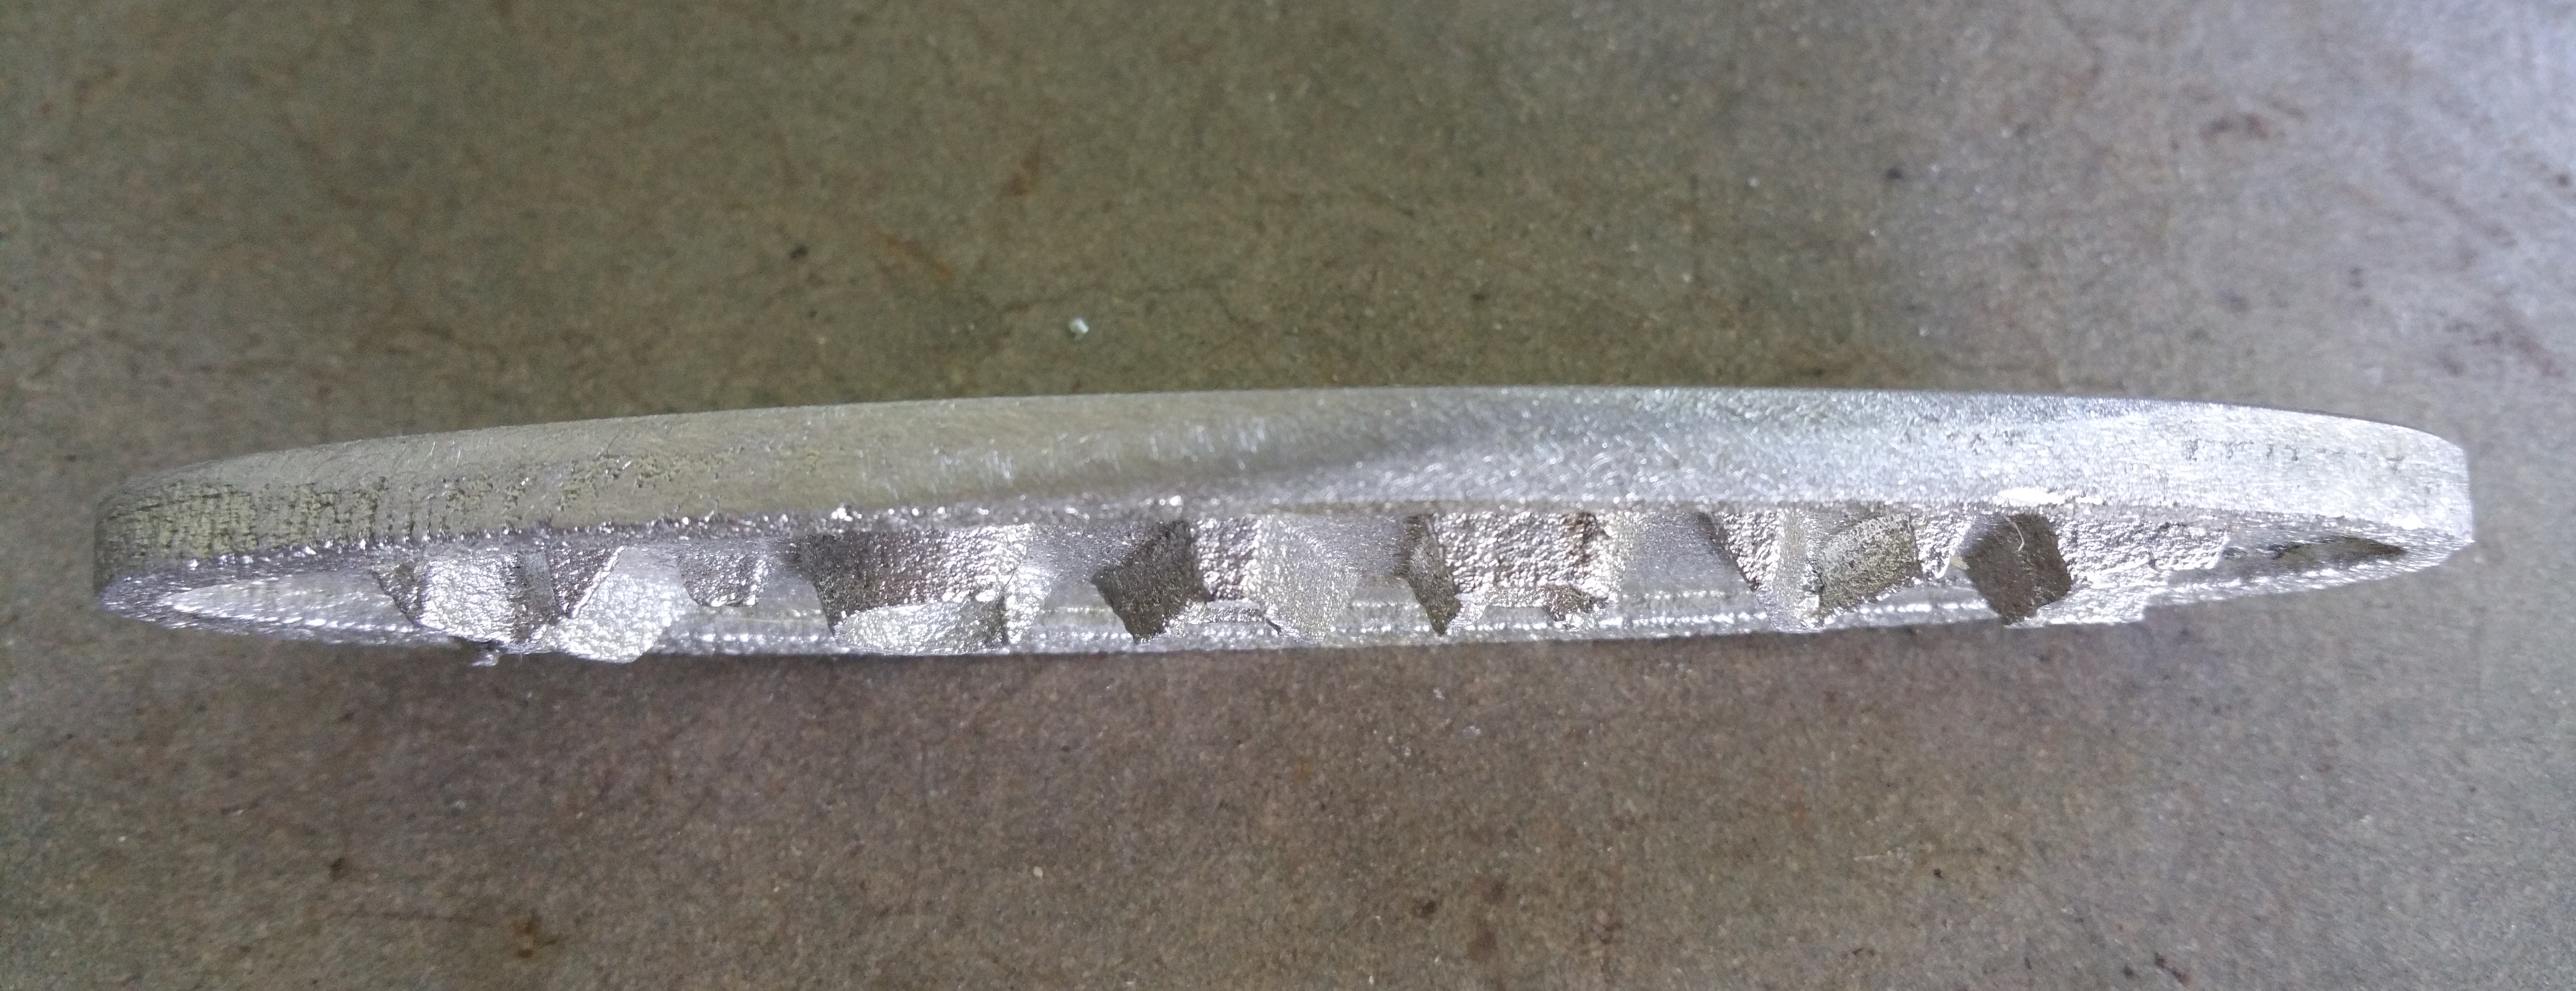
All that’s left is knocking off the sprues, which you can do with a dremel/rotary tool, hacksaw, or possibly some diagonal cutters, depending on how thick it is. If you use a dremel, take note that the pewter will heat up quickly, so you might want to keep a small bowl of water nearby to cool it off.
Once the sprues are off, some quick sanding with 120 grit sandpaper should take down what’s left of the stubs. You can move on to finer sandpaper if you want, depending on what you think the finish should look like.
If you’ve made the keychain from the included files, you might need to drill a hole to put the ring through. When I made the mold, the circle I left in place to create the hole was too small, and ended up getting knocked off during a pocketing pass.
Finally, if you have some uneven coloring from the heating/molding process, you can make up a paste of white vinegar, some flour, and a little salt. I used a toothbrush to scrub it onto the piece, then left it for about 30 minutes and rinsed it off. It did a really good job of taking out the small discoloring left from the mold.


1 minute
That’s it! As you can see, it doesn’t take much to make your first MDF mold to cast pewter. You’re probably not going to get too many pours out of this mold, but it’s a good starter project. You could use a similar technique to make a positive image out of the object you wanted to create, then use a high-temperature silicone to make the negative mold. That would produce a more durable mold that could be used for many castings, but it takes a little more work.
I hope you’ve enjoyed this project, and I hope it inspires you to create more of your own! Good luck, and get casting!


Maker Mill
Warren Downes
John Gittings
Peter James
John Gittings
David Picciuto
John "jahsavi"
Richard Morley