
Steve Carmichael
MONROE, GA
Back in 1988, I won an autographed Van Halen CD from the Rockline radio show. It’s hard to believe that was over 30 years ago! I put my Inventables X-Carve CNC Machine to work to make a cool Van Halen striped frame out of cherry and maple.
8 minutes
Watch my video of this project to get an idea of the detailed steps involved to make this frame.
60 minutes
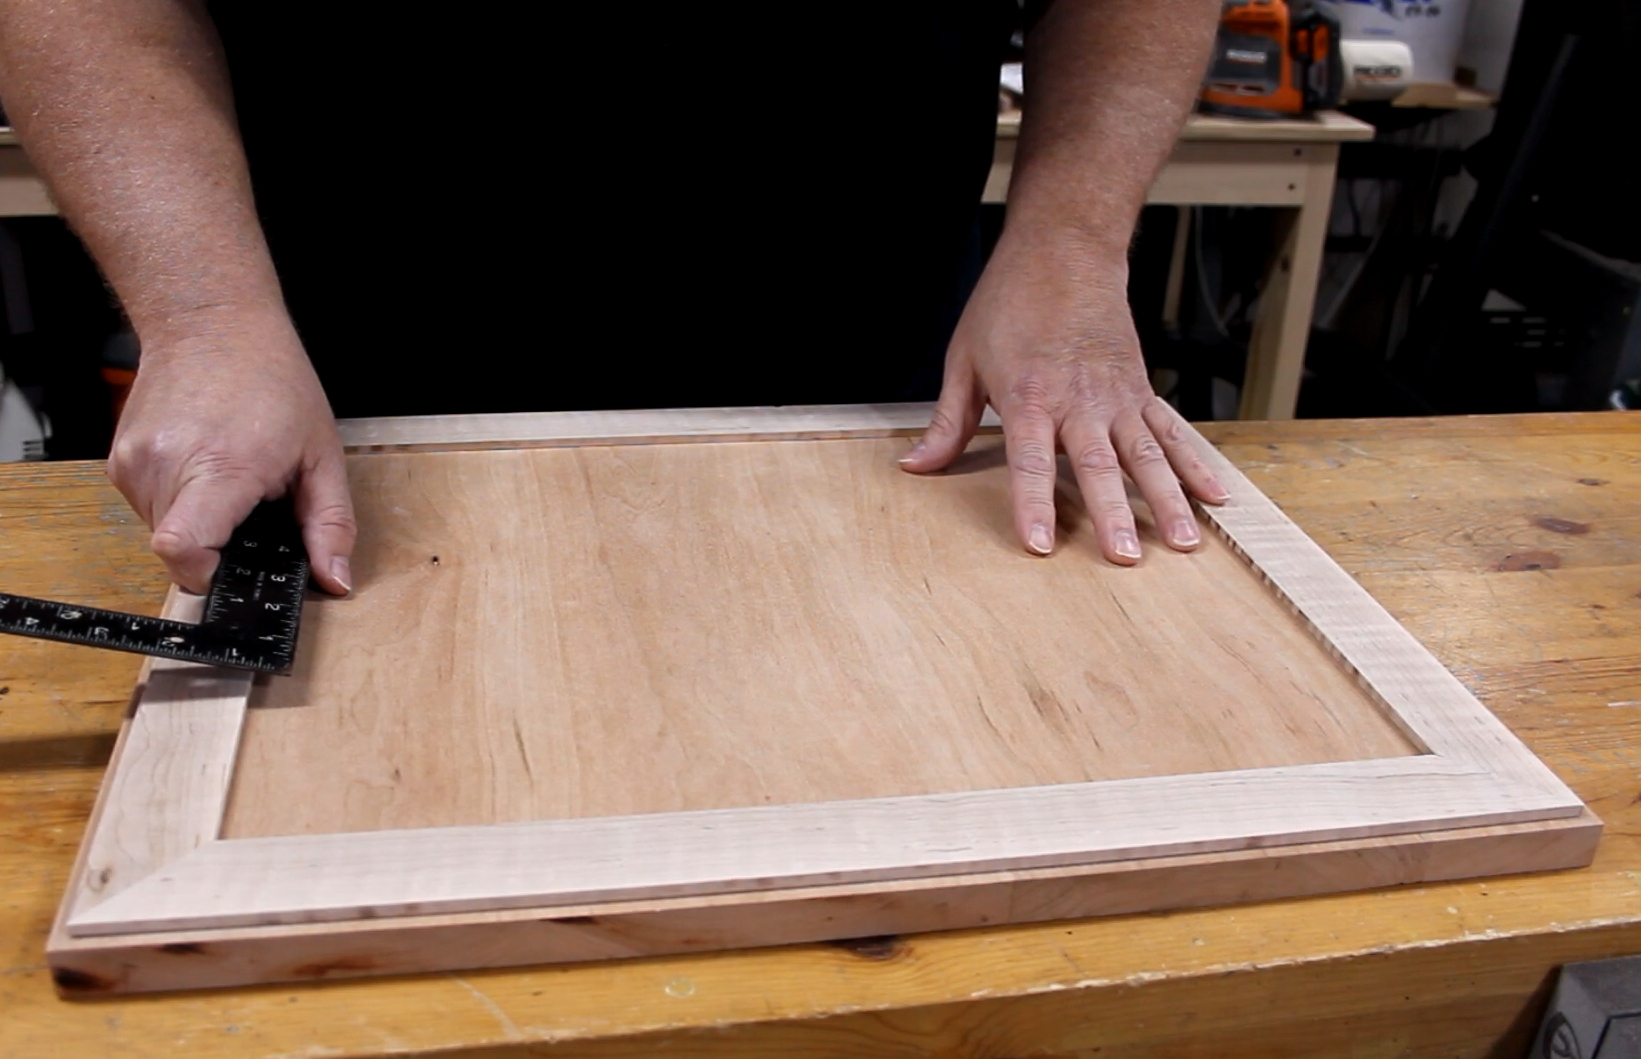
Prepare the blank material that you will use to make the project. I glued up a 3/4" solid cherry panel and glued on a 1/4" thick maple border. Gluing on the border saves carve time, since the CNC will not need to carve away material inside and outside the border, BUT you have to make sure the border is square so the CNC will line up ok when carving in the x and y directions. (Dimensions are in the Easel design on the first tab.)
Note: You could also carve this project from just a 3/4" panel, but it would take longer since the CNC would have to carve away all the material around and inside the border. Check all dimensions and cut depths to make sure they jive with your work piece dimensions.
90 minutes
Mount your blank onto the X-Carve and square it up. I suggest moving the spindle around the border to make sure the travel lines up ok all the way around. If the work piece is not square to the spindle travel, then the stripes may not cut exactly in the center of the border. Set your Z to the top surface of the border. Open tab 2 of the Easel project to carve just the border stripes.
Note: If you are carving this project from a solid panel without a glued on border, then just make sure the work piece is mounted squarely. The CNC will carve the border for you in the right spot as long as you line up your zero correctly.

90 minutes
Set the Z height to the surface of the interior field of the material and in the lower left corner of the border. Open tab 3 of the Easel project to carve just the CD and case pockets. It’s a good idea to check the thickness of the CD and case to make sure the cutting depths are correct.

60 minutes
Apply a finish of your choice on the front and back of the frame and add a sawtooth picture hanger.
Cut a piece of thin clear acrylic to fit within the border. This will hold the letter, CD and case in the frame. Drill holes in the corners and mount with screws. Hang it on the wall and enjoy!
If you like this project, click here to visit my website for more cool projects!
Click here to subscribe to my YouTube channel so you don’t miss any of my project videos!


