
Eric Pavey
Belmont, USA
Create a simple 3-votive candle holder out of some scrap wood, using a 3-part cut. The first two use a V-bit for the hexagons, and the second an endmill for pocket clearing. All from Easel.
| Material | Description | Price | ||
|---|---|---|---|---|

|
Red Oak |
6" × 12" × 1/2" Red Oak |
||
I used a piece of scrap redwood: The Easel design expects something at least 10" long by just under 4" wide, and the deepest cut is 1/4" (completely adjustable by you of course). At minimum, I’d go 11" long, just to provide space to help hold it down on either end.
Note, redwood is very soft: I’d recommend a harder wood to help hold the fine details easier.
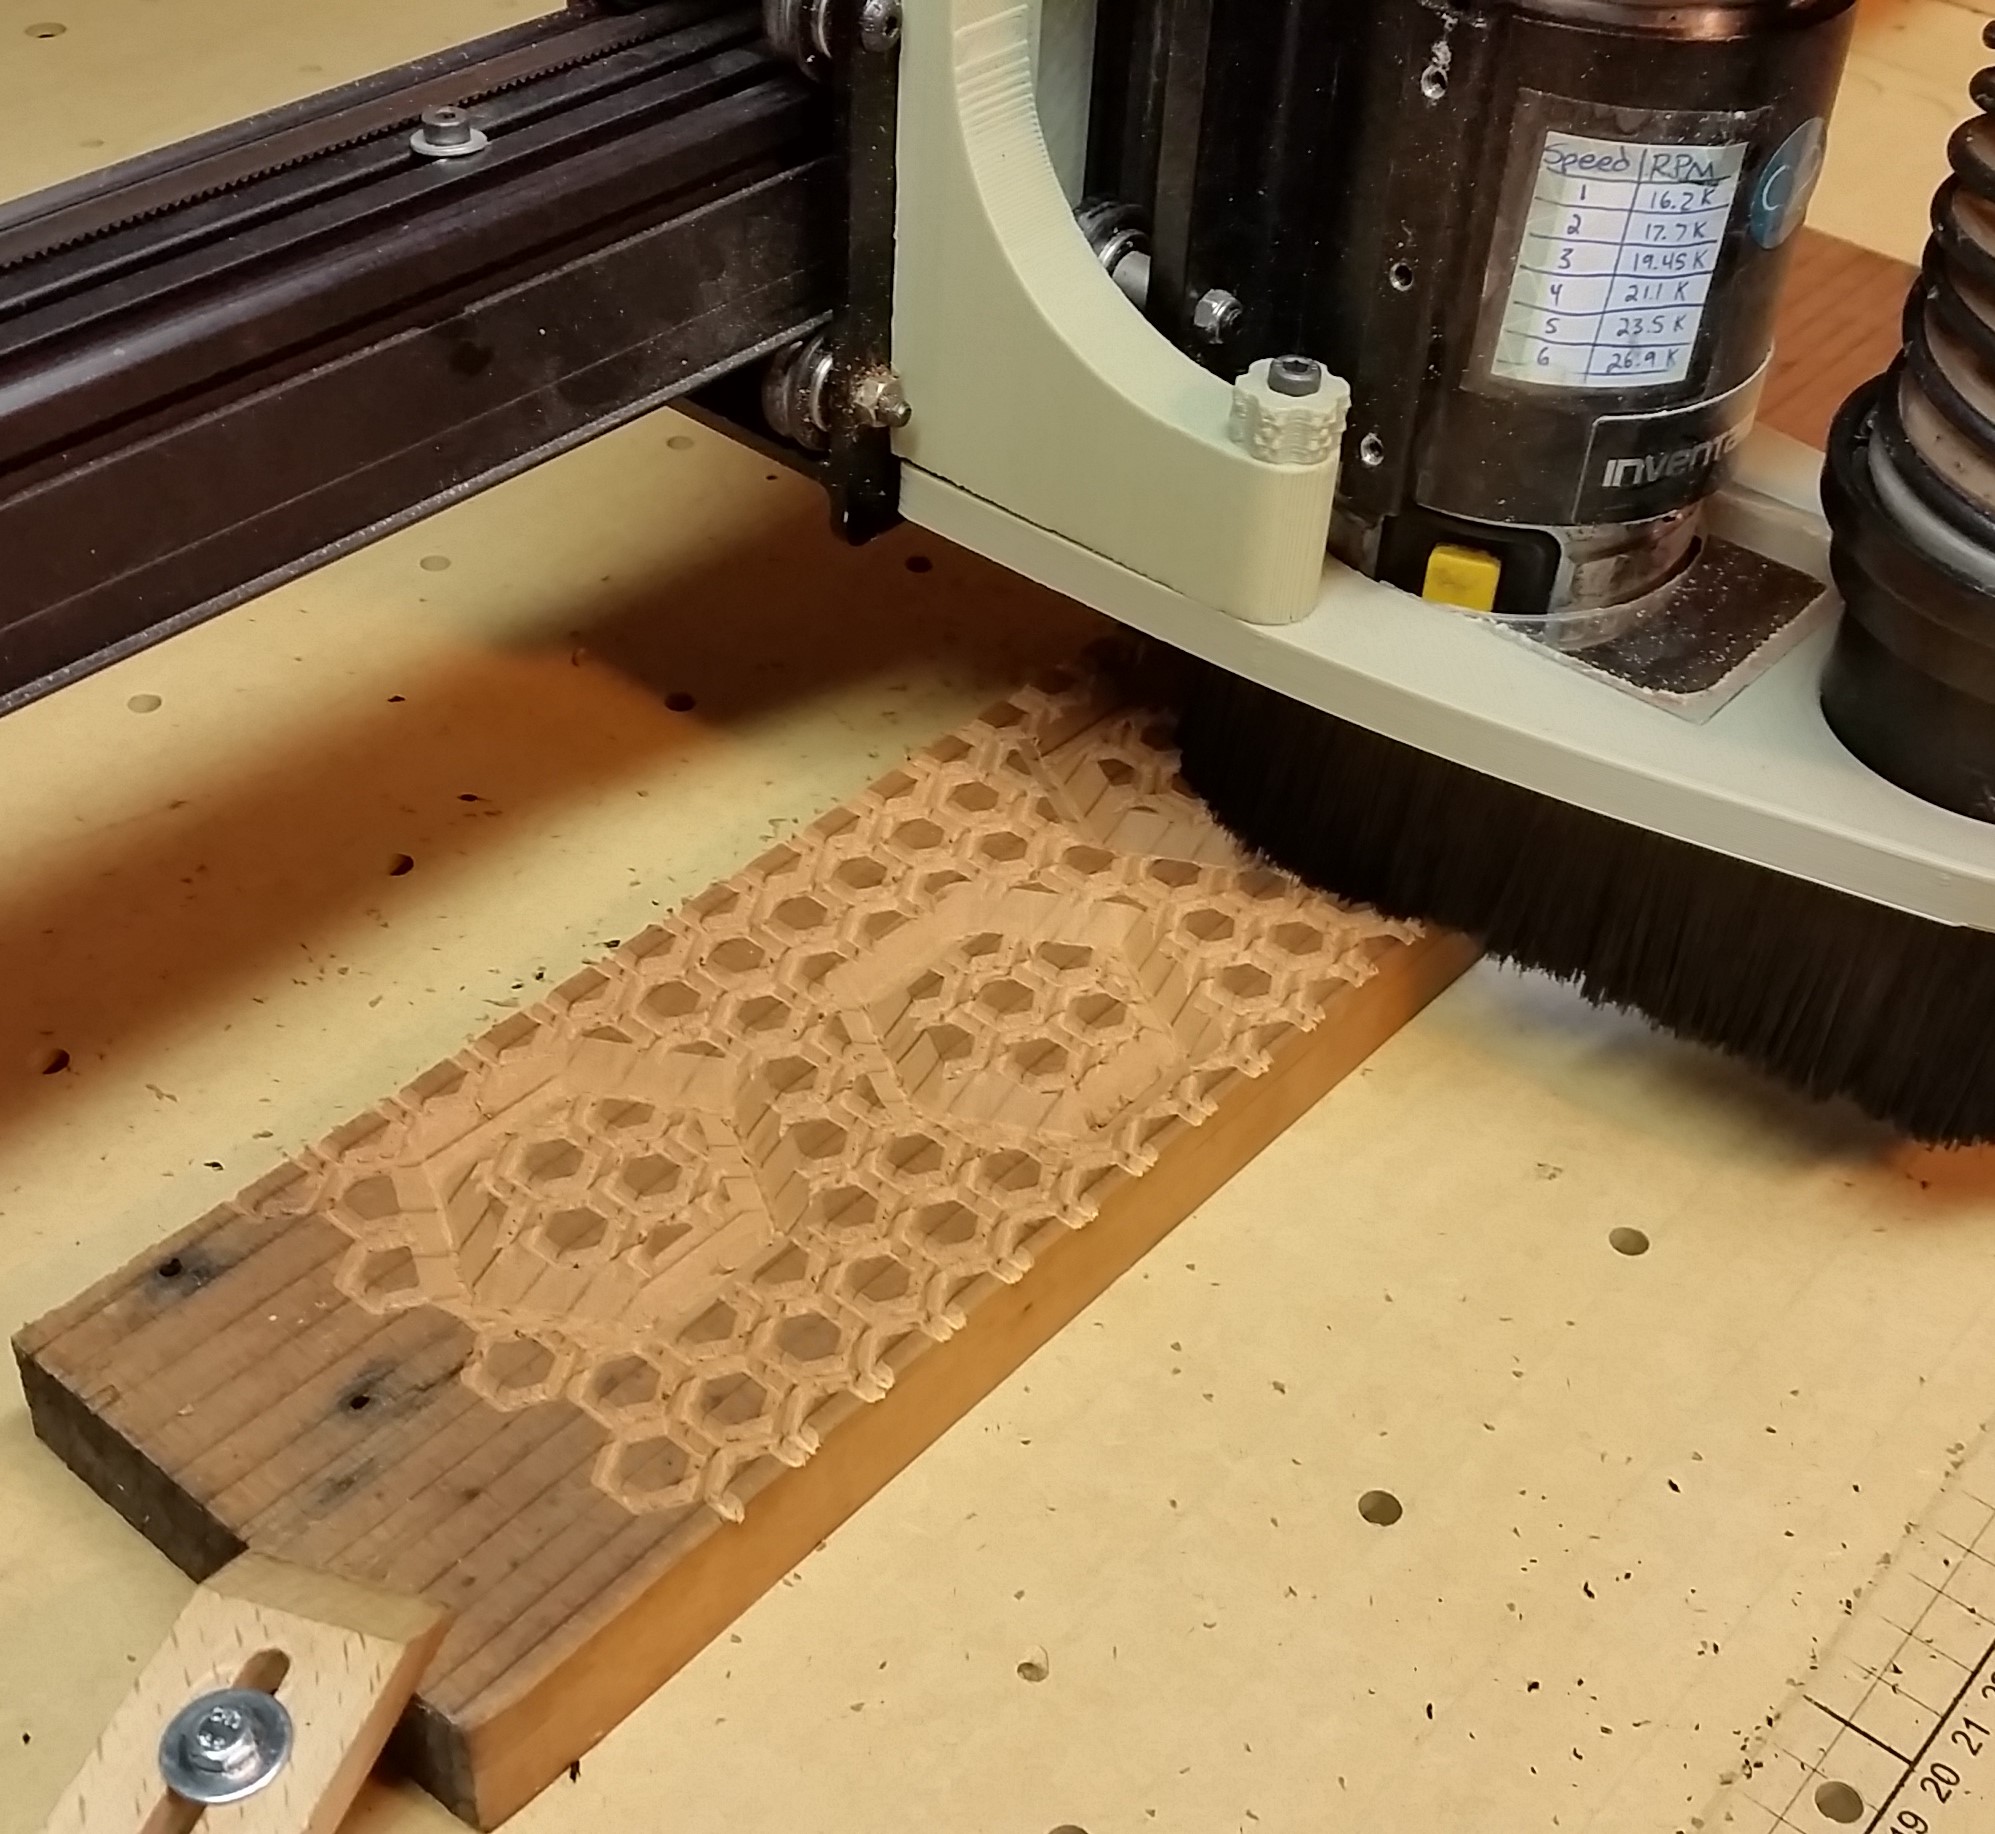
For the below cut, I used a 90 deg V-bit & and 1/4" 2-flute upcut endmill. I had my DeWalt 611 set to speed “2” the entire time.
I also used more aggressive cut settings than Easel’s defaults since redwood is so soft: If you have any concern, for each of the Easel “Workpieces” you’ll open in the below steps, you can change the “Cut Settings” from “Custom” back to “Recommended”, and go from there.
5 minutes
Load the Easel project, and select the ‘vbit main’ Workpiece from the bottom of Easel.
Home and start this cut, should only take a few minutes. Upon completion you should have the border of each major votive holder cut out.

5 minutes
Select the ‘vbit detail’ Workpiece from the bottom of Easel.
When you go to cut this, choose the “last home position” option. The cut should only take a few minutes.
8 minutes
For this step, you need to swap bits: This is the technique I use in Easel:
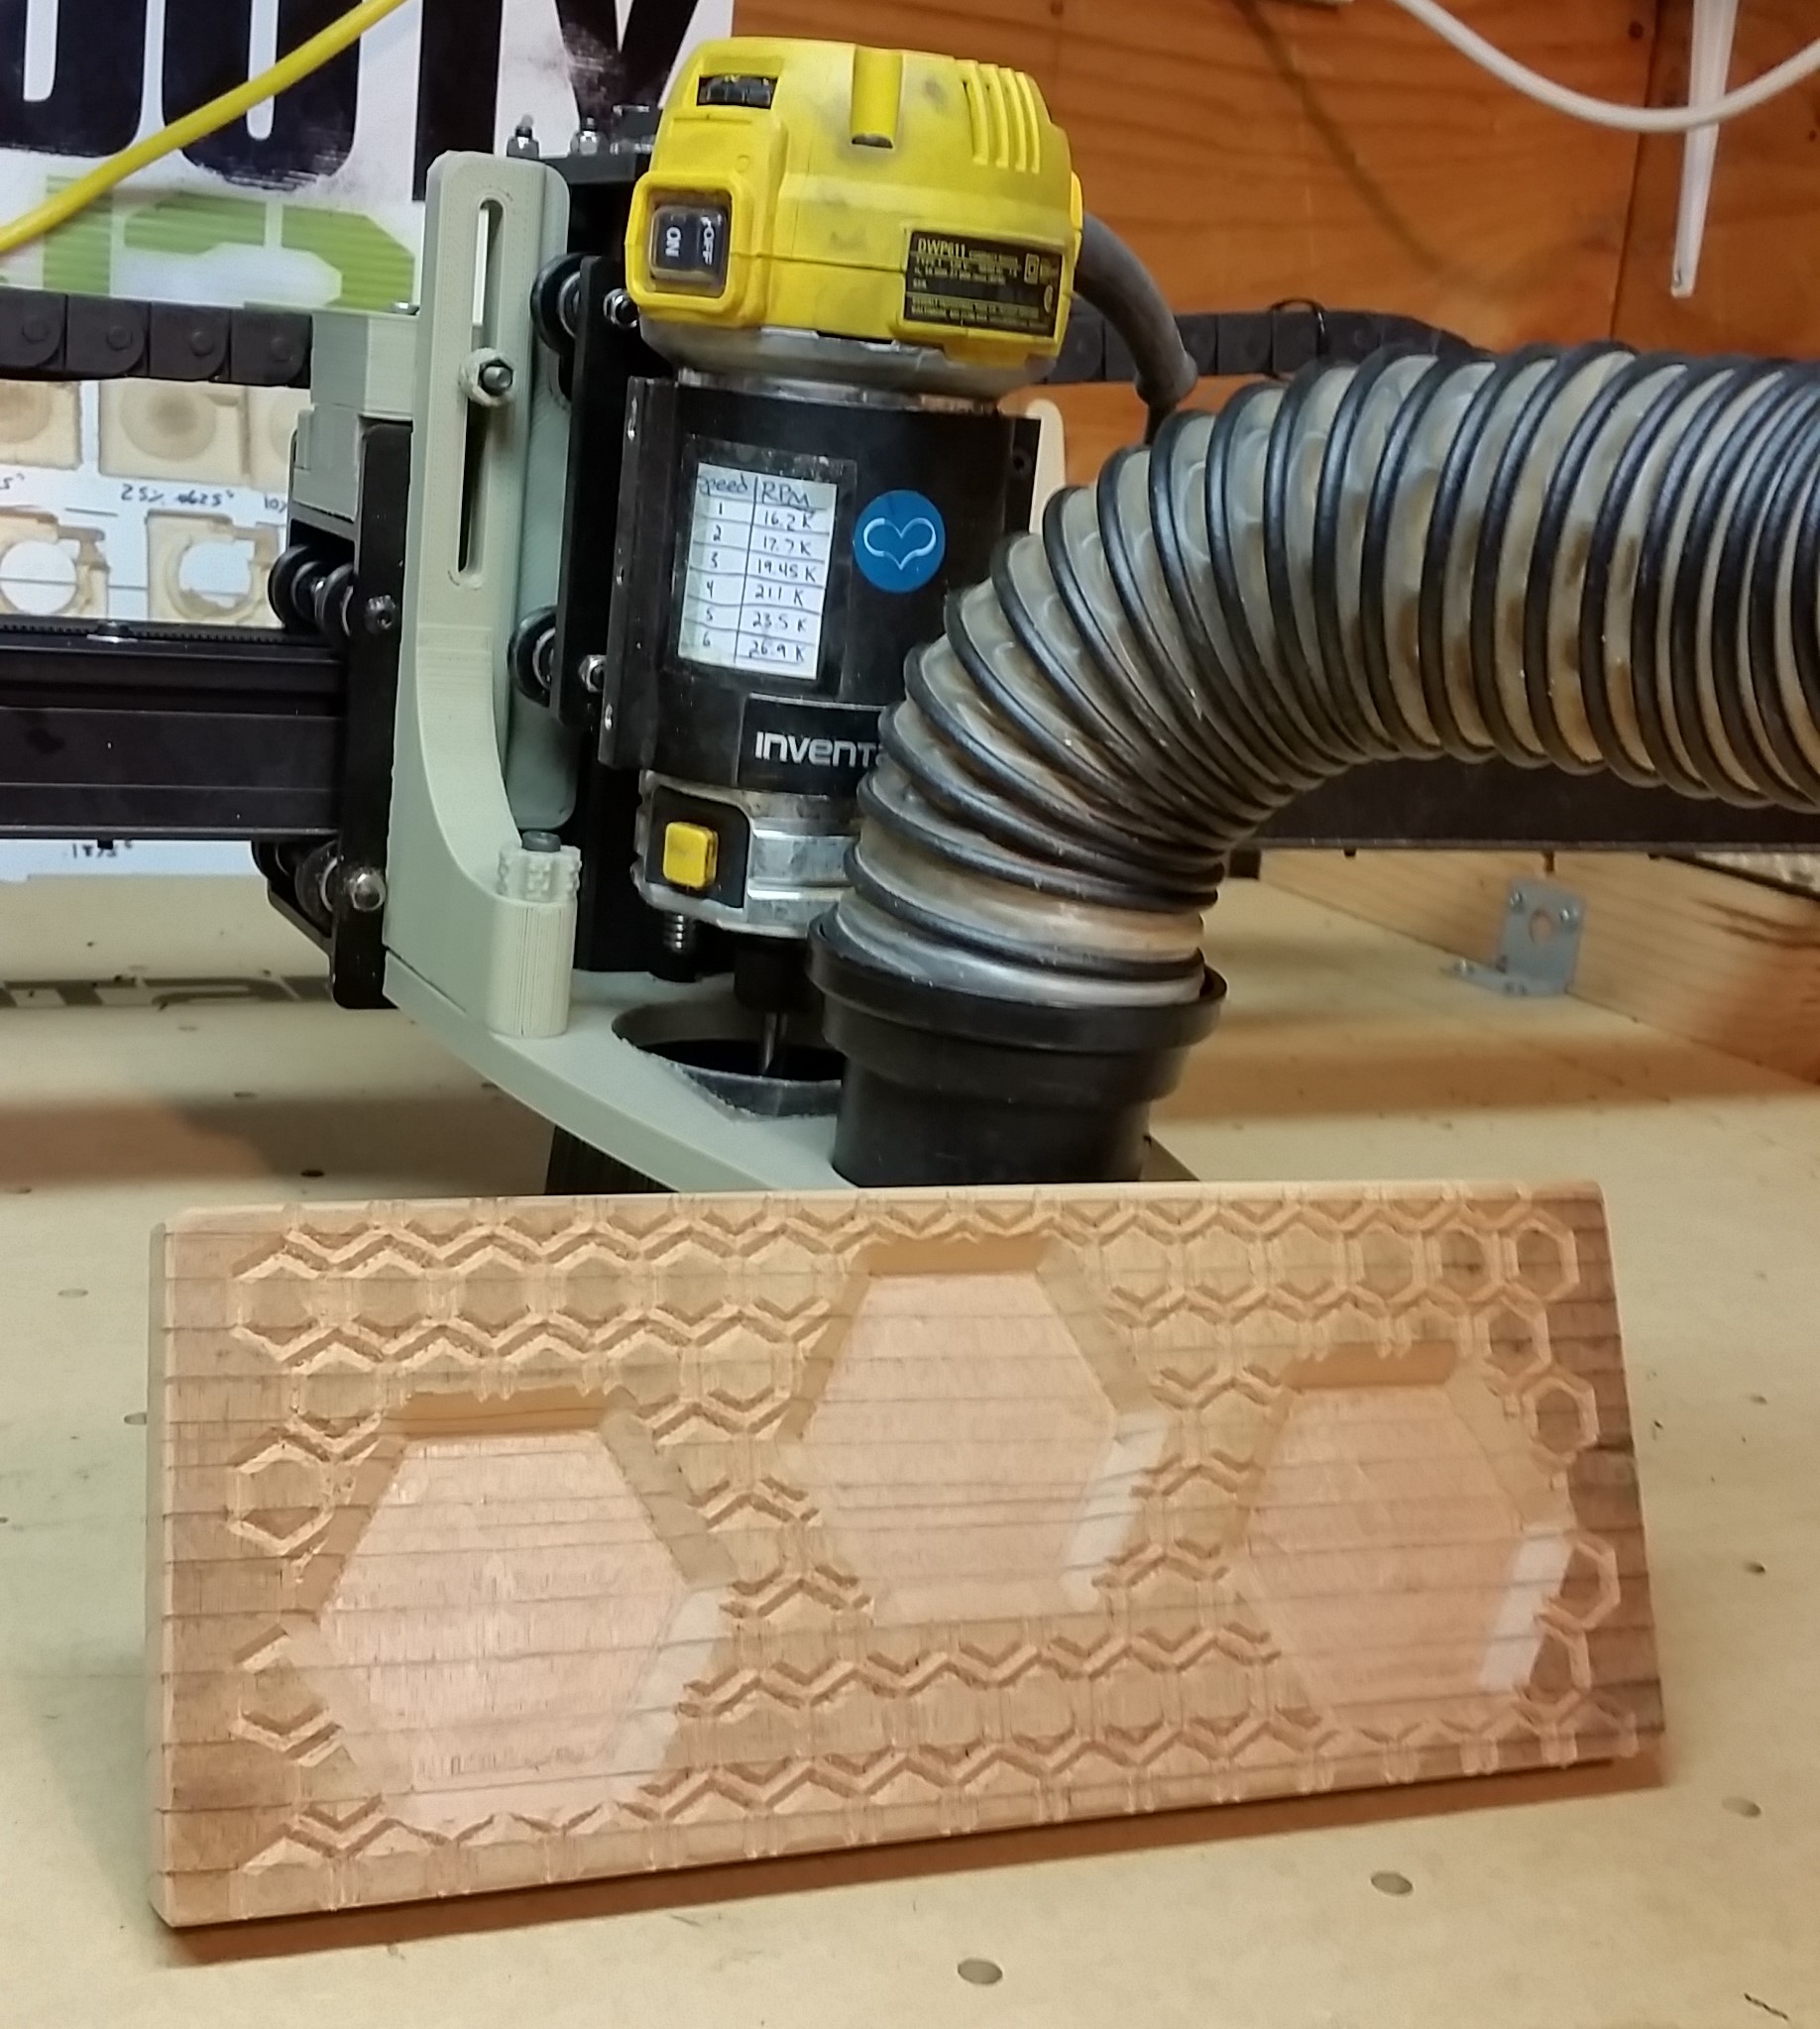
You can now select the ‘Endmill’ Workpiece from the bottom of Easel, and start that cut, using your new home position. It should only take a few minutes to cut the pockets.

15 minutes
You can now remove the piece from the wasteboard: I trimmed off the ends with my table-saw, and liberally sanded all sides with some 200 grit. From there, I applied some “Natural” Minwax stain to make the redwood grain pop, and let it sit out for a few days to get rid of the smell.
1 minute
CAUTION: When using this candle-holder, only use self-contained votives that come in the little metal tins: Do not use candles similar to my example photo (I was simply out of votives at the time) that have no metal protection : You do not want a candle to burn all the way down, and ignite your nice, stained, wood, candle-holder, and everything else around it! Use caution around fire at all times!

Praveen
Praveen
Eric Pavey
Patricia Barnard
Eric Pavey
robert A carlson
Eric Pavey