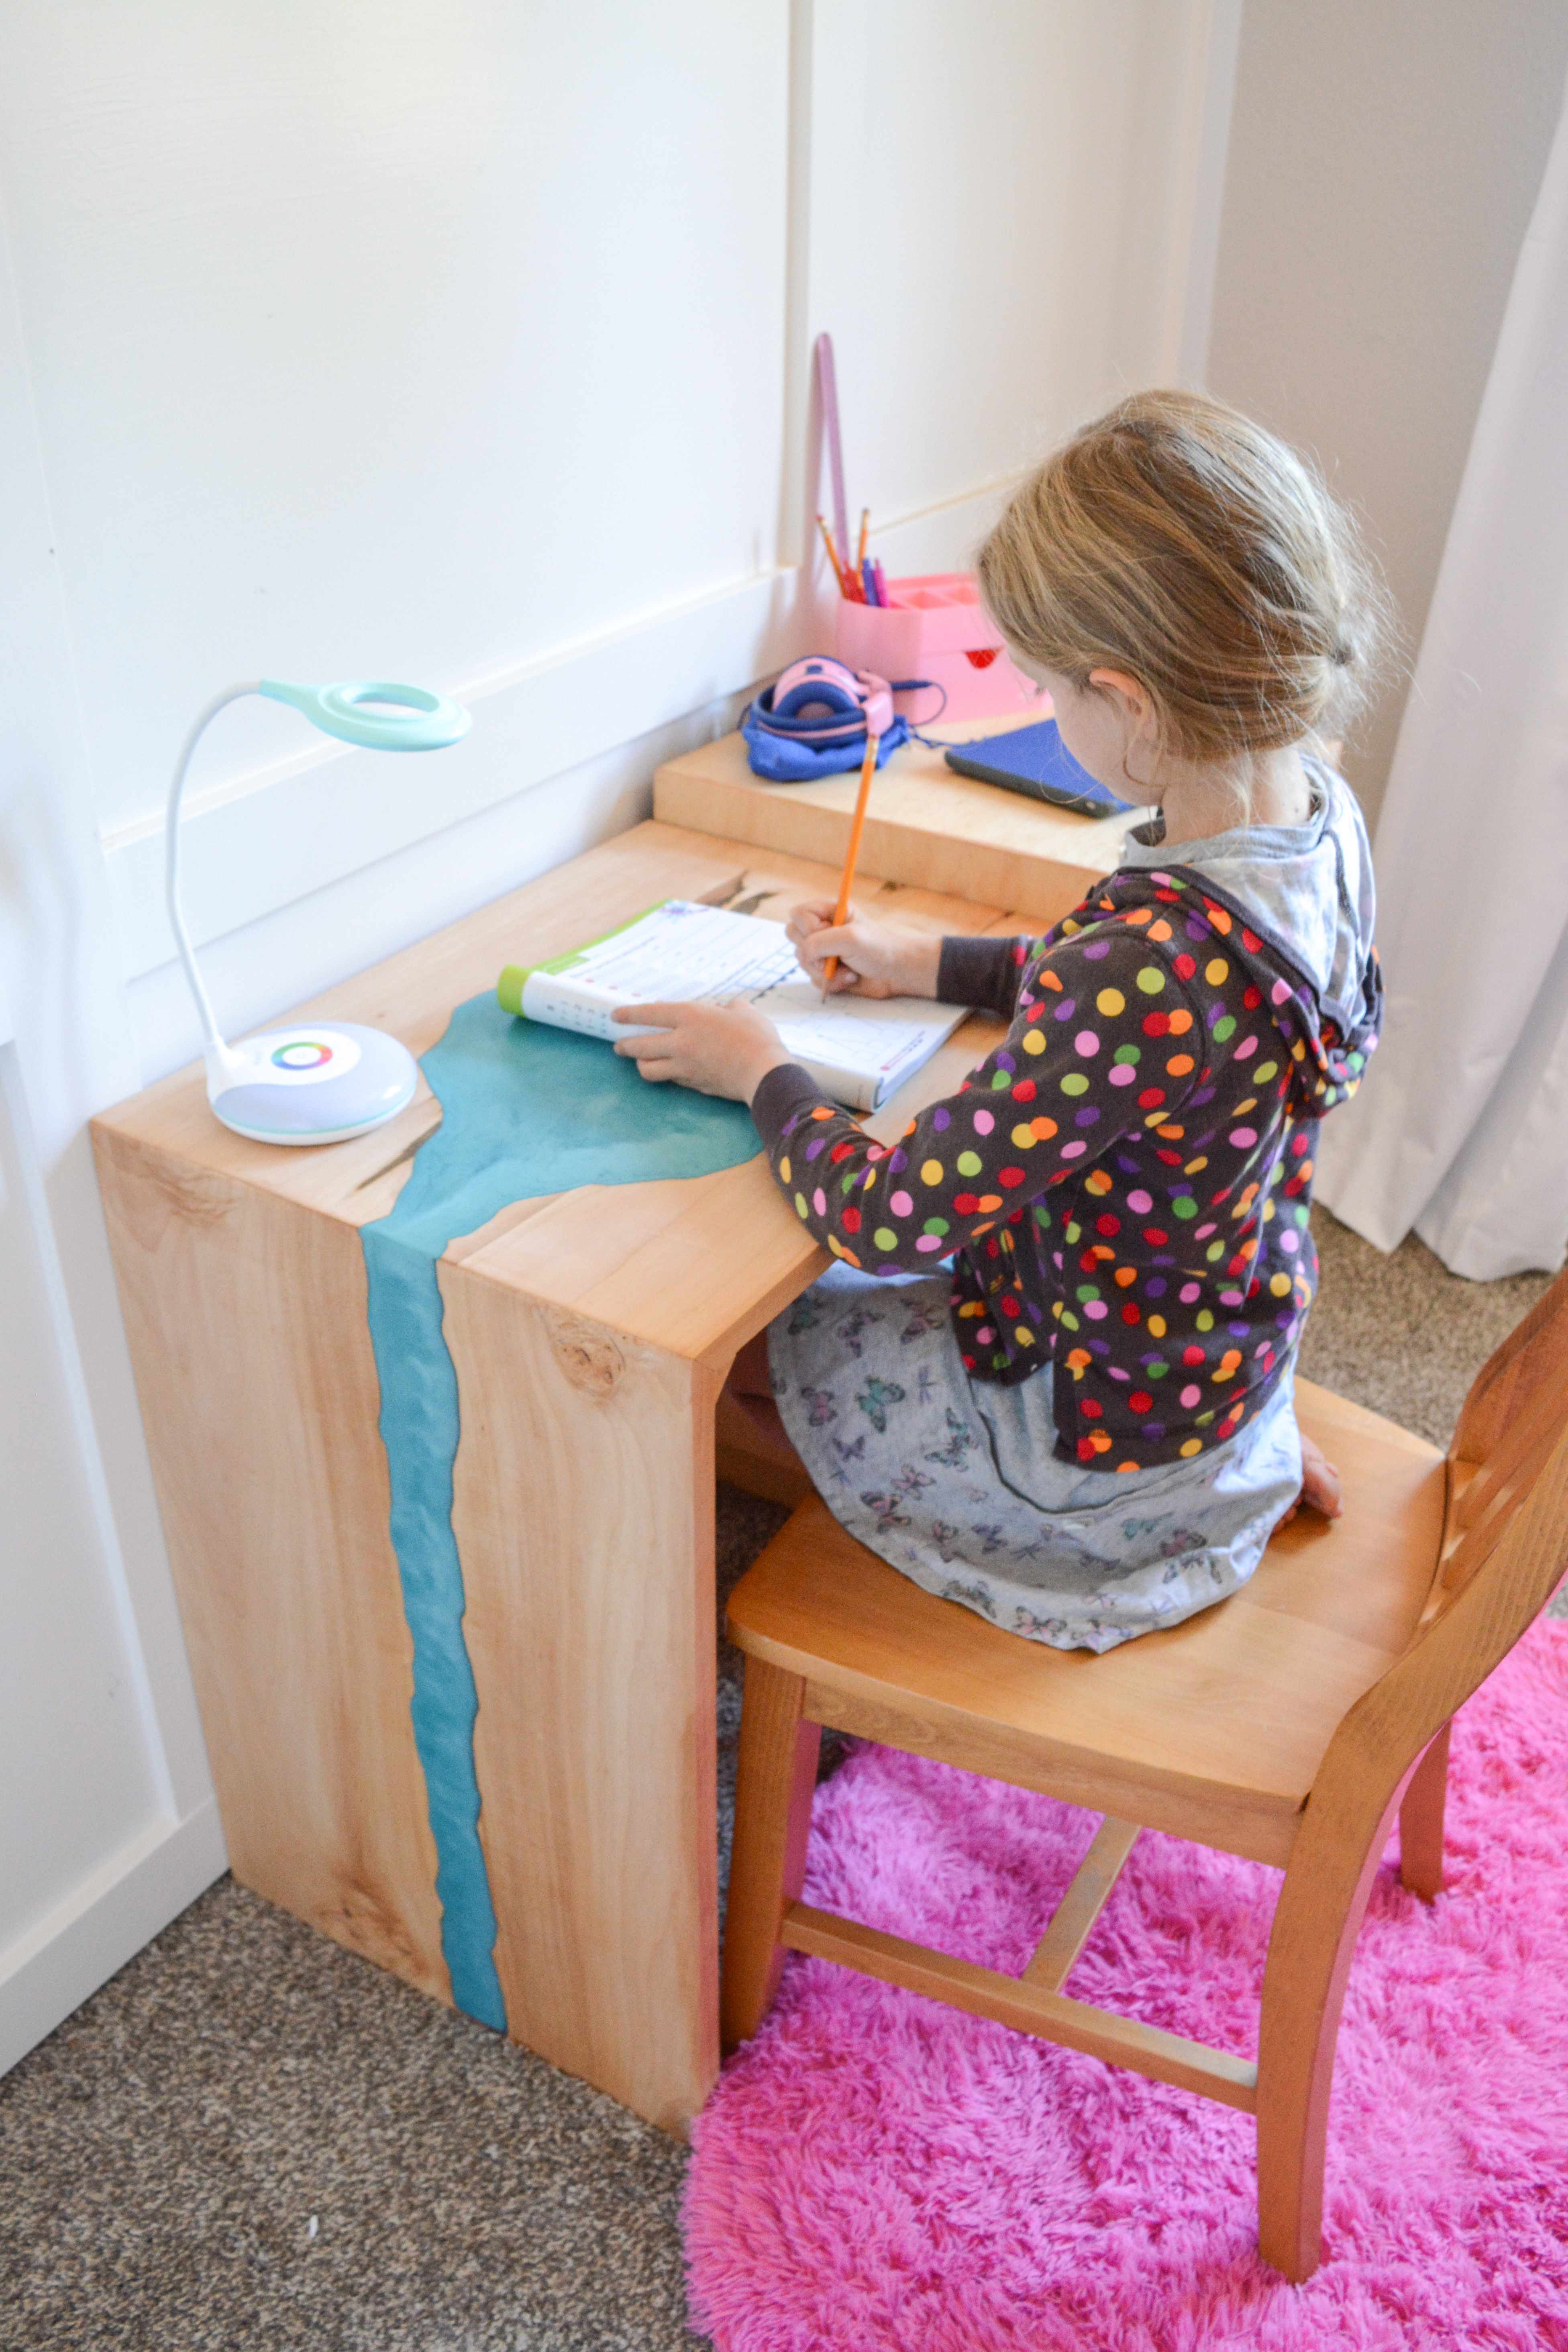
Build your kids a desk that is both functional and fun. The Sunriver Desk is a nature inspired way to keep your kids engaged and organized.
For more detailed instructions check out https://thecreatedhome.com/sunriver-desk-free-plan/
60 minutes
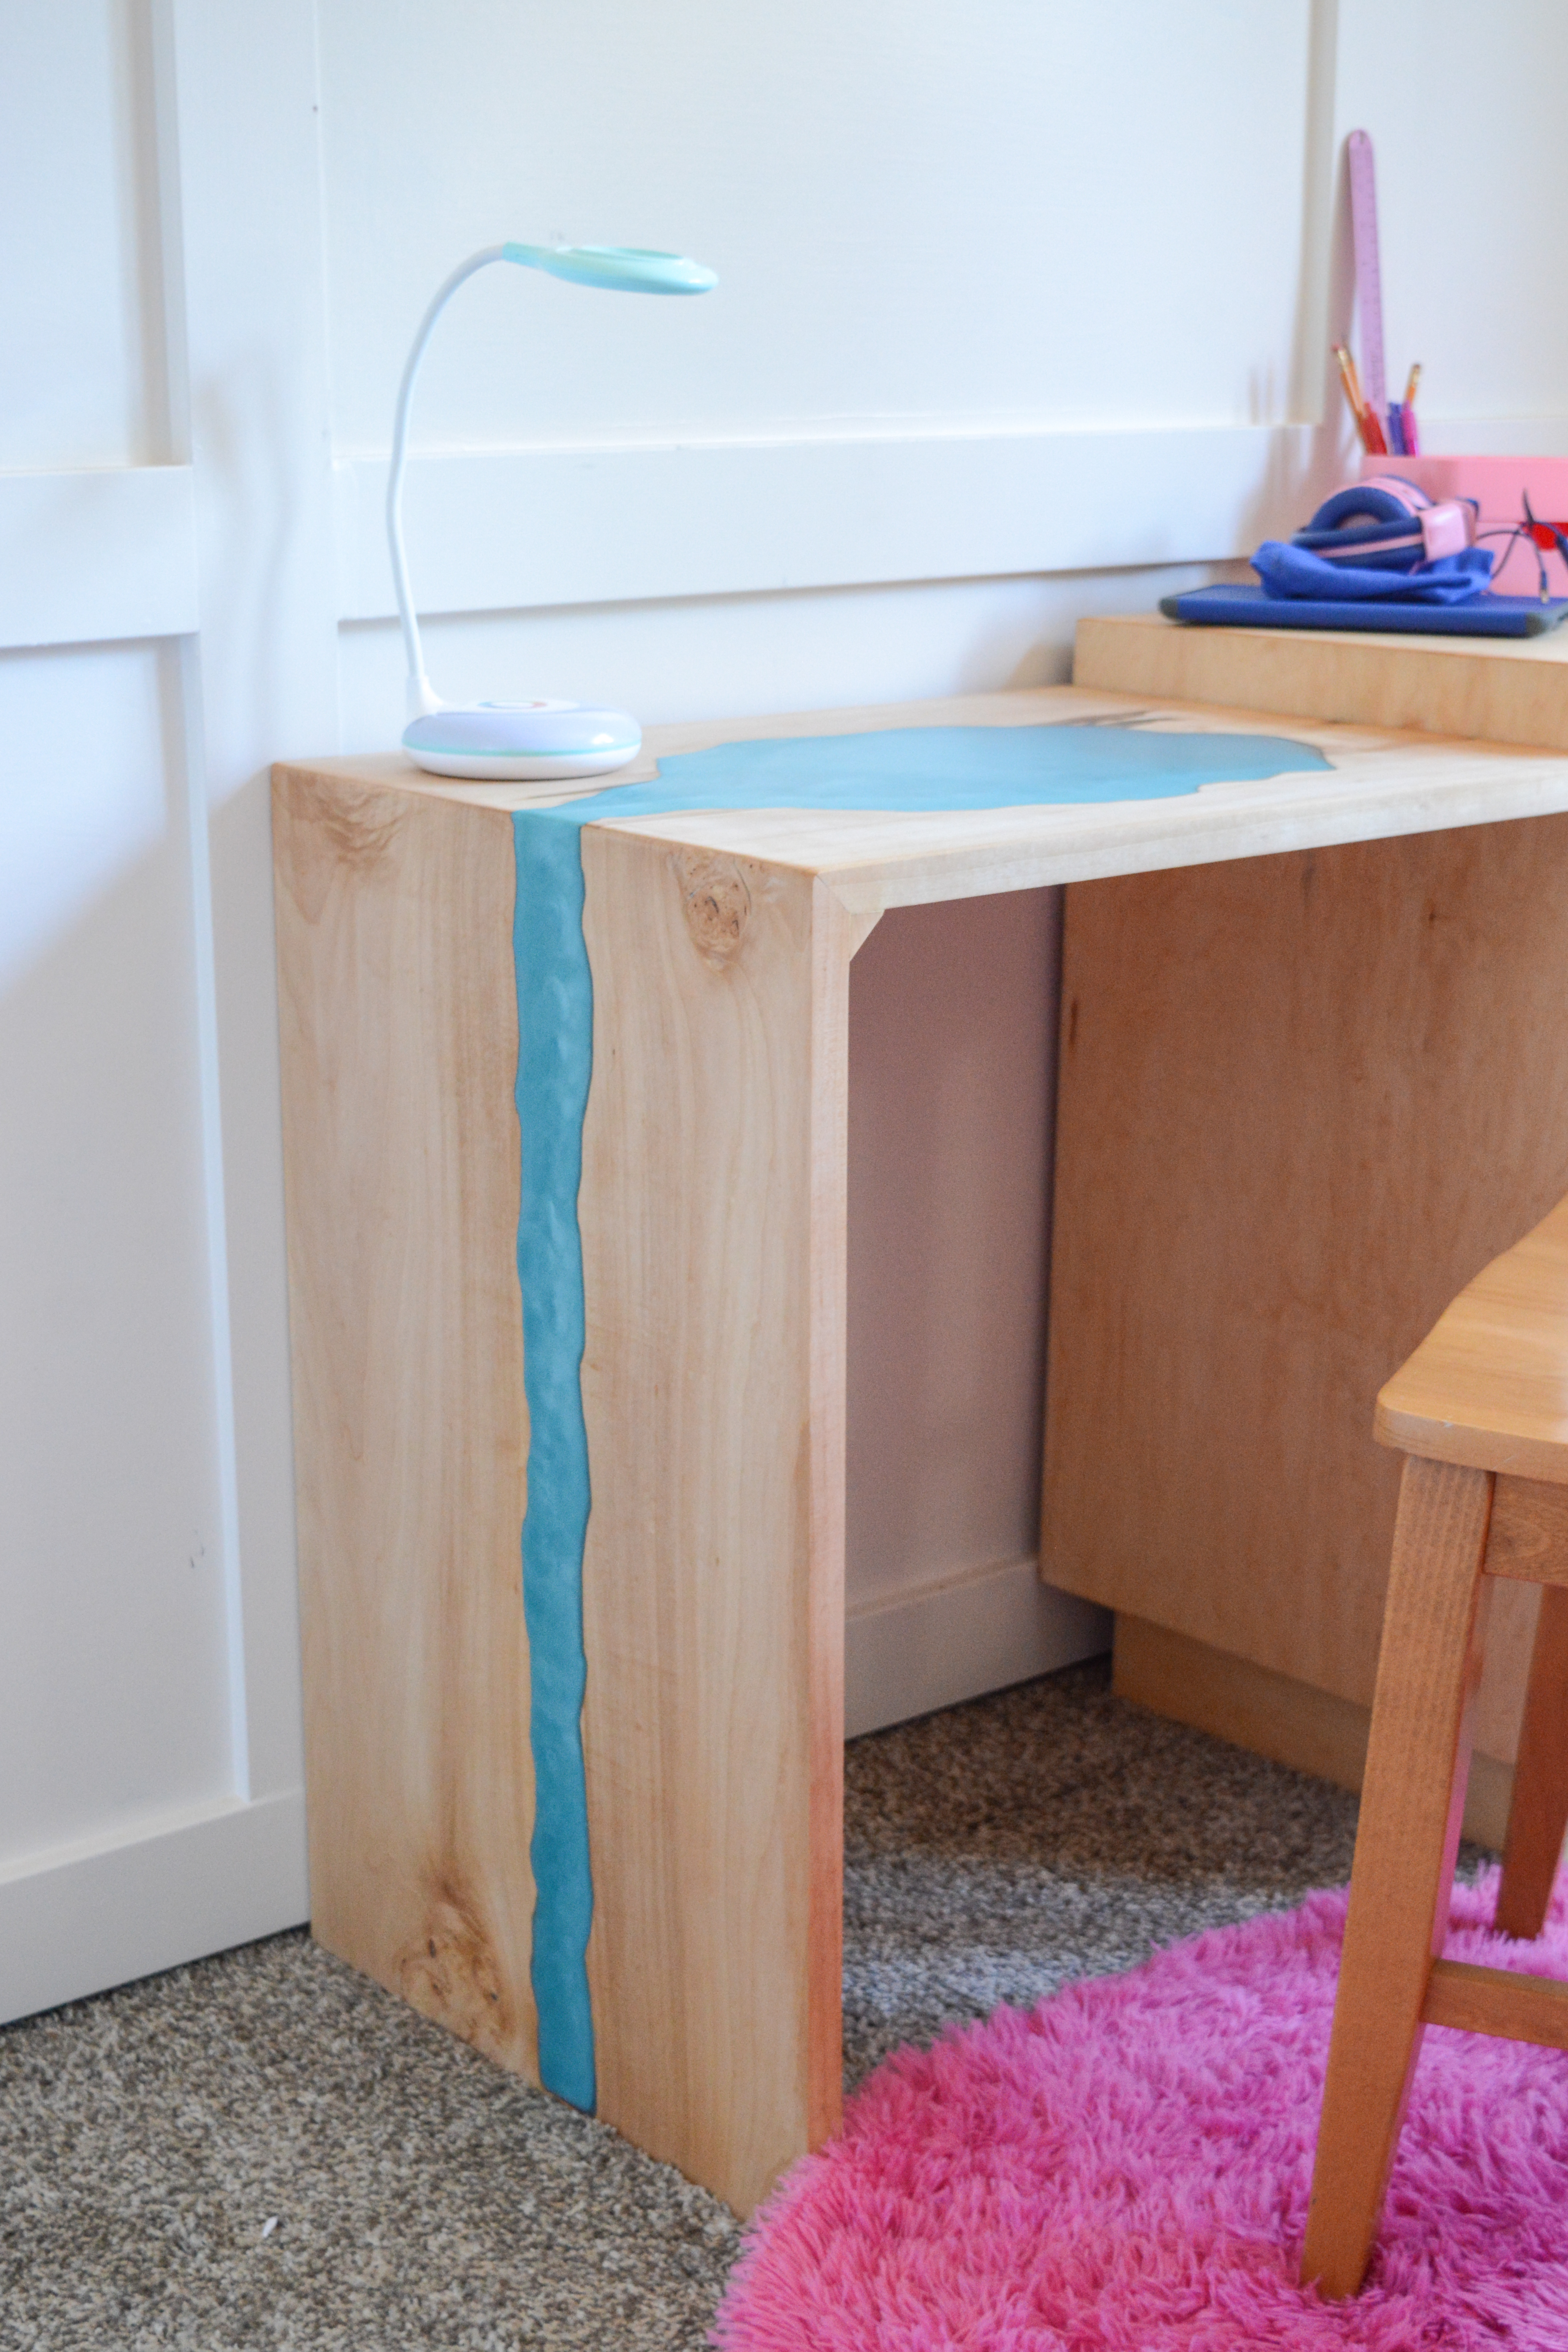
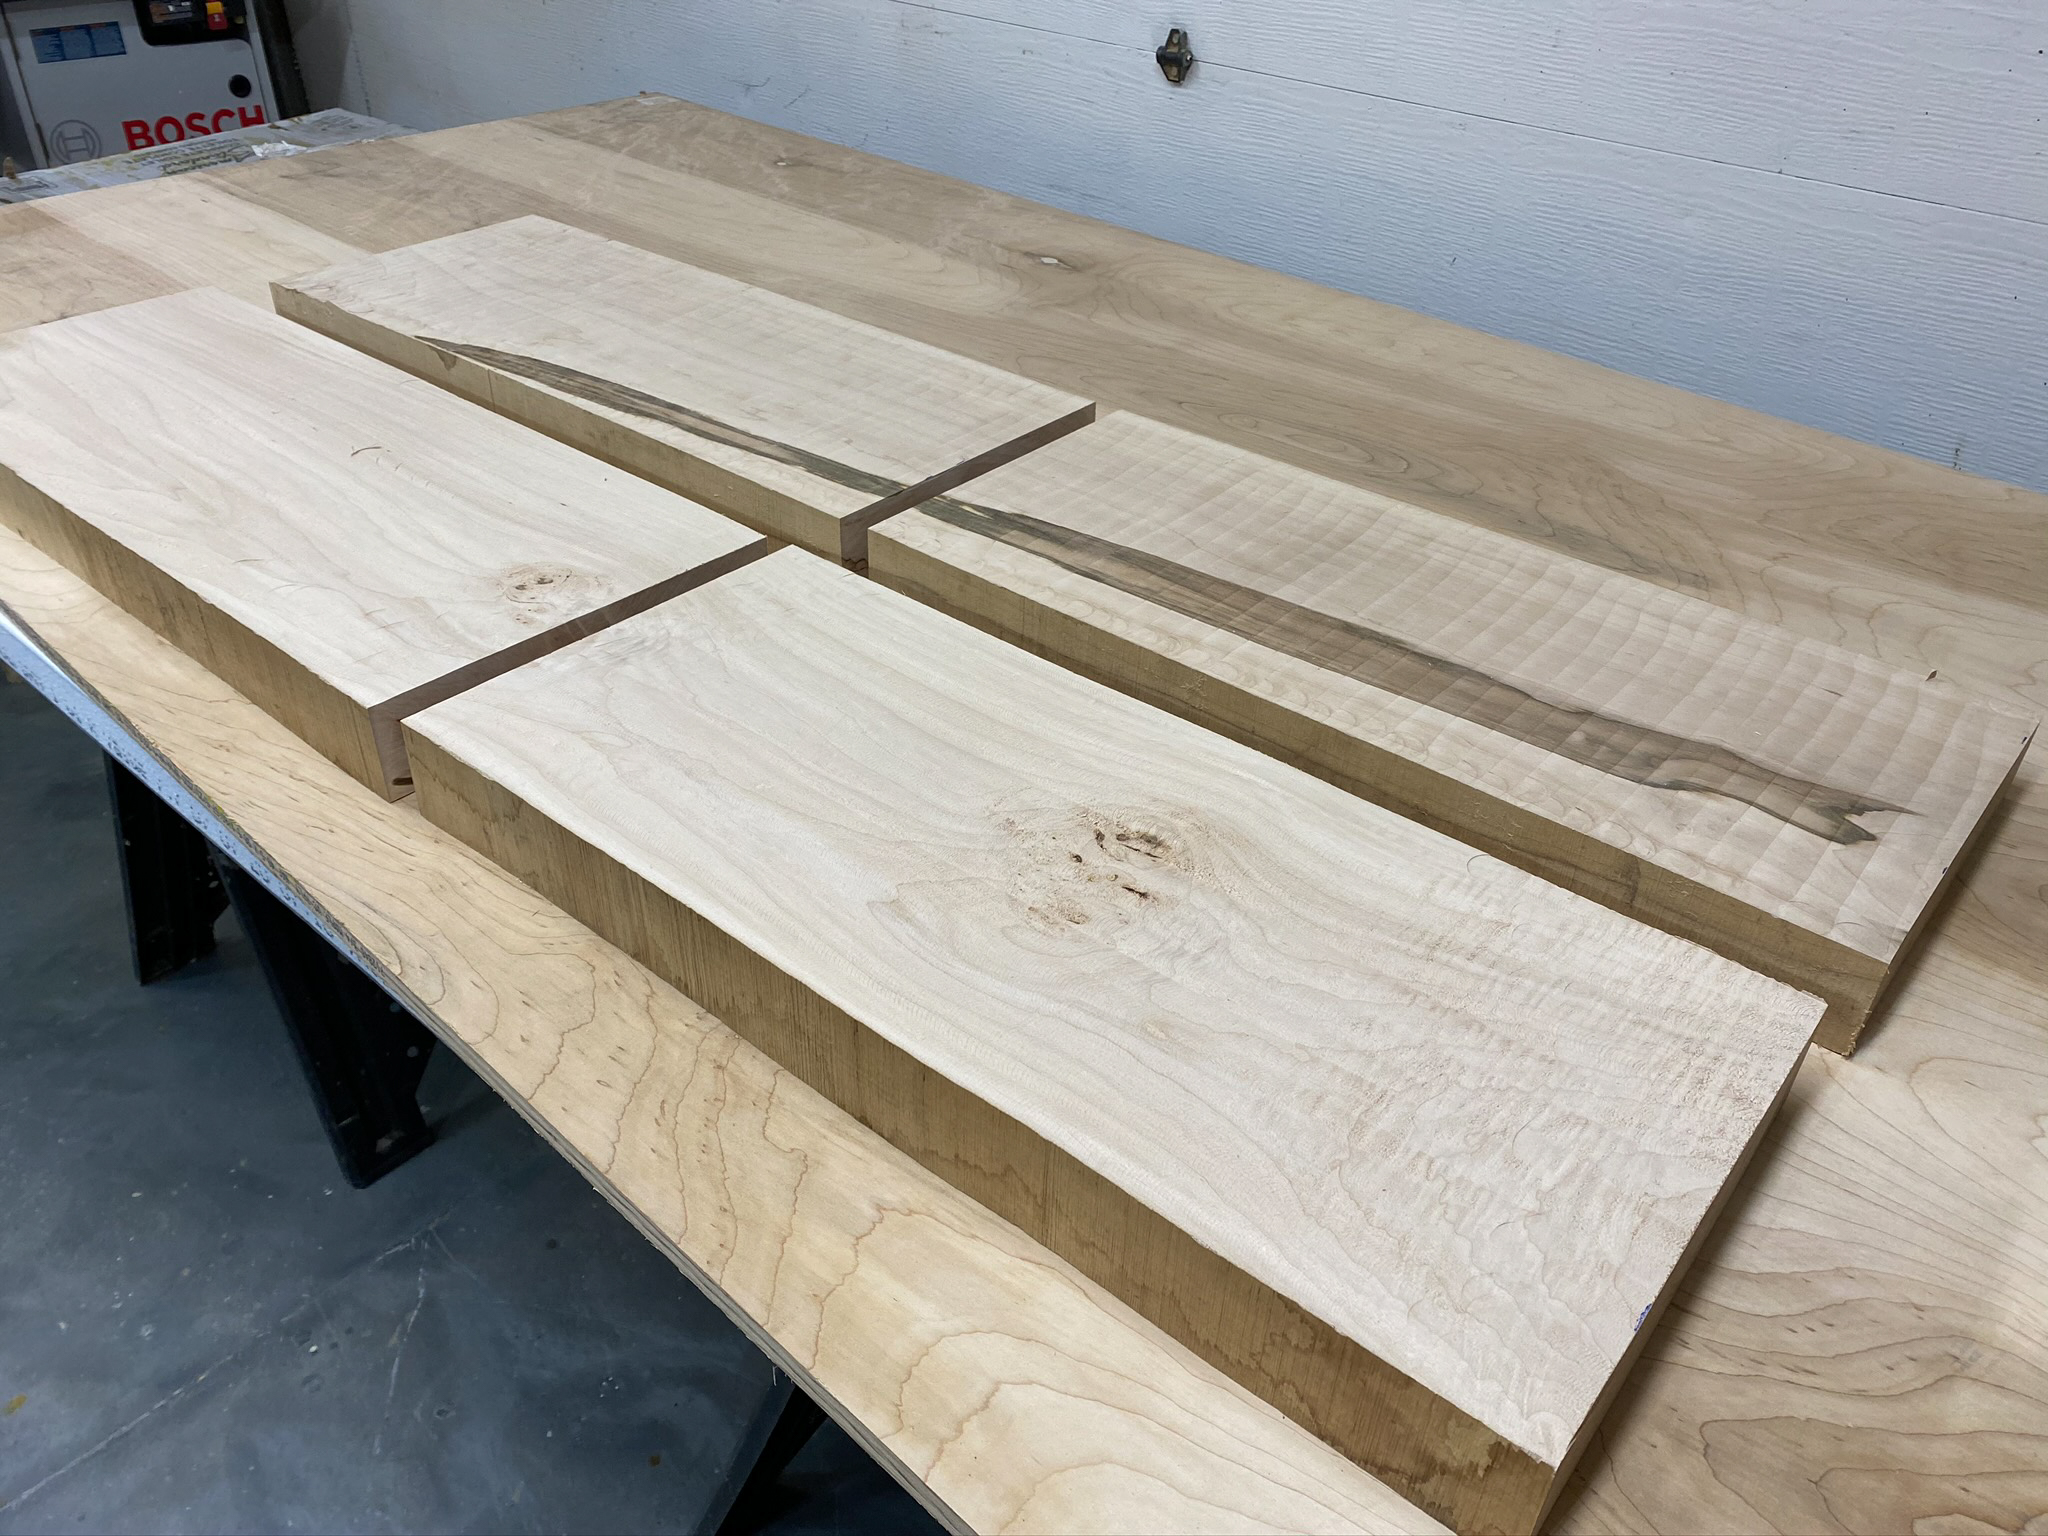
Glue up wood panels for carving. The waterfall side panel should be 18" wide by 28" long, with the grain running vertically.
The top “lake” panel should be 18" wide by 26" long. The grain should run along the length.
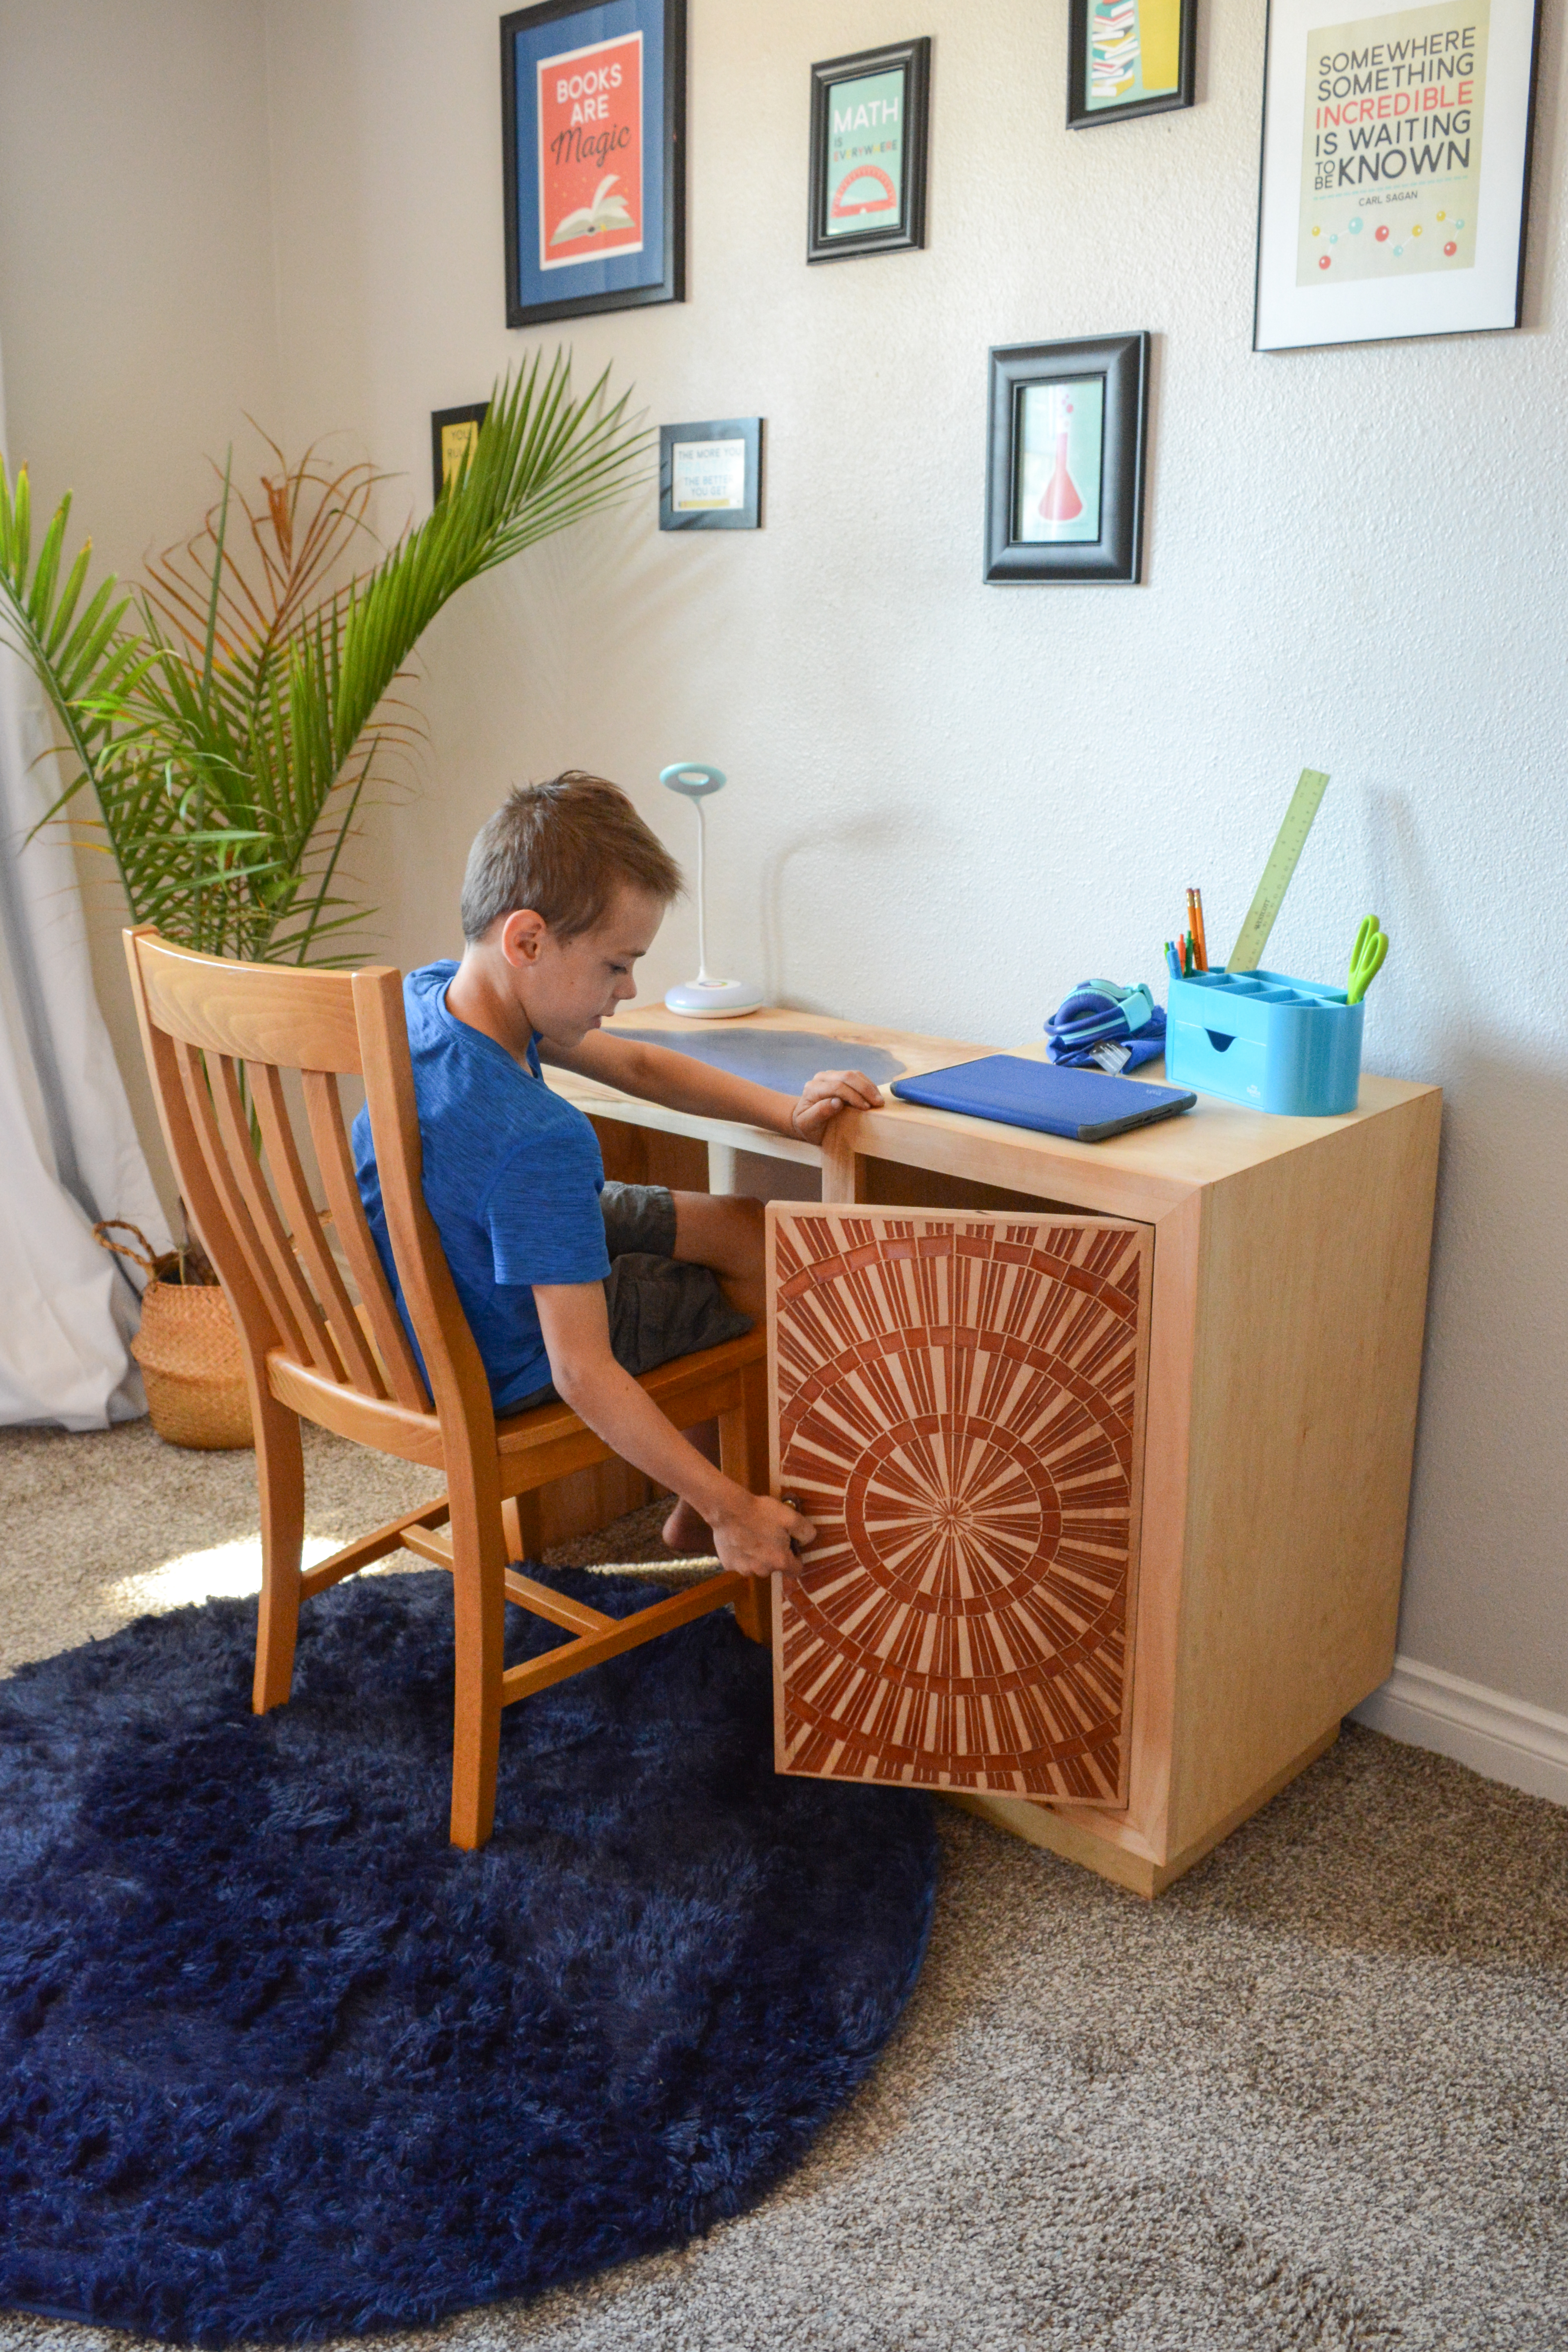
The sunburst door panel should be 14×23 1/2".
TIP: Cut the panels oversize all around by just a bit to create a natural dam for the epoxy pour and to make sure the panels line up easily.

1 minute
There are three separate carves in two files. They are set up as separate workpieces in the same Easel file.
-The waterfall requires just under 2 hours to clear with a 5/8” bit, plus just over an hour for the detail 60 degree bit
-The lake takes about 4 1/2" hours to clear with a 1” bit, and just under another hour to carve with the 60 degree detail bit
-The sunburst motif takes a little over 3 hours to carve with a 1/8” roughing bit, and about 5 hours to complete with the detail bit. Don’t skip the detail on this one.
Note: If planning to fill with epoxy change the file to the second workpiece at the bottom of the Easel file. That carve will take about the same amount of time, only shaving off a few minutes.


Construct the cabinet for the sunriver desk while the files carve. The cabinet is formed from 2 side panels that are 30" long and 17" wide, and a top and bottom at 14" long and 17" wide. Mitered corners are best for hiding the plywood edges.
The face frame pieces should be cut from hardwood and measure 1 1/2" wide and 30" long for the sides, and 1 1/2" long and 14" long for the top and bottom. This is for mitered corners. Adjust as necessary for butt joints. Glue the frame, reinforcing with pocket holes if desired, and then glue and clamp to the cabinet.
Cut two plywood pieces at 3 1/2" wide by 14" long, and two at 3 1/2" wide by 15" long for the toe kick. Miter the corners together and glue to the bottom of the cab, insetting from the edges by 1 1/2".


60 minutes
With the carves finished, prepare to epoxy fill the pieces. This is optional, of course. The carve is designed so that if you pour the epoxy clear enough the steps will show. I didn’t practice enough before giving this a go for the first time, and made mine a bit too opaque.
I used just shy of a gallon of epoxy to fill enough to do two desks, so hypothetically one desk will use 2 quarts of epoxy, plus hardener.
If you left the pieces a bit oversize there will be no need to set up a dam. You can pour the epoxy right away with little set up.
Personally, I also decided to go ahead and fill the sunburst pattern with epoxy at this point, as well. My original intention was to leave it as was, but the design was a little different than what I originally envisioned, and the copper pigment was so pretty….so I went for it. I actually love how it looks with epoxy.


60 minutes
After a good 24 hours of cure time cut the panels to size. Cut the top of the waterfall panel and the side of the lake panel at 45 degrees so they join up. Sand both boards, and the door panel with smoother grit sandpapers. Courser grits will scratch the epoxy. I sanded the maple I used up to 320.
Glue the two mitered panels. Reinforce with a small piece of wood in the joint, if desired. I used the cut off triangular piece left from cutting the miters off in step 7.
Attach to the cabinet with a small cleat. At its most simple you can glue and screw a piece of wood to the cabinet at the height of the desk portion, then screw up through that cleat into the desk. The desk portion can be attached on either the right or left side of the cabinet.