
Cristiana Felgueiras
Portugal
Making a good presentation of your work and creating a good branding is one of the most important things you can do to improve success of your good quality work. So, let’s get started in making a logo light box!
Take a look on the quick video first to get a better idea of how the whole thing will work!
I used 3/4" (19mm) MDF for the box frame and 1/8" (3mm) MDF sheet for the front panel with the carved letters as also for the backer board.
Other than that, I used 1/8" (3mm) while opaline acrylic sheet (translucent), aluminium tape, a little bit of epoxy glue, an LED strip (I used just a bit over 13 feet (4m) with a power supply, some electrical wire, basic soldering equipment and also a switch (optional).
First of all, we need to send our vectorial logo file to the X-Carve while we cut our MDF in strips to make the frame. This will save some time by working as a team!
My logo final size is 21″ × 21″ × 2″ (55 × 55 × 5,3 cm) which means that I cut the strips about 2" wide. I went with glued miter joints and screws for reinforcement but you can use any other type of joint that you feel comfortable making.
I also made two rabbets with a rabbeting router bit on both sides: one for the backer board and one for the acrylic sheet.


After the carving is finished, you will want to carefully remove the letters and keep the interior parts of letters like R, A, D so you can later glue them in the right place during final assembly.
I spray painted the frame and the logo parts with black paint but I recommend you to prime the surface first to get the best looking result.
At this point, if you decide to install a switch like I did (optional), it’s a good idea to prepare the frame to receive it and chisel up a perfectly sized hole for it to fit later.
It’s time to enclose the acrylic sheet in the rabbet and glue the black border of the logo in place. Clamp it properly all the way around.
Because my border MDF piece of the logo was a bit bigger than it was supposed to be, I flush trimmed the excess all around with a router. This means I needed to fill that thin edge all around with black paint.
I covered the acrylic with some paper and masking tape so that the paint won’t make a mess on the white surface.
We can now finally glue the rest of the logo in place with some strategic points of epoxy glue. Don’t forget about the interior pieces of the letters/design!


We are getting really close to see this beauty in action!
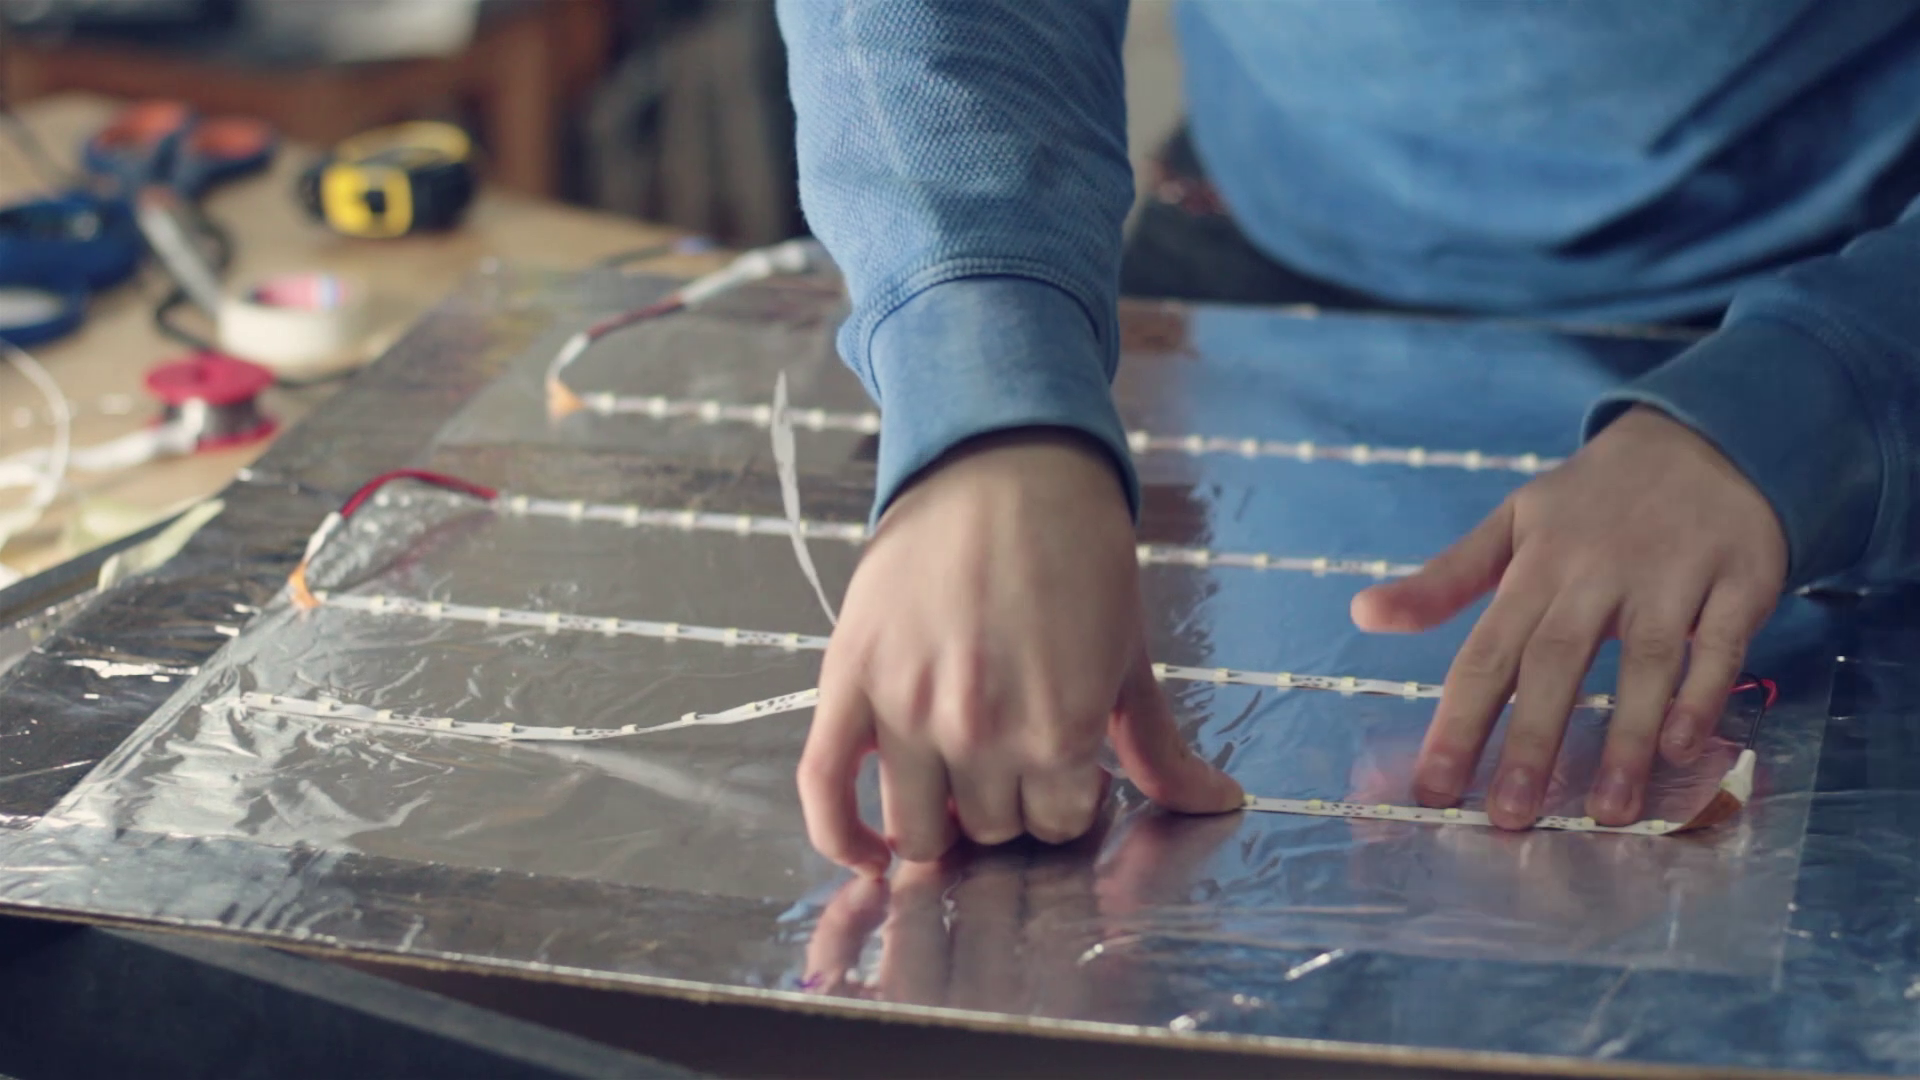
Next step is applying the LED strip all around on the inside as also on the backer board in zig-zag where you know the letters will be just so you end up with a nice consistent lighting and not getting parts less bright than others. You will need to make some simple soldering in order to get the switch working properly and also connect all the LED strip pieces.
Make sure it works before closing the box!
The only thing left to do is to apply some mounting hardware, hang it on the wall and turn it on!


David Brown