Steve Moseley
Waukee, USA
This project will show you how to make a serving tray with a lightning bolt pattern that simulates a Lichtenberg wood burning, but not taking chances using something like a microwave transformer.
5 minutes
For this project I will make a serving tray with a lightning bolt pattern that simulates a Lichtenberg wood burning, but will carve the pattern with a 60 degree v-carve bit instead of taking a chance using something like a microwave transformer and playing with electricity to create the pattern.
After carving with the 60 degree v-bit I will fill the lightning pattern with a colored epoxy, such as gold or blue metallic, to really accentuate the pattern. I think a lot of people would love to make something with this type of lichtenberg pattern, but would put themselves in danger trying to make the pattern with a high power electrical transformer. By carving the pattern using Easel software by Inventables, they will have more control over the pattern and be safer in the long run. I will include several lightning patterns for download for anyone interested in making a similar project.


10 minutes
SOFTWARE
Easel Pro Software by Inventables – Link
MATERIALS
Wood of your choice. I used padauk, bubinga, cherry, curly maple, osage orange, and walnut.
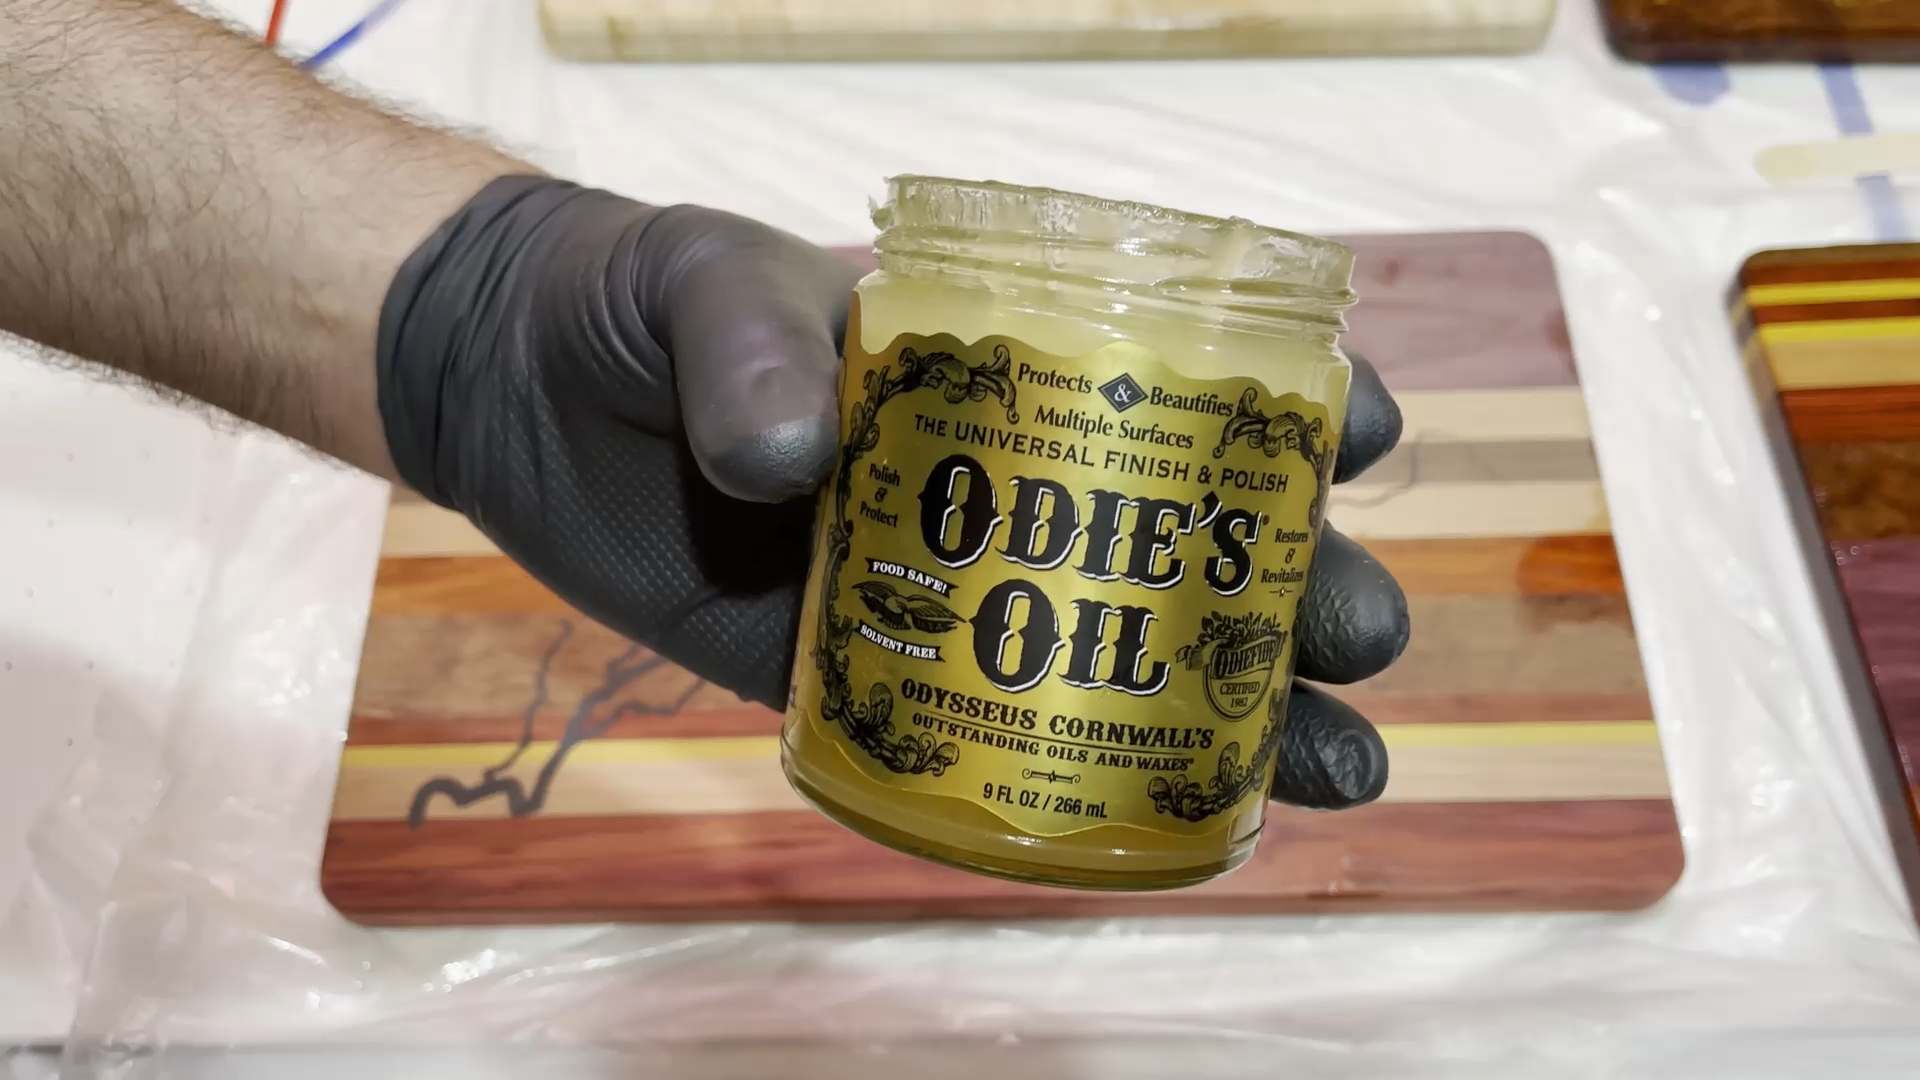
Odie’s Oil – Universal – 9oz Jar (A little goes a long way) – Link
Black Diamond Pigments
– Black Onyx – Link
3M Scotch-Brite Light Cleansing Pad Comparable to 0000 – Link
Titebond III Wood Glue – Link
7/8" Everbuilt Rubber Bumpers from Home Depot – Link
Various sand paper
TOOLS
The tools I used on the project were as follows:
X-Carve 1000mm CNC Machine by Inventables – Link
Router Bit – 60" V-Carve bit from Inventables – Link
Whiteside 45-Degree Chamfer Router – Link
Saw Stop table saw – Link
Grizzly 14" Band Saw
Ryobi Trim Router – Link
Random orbit sander
Shop vac
Tape Measures (my favorite two):
Fastcap PMS-16 Auto Lock ProCarpenter Tape Measure – Link
or FastCap PSSR16 16 ft Standard Reverse Measuring Tape – Link
NOTE: As an Amazon Associate I earn from qualifying purchases.
Other affiliate links may be used on this page, but do not affect pricing of the items.
NOTE: If you plan on using any tool for a project please make sure you are familiar with the tool and all of the dangers associated with it. If you are not familiar with a tool then you should ask someone who is to show you the proper way to use it. A lot of communities have classes at local colleges on the proper use of tools and machinery. There are also local woodworking clubs that offer classes at very reasonable rates for beginners. I highly recommend using these resources for your safety and for the most efficient use of the tool.
SAFETY FIRST
Always wear eye and hearing protection.
Always work safe with the proper safety equipment and guards on your tools.


120 minutes
Since these are the first cutting boards I have attempted, I decided to just make the boards as simple as possible.
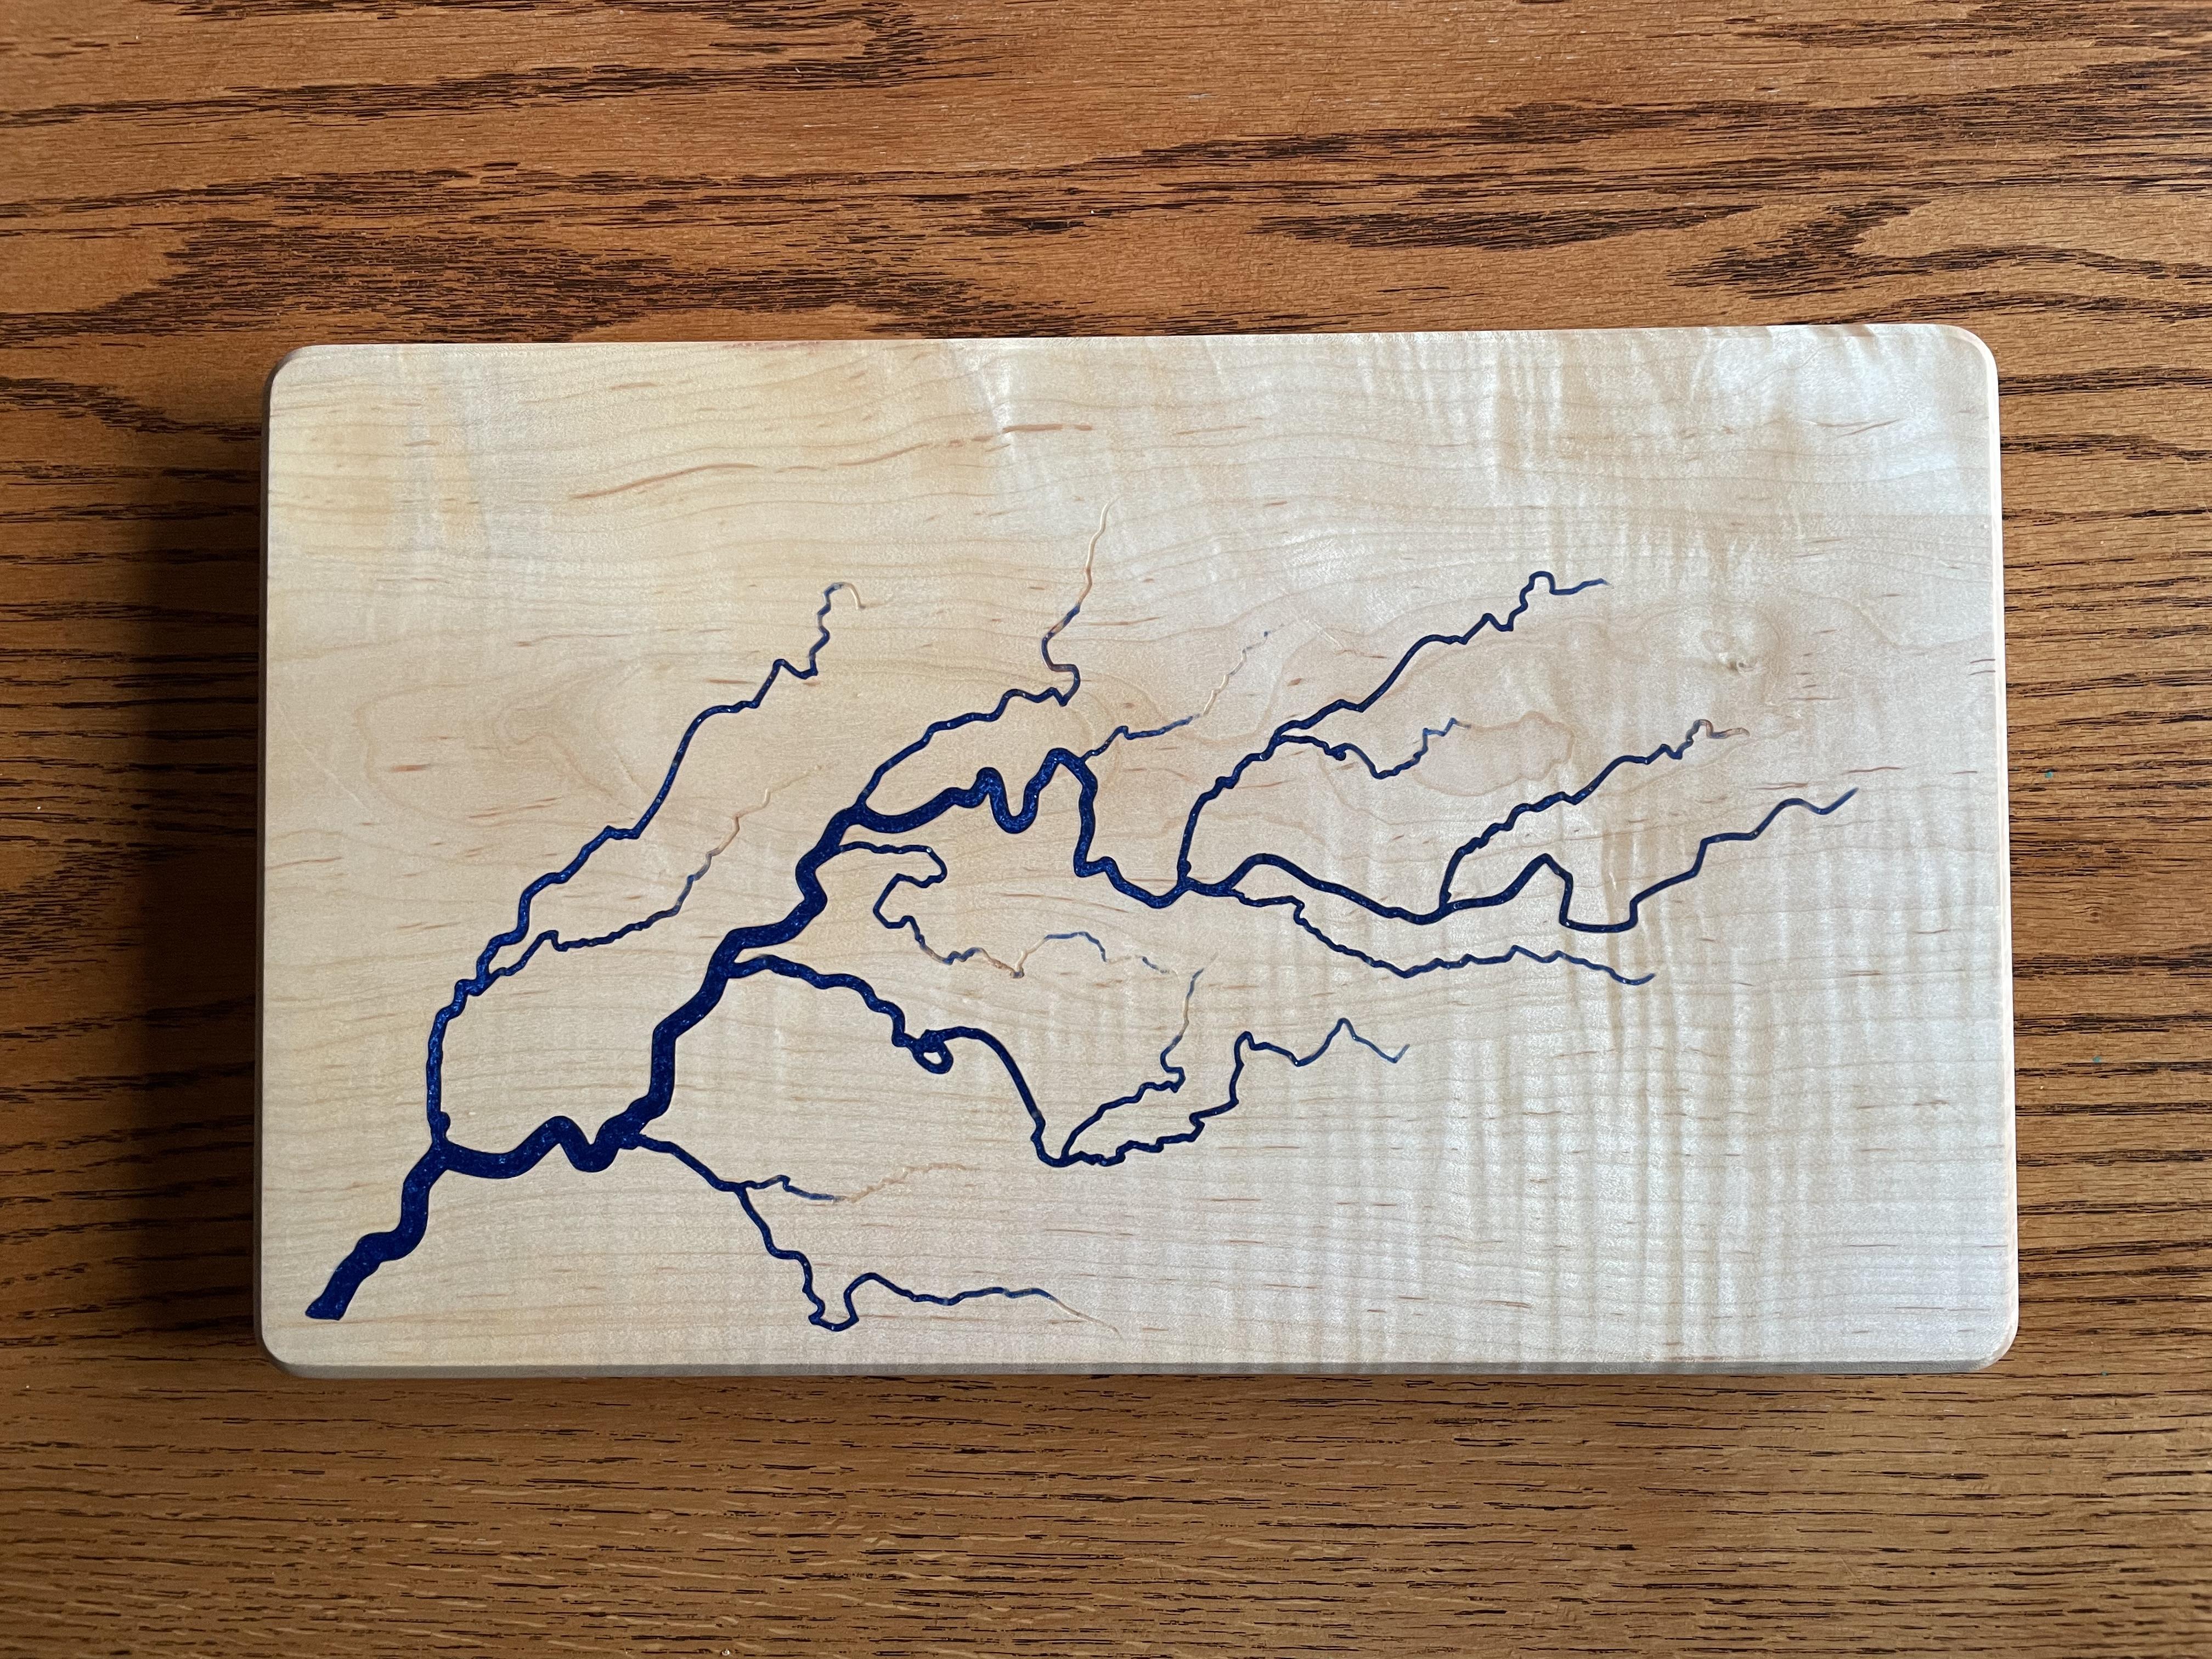
The first cutting board was made with a single piece of curly maple. I thought this piece of wood was just too pretty to cut into smaller pieces.
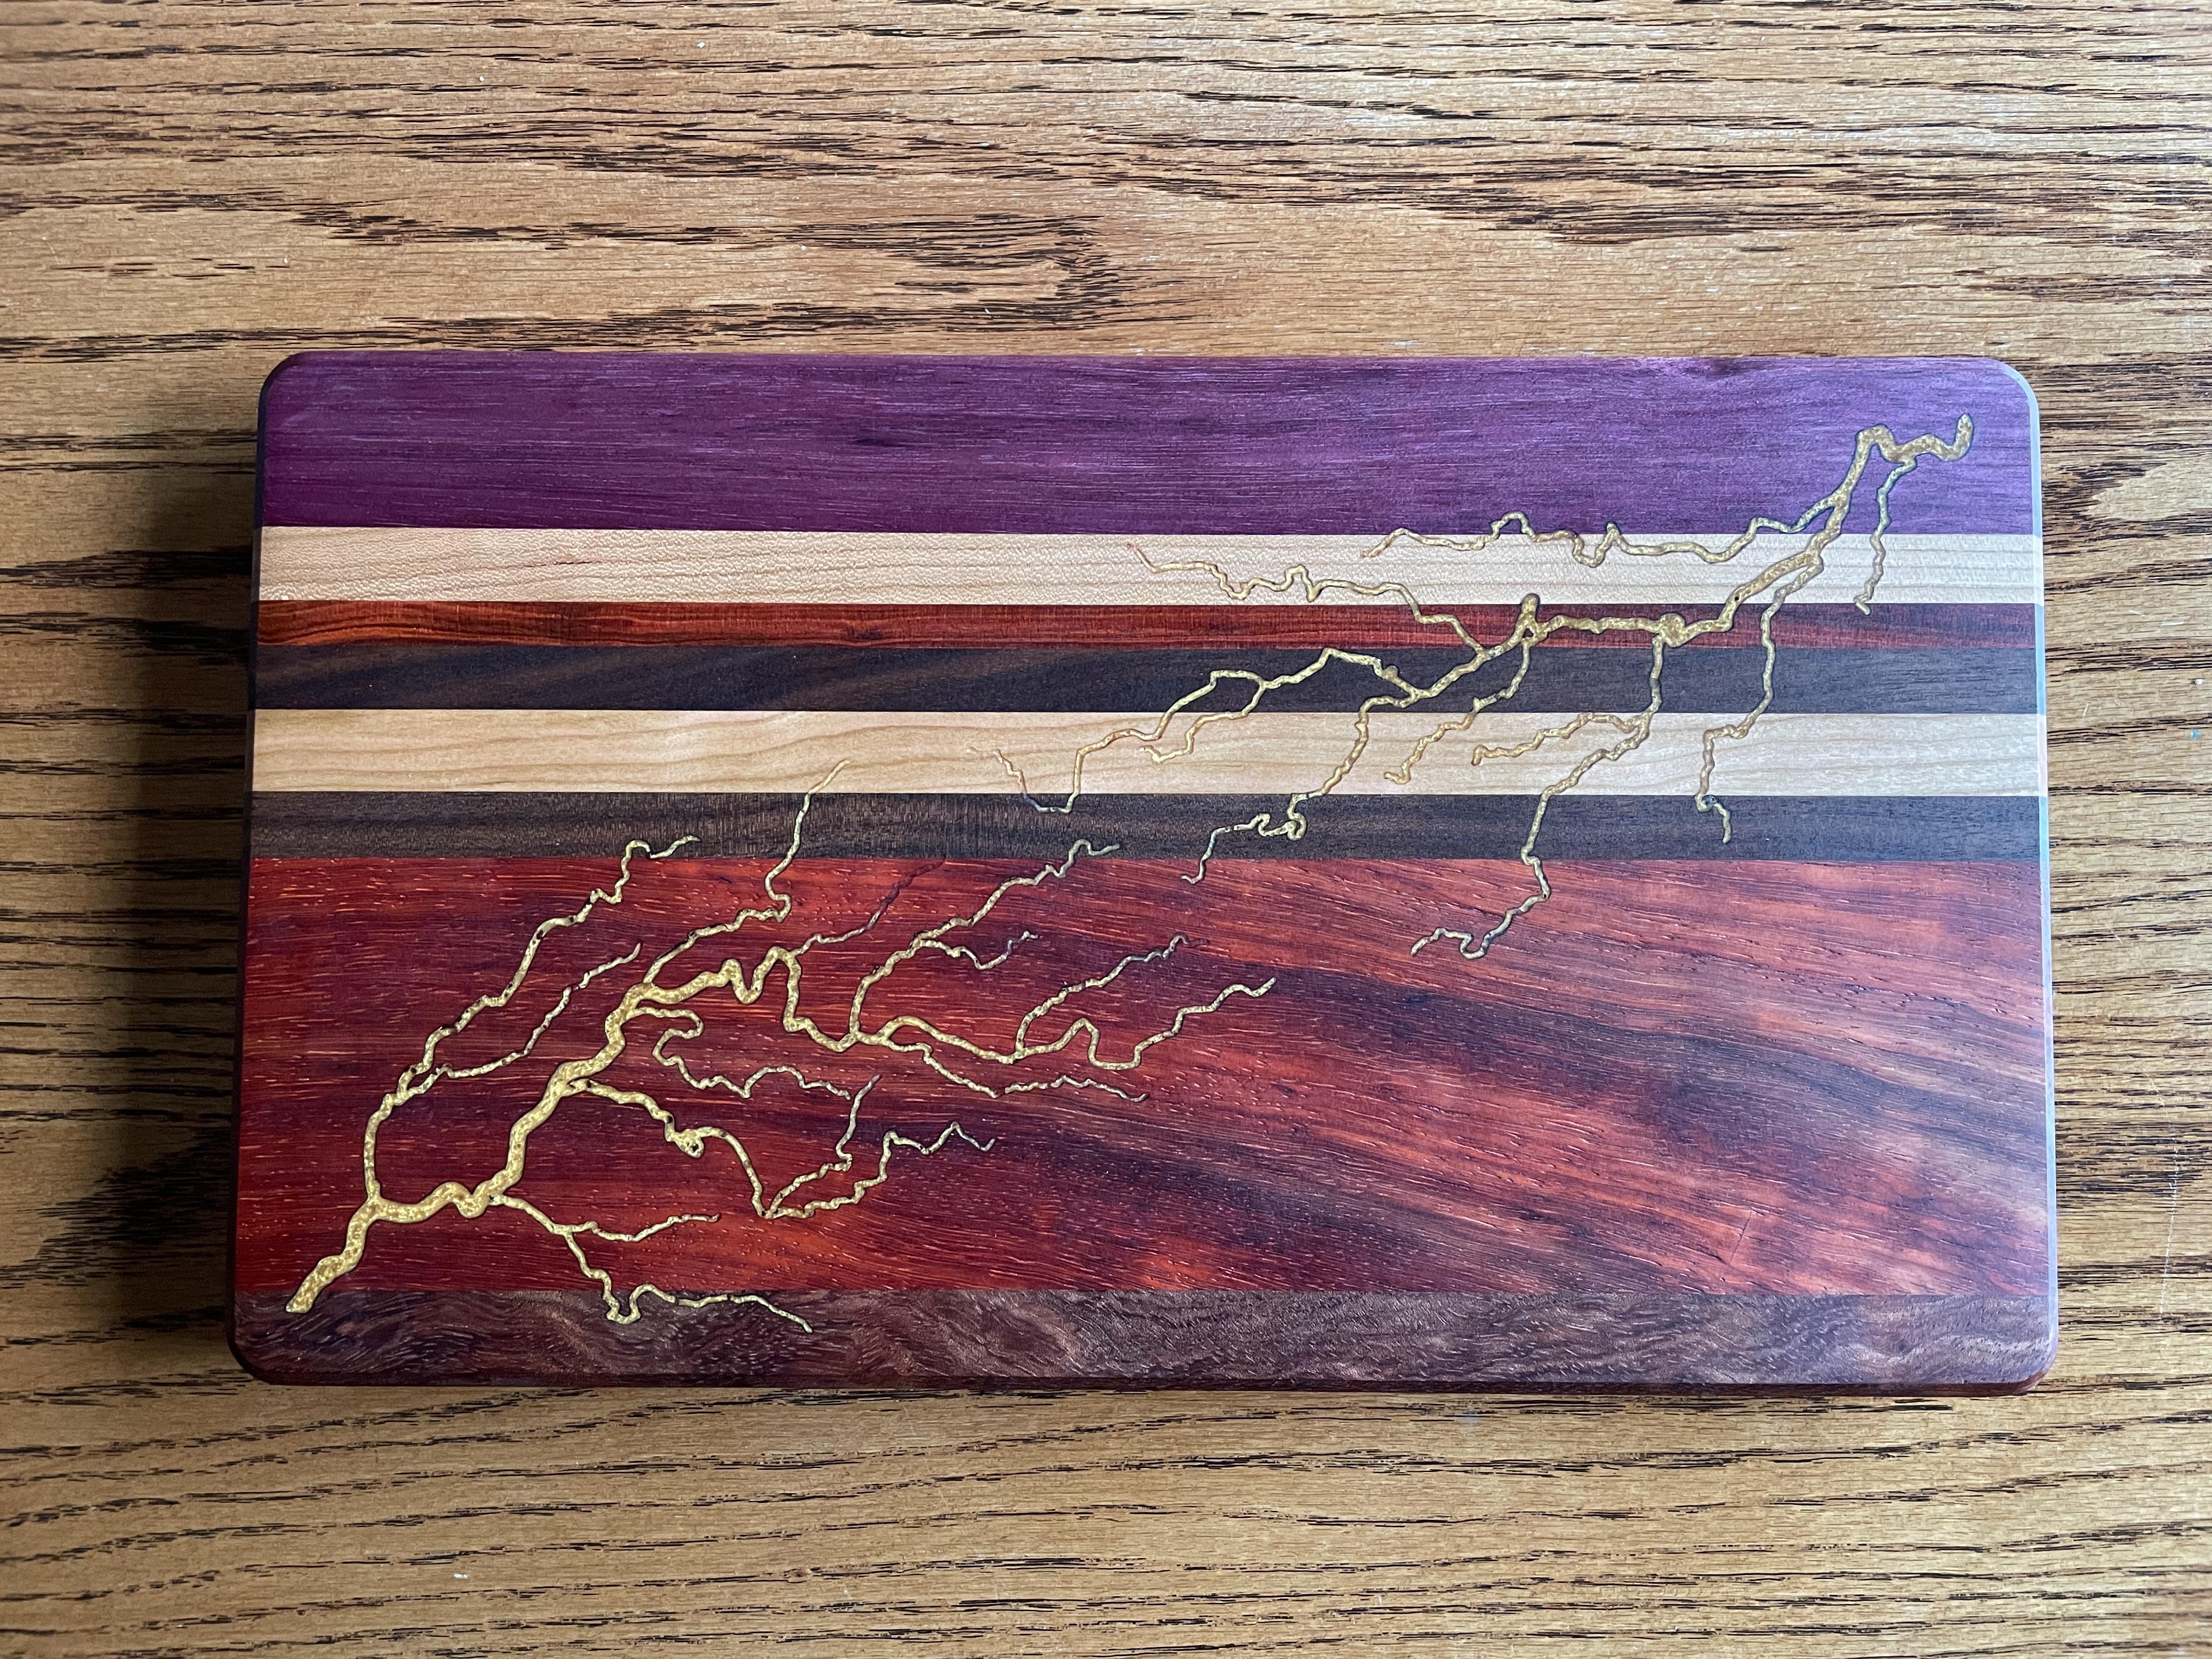
The other two cutting boards were a mix of bubinga, purpleheart, walnut, cherry, osage orange, and redheart. These were made by cutting the individual pieces of wood into random width strips and then gluing them back together in a pattern I liked.
I glued these together with Titebond III wood glue.


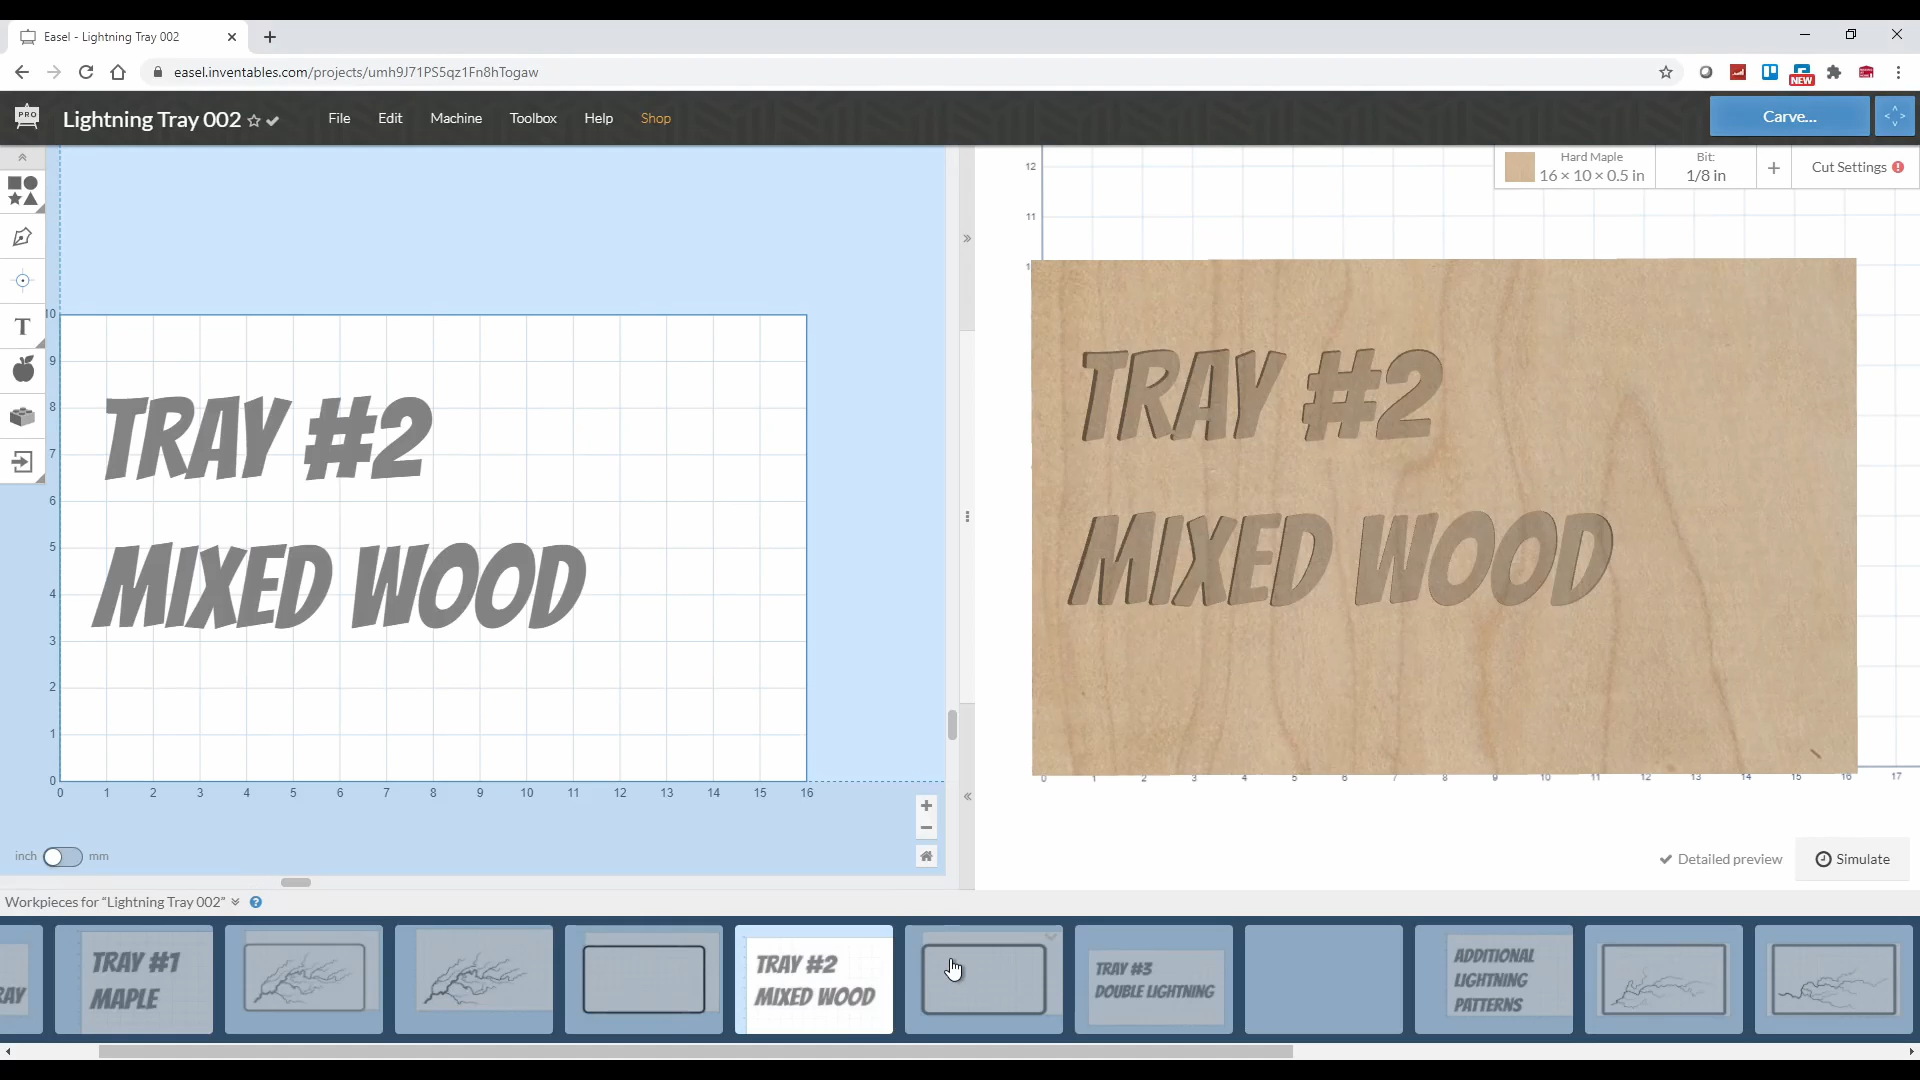
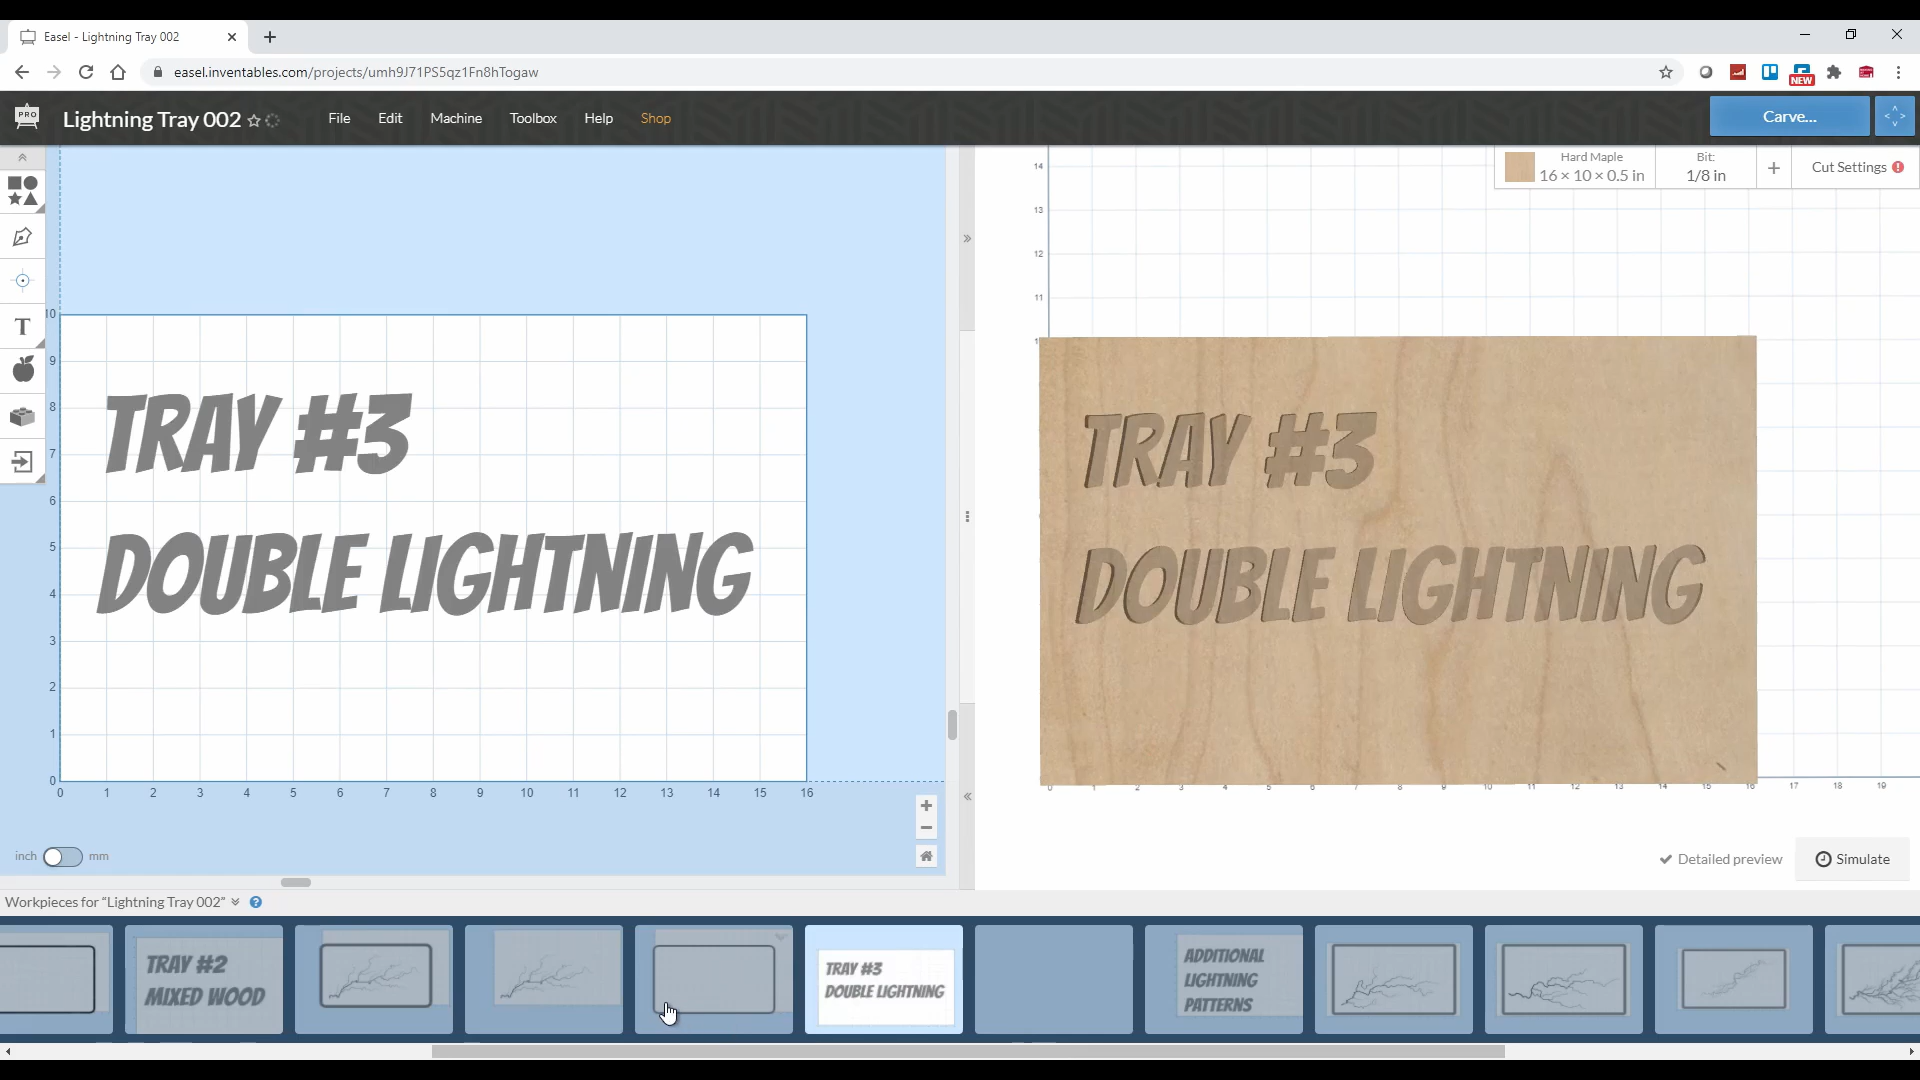
I will be using Inventables Easel Pro software for this project with the X-Carve 1000mm CNC machine.
The first thing I do is set up the size and thickness of my work piece and then set the router bit I plan to use so everything is representative while I am designing.
For this project each cutting board only has a couple elements. One is the lightning pattern and the other is the outline cut to cut the shape of the board out.
As I cut out the serving board blanks I set up the work space for each of the trays with the dimensions of that board blank.

20 minutes
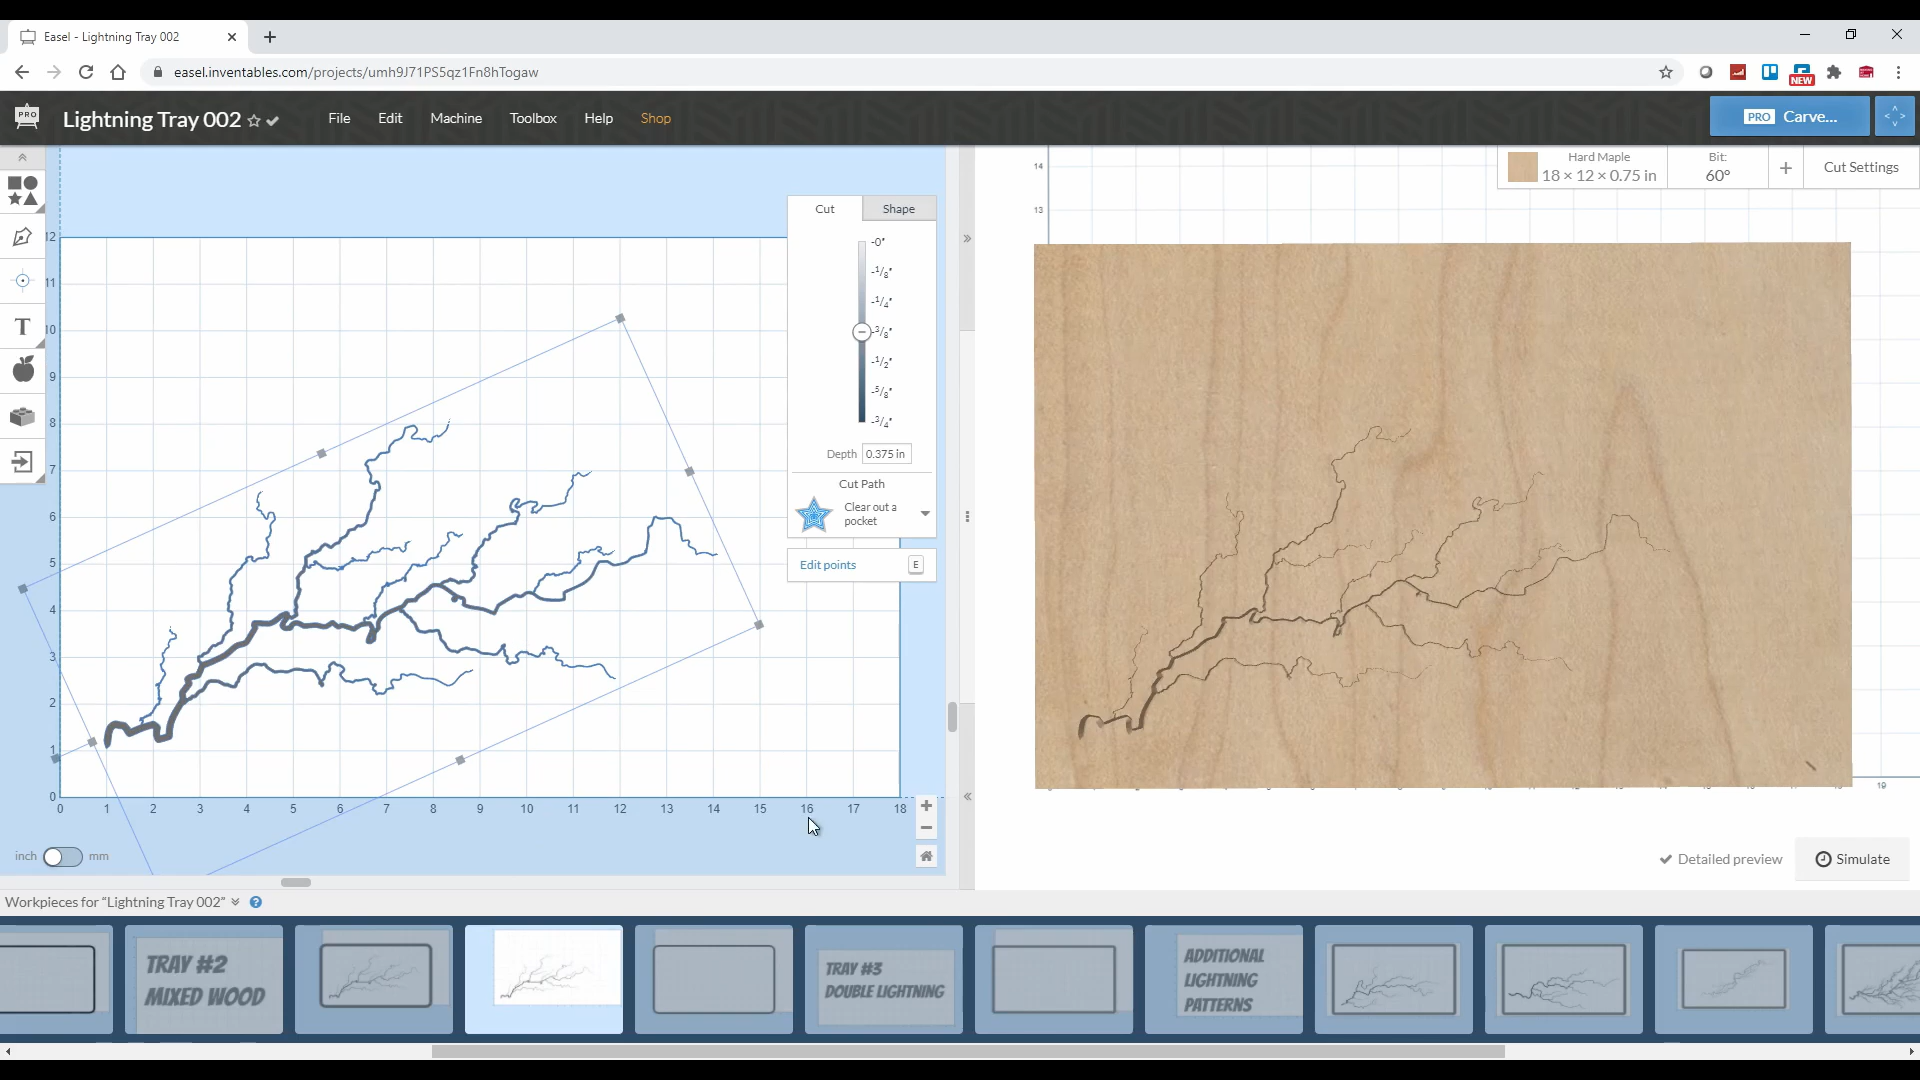
Adding the lightning pattern is is very simple if you have the right type of file. In my case this was an SVG file. From what I have found, you need one that is vector based and does not have an embedded image.
To import a file, click on the bottom icon on the menu bar on the right side of the screen and select your file type. In my case this was SVG. Then select the SVG option. This will open up an explorer window where you can select your file.
When the file opens in your Easel window you should see corner grips where you can resize or rotate as necessary.
I like the layout for the lightning where the base of the lightning bolt is in one corner and it stretches towards the opposite corner.
Just rotate and scale the pattern until you get it in the location and orientation you like.


15 minutes
The outline cut for the serving tray is just a simple rectangle with rounded corners using 0.5 inches in the X and Y directions.
I also set my cut to use tabs. I added two tabs to each side of the boards.
The nice thing about using tabs is that once you are done you can trim them off with a round over or chamfer bit if that is how you plan to treat the edges.


25 minutes
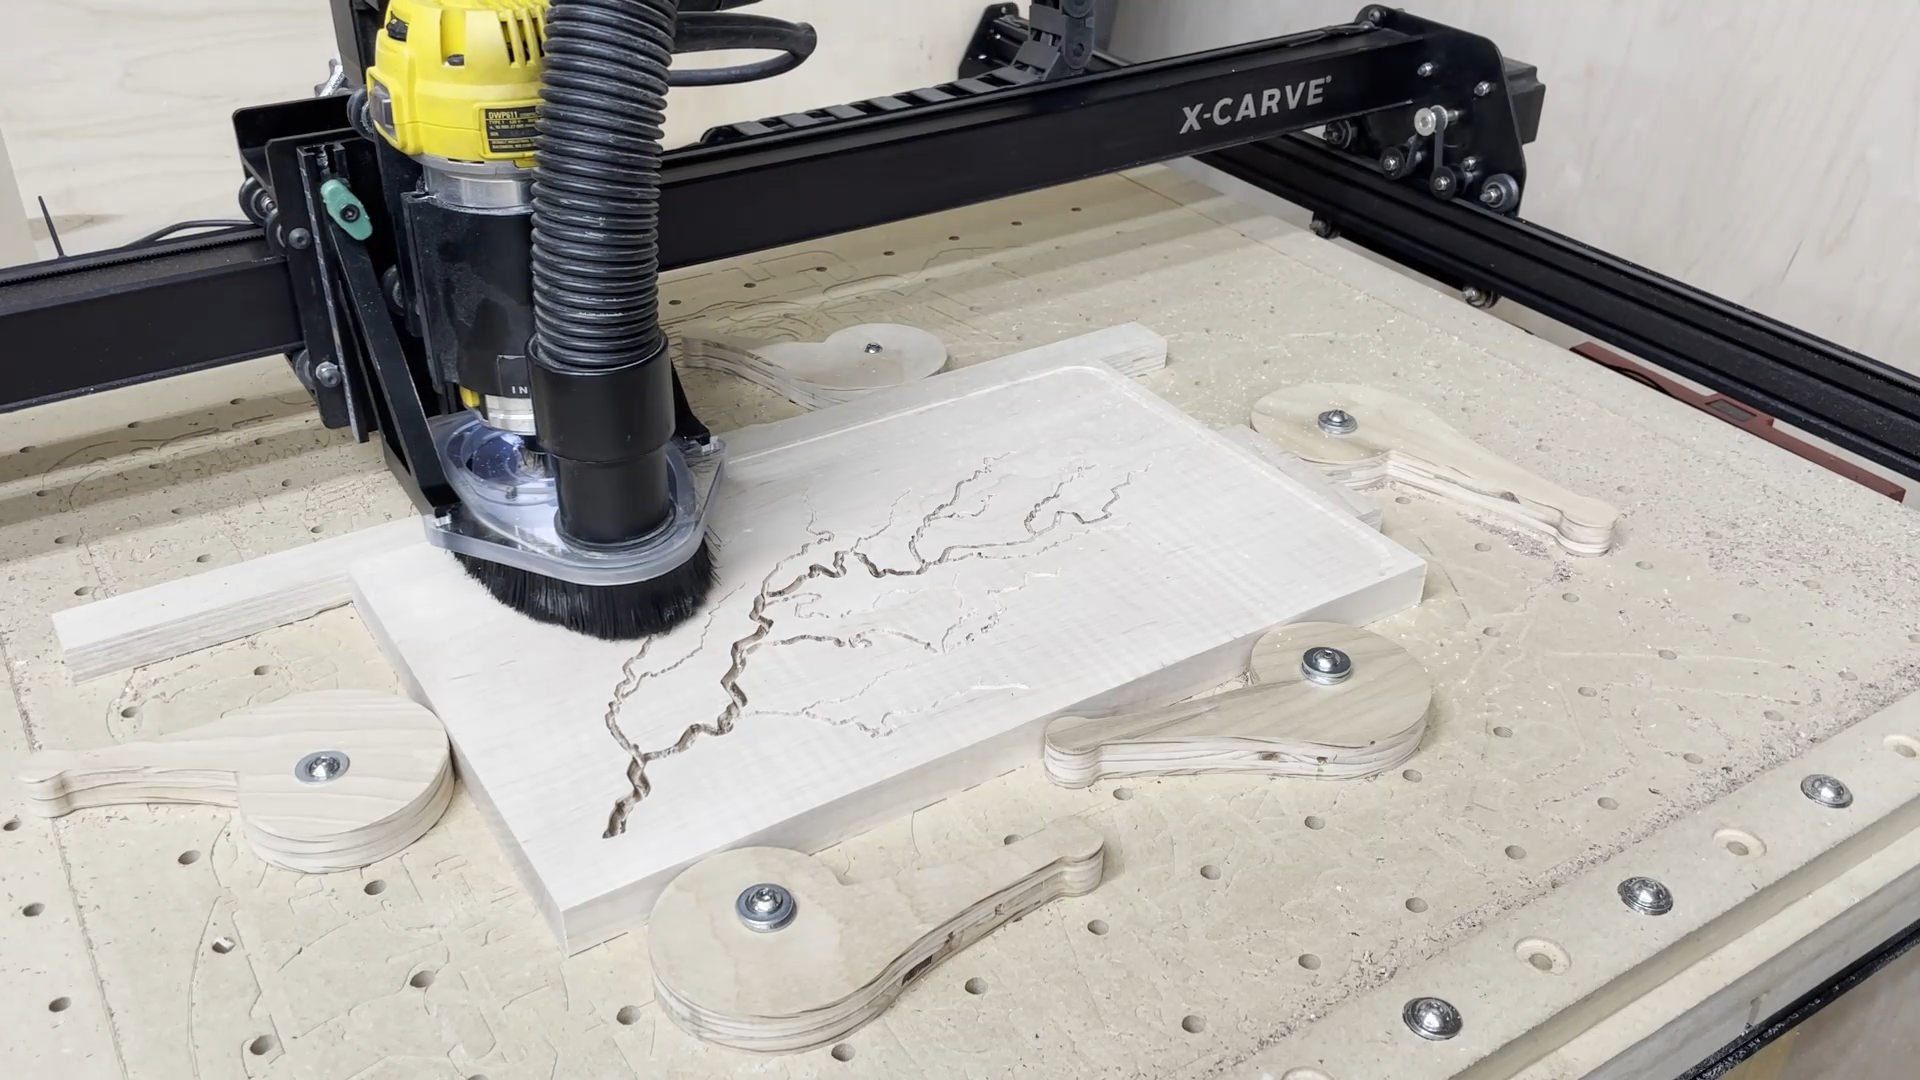
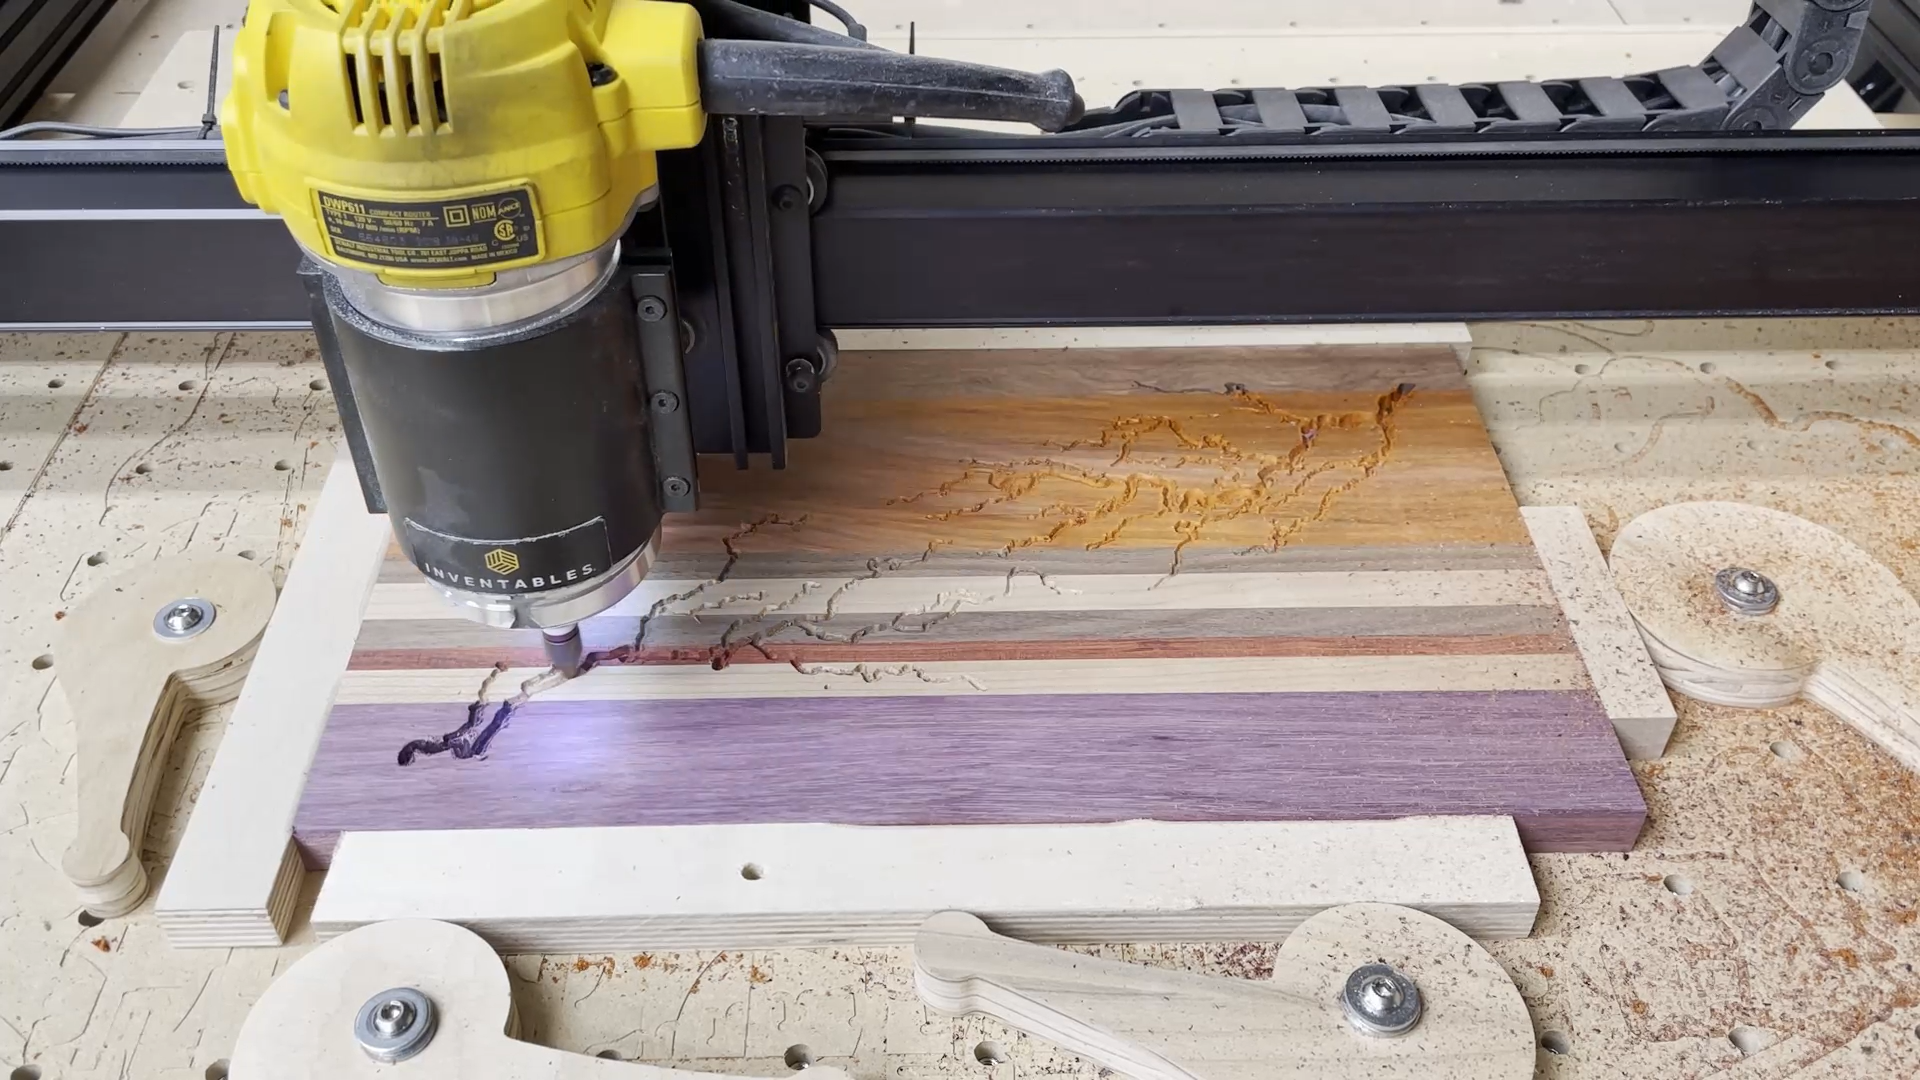
I decided to use a v-carve bit carve the lightning patterns in order to carve the narrow line sections. I set the carving depth to 3/8 of an inch. I thought the extra depth would help achieve the darker colors in the tinted epoxy.
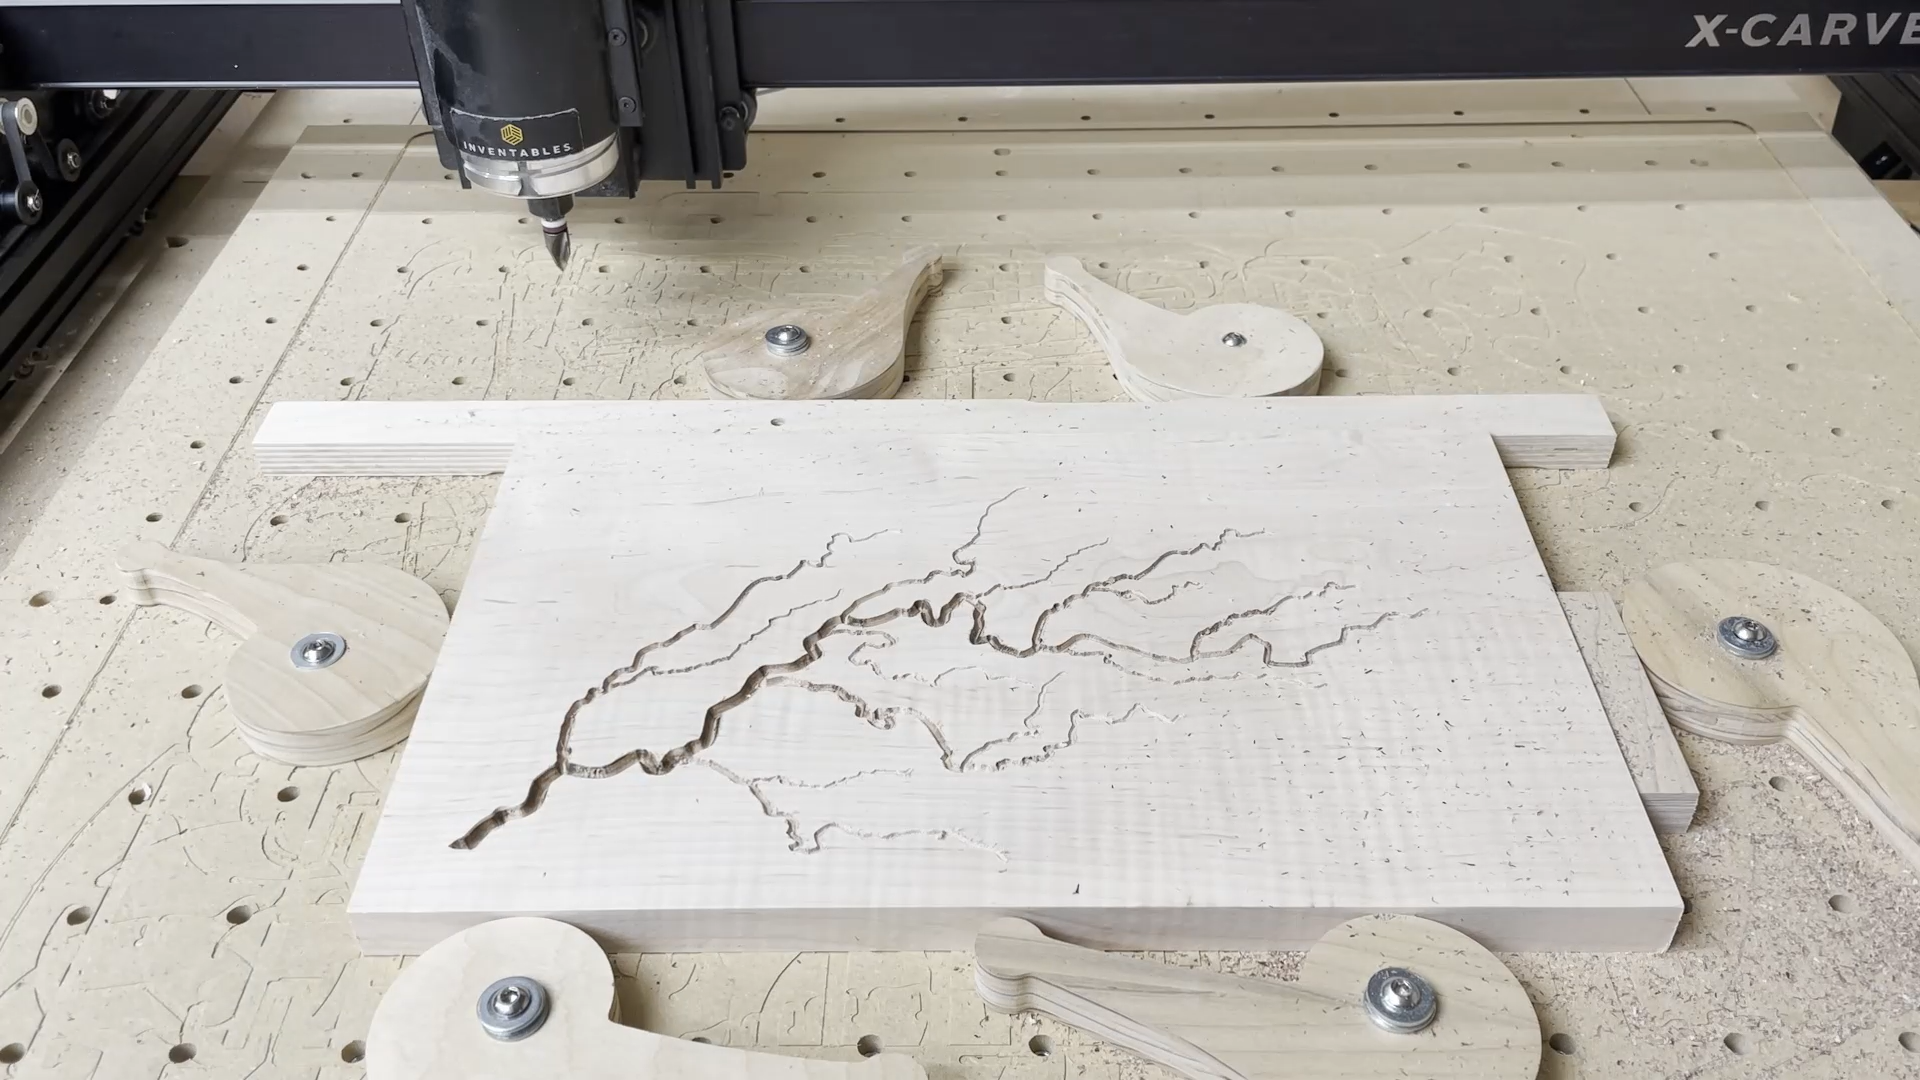
You will notice the time to carve with the v-bit is relatively short at around 15 minutes per board. Because the lightning images I used had some small line segments, the Easel software carved these before carving the long sections. Due to the difference species of wood I used, I had some wood types that would burn from the router bit, but the next species would not. This didn’t worry me too much as the colored epoxy would fill in the carved path and any light burning would not be noticeable.
After cutting the lightning pattern I carved the outline of the cutting boards by switching the bit from the v-bit to a straight bit.
I cut out each cutting board with a 1/4" diameter downcutting bit. I set up the shape of the board based on the size of the glue up. I set up each outline cut with a full depth cut option with 8 tabs in order to hold everything in place as I carved through the boards. Once you have finished carving the outline you can remove the wood and get the edges ready to finish.


60 minutes
After carving the designs in the boards I added the epoxy in two stages. I used TotalBoat high performance epoxy.
The first application was a thin layer I painted on with a paint brush in order to seal the wood grain from the epoxy with the colored pigment. You can sometimes get bleeding through your wood piece if you don’t seal the wood properly. This can discolor the wood and ruin the piece if you aren’t careful
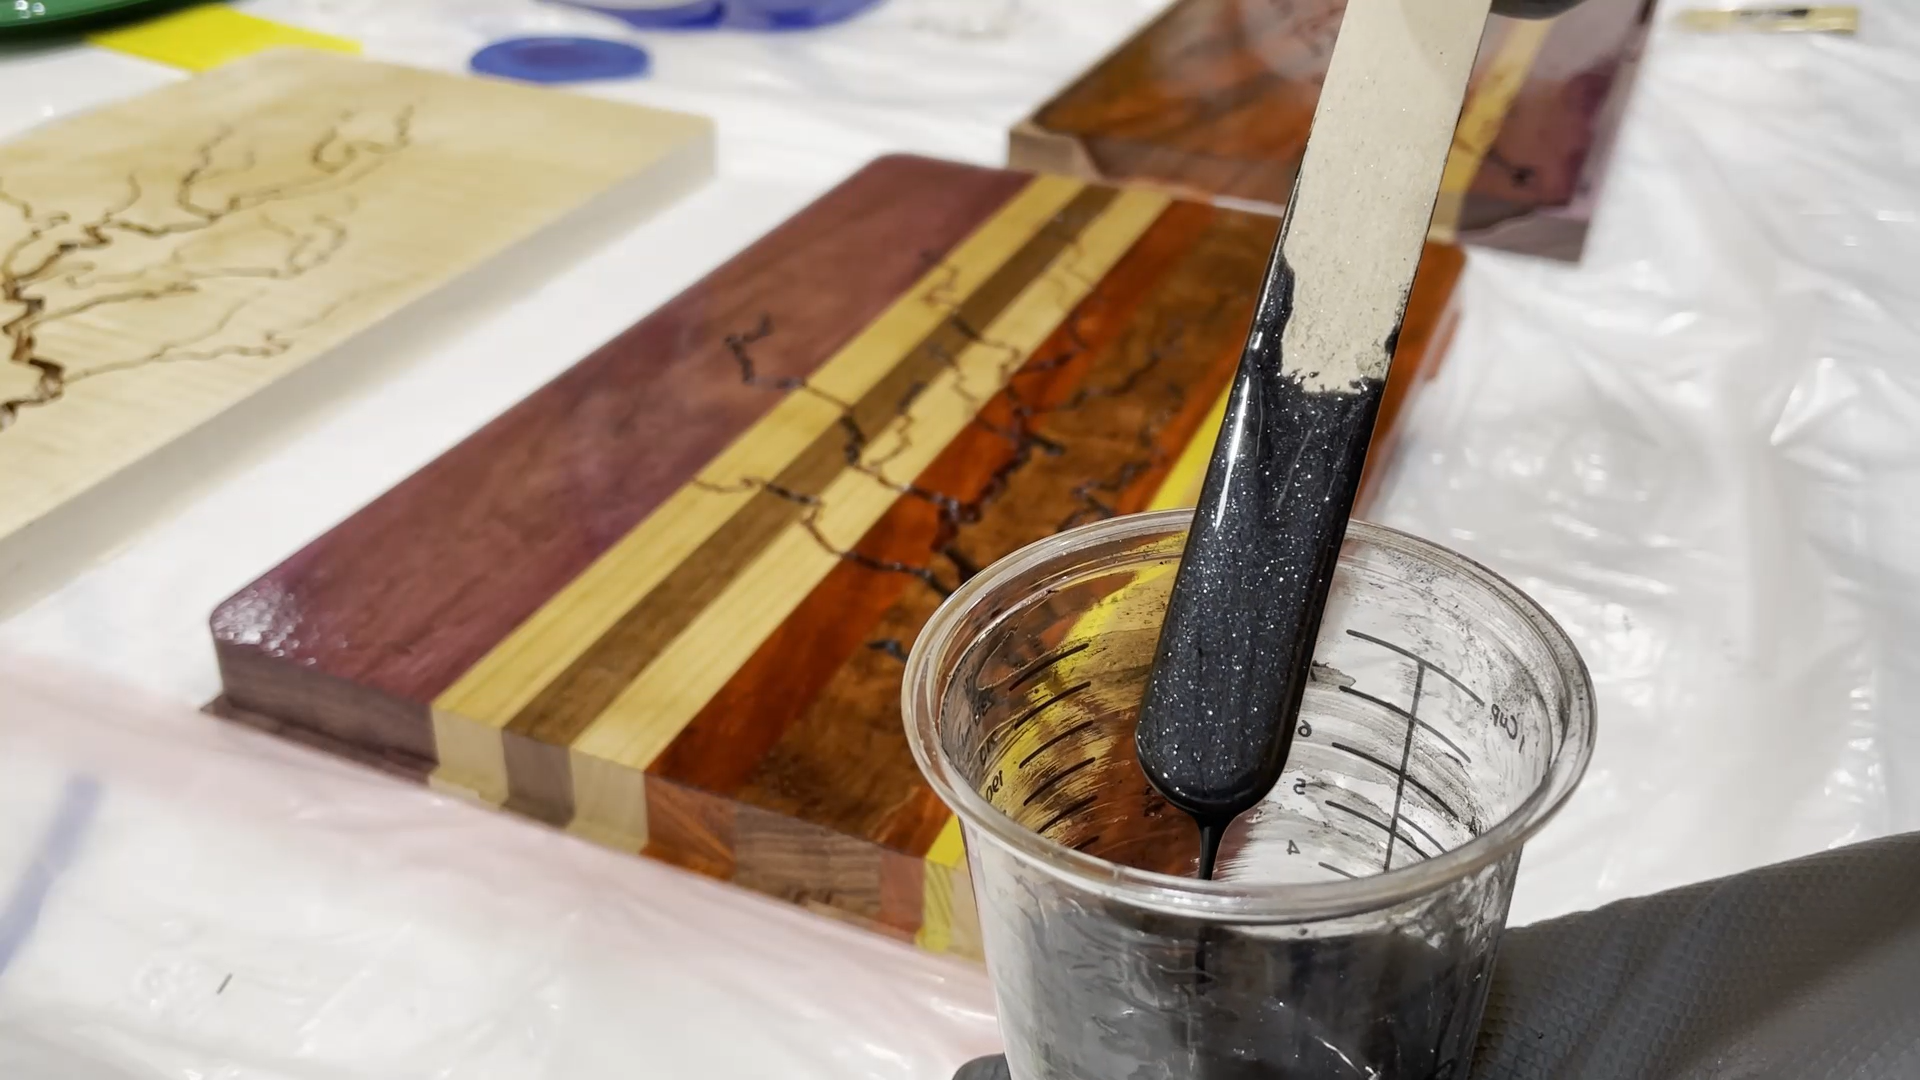
After the first layer started to get to the tacky stage I added the second layer of epoxy (the fill layer) with colored pigment.
My color choices for the pigments from Black Diamond Pigments were:
– Deep Blue Sea
– Black Onyx
– Pure Gold
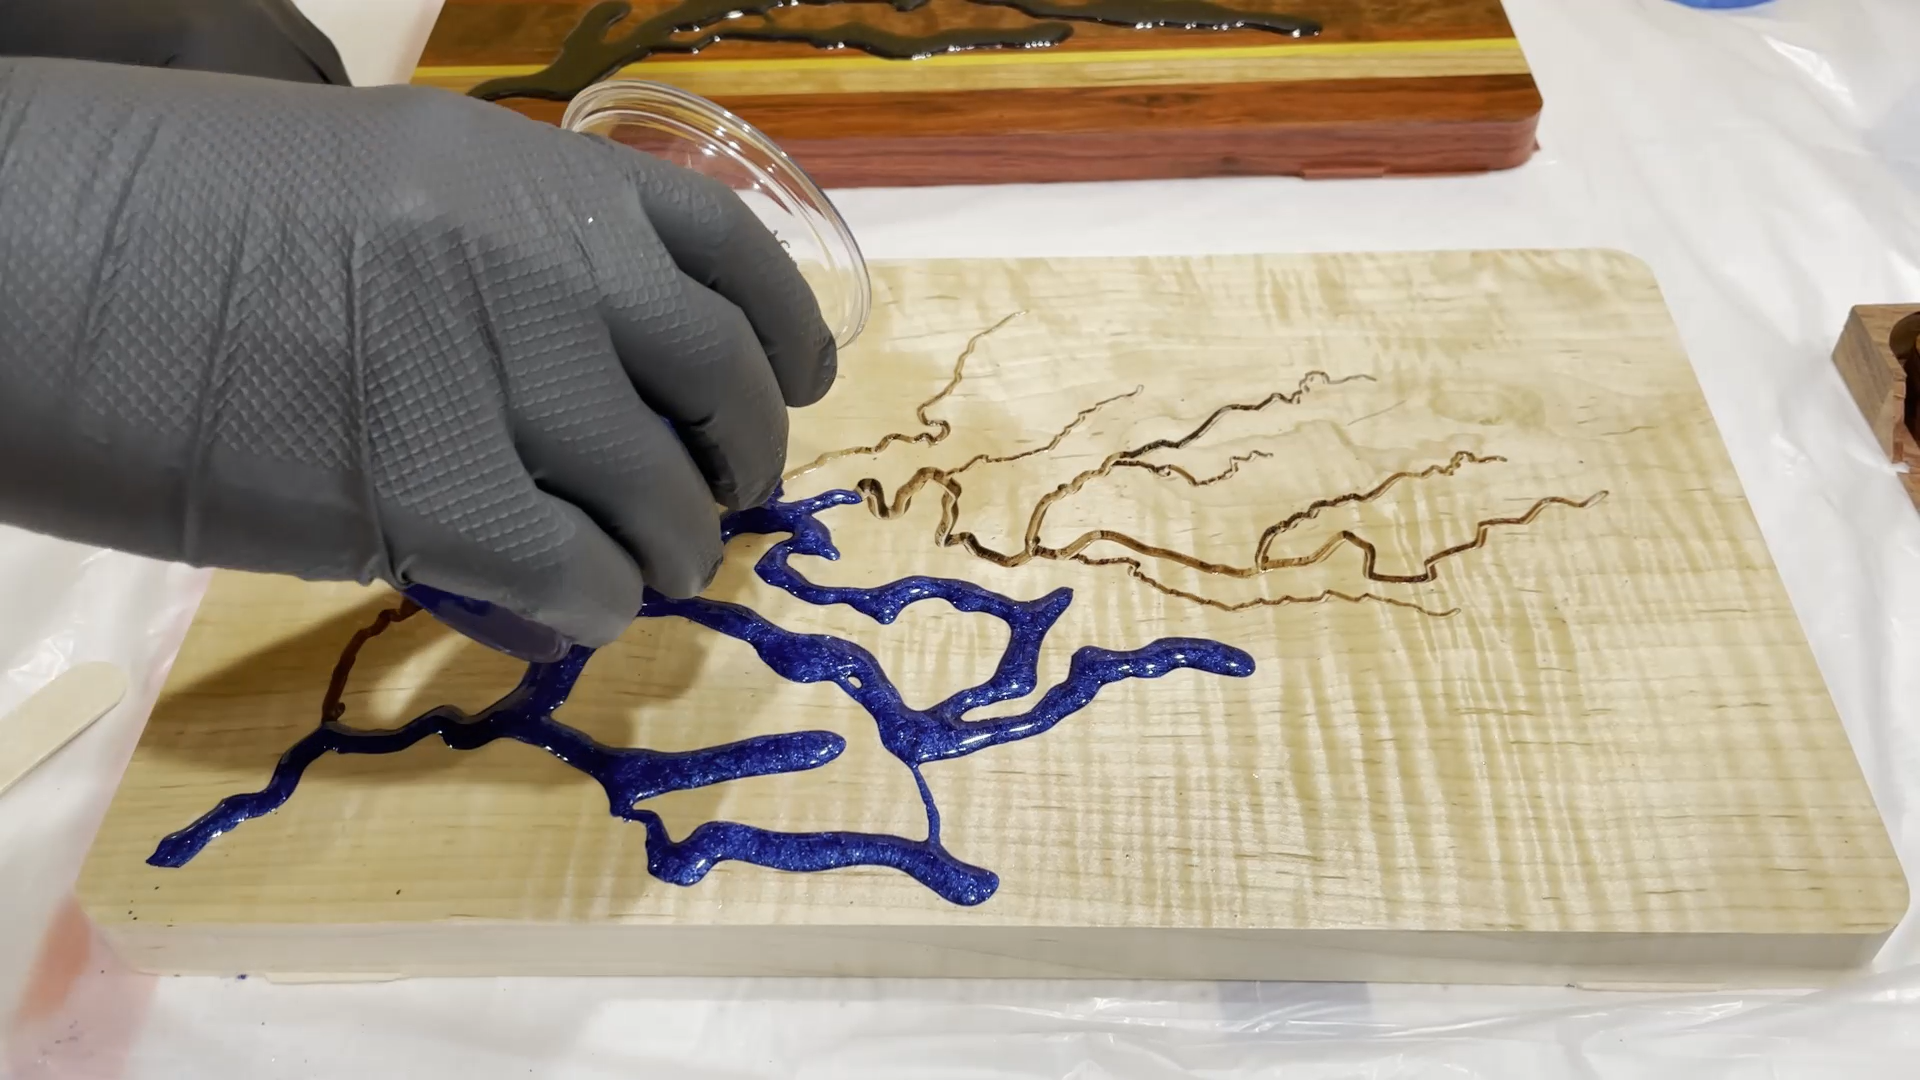
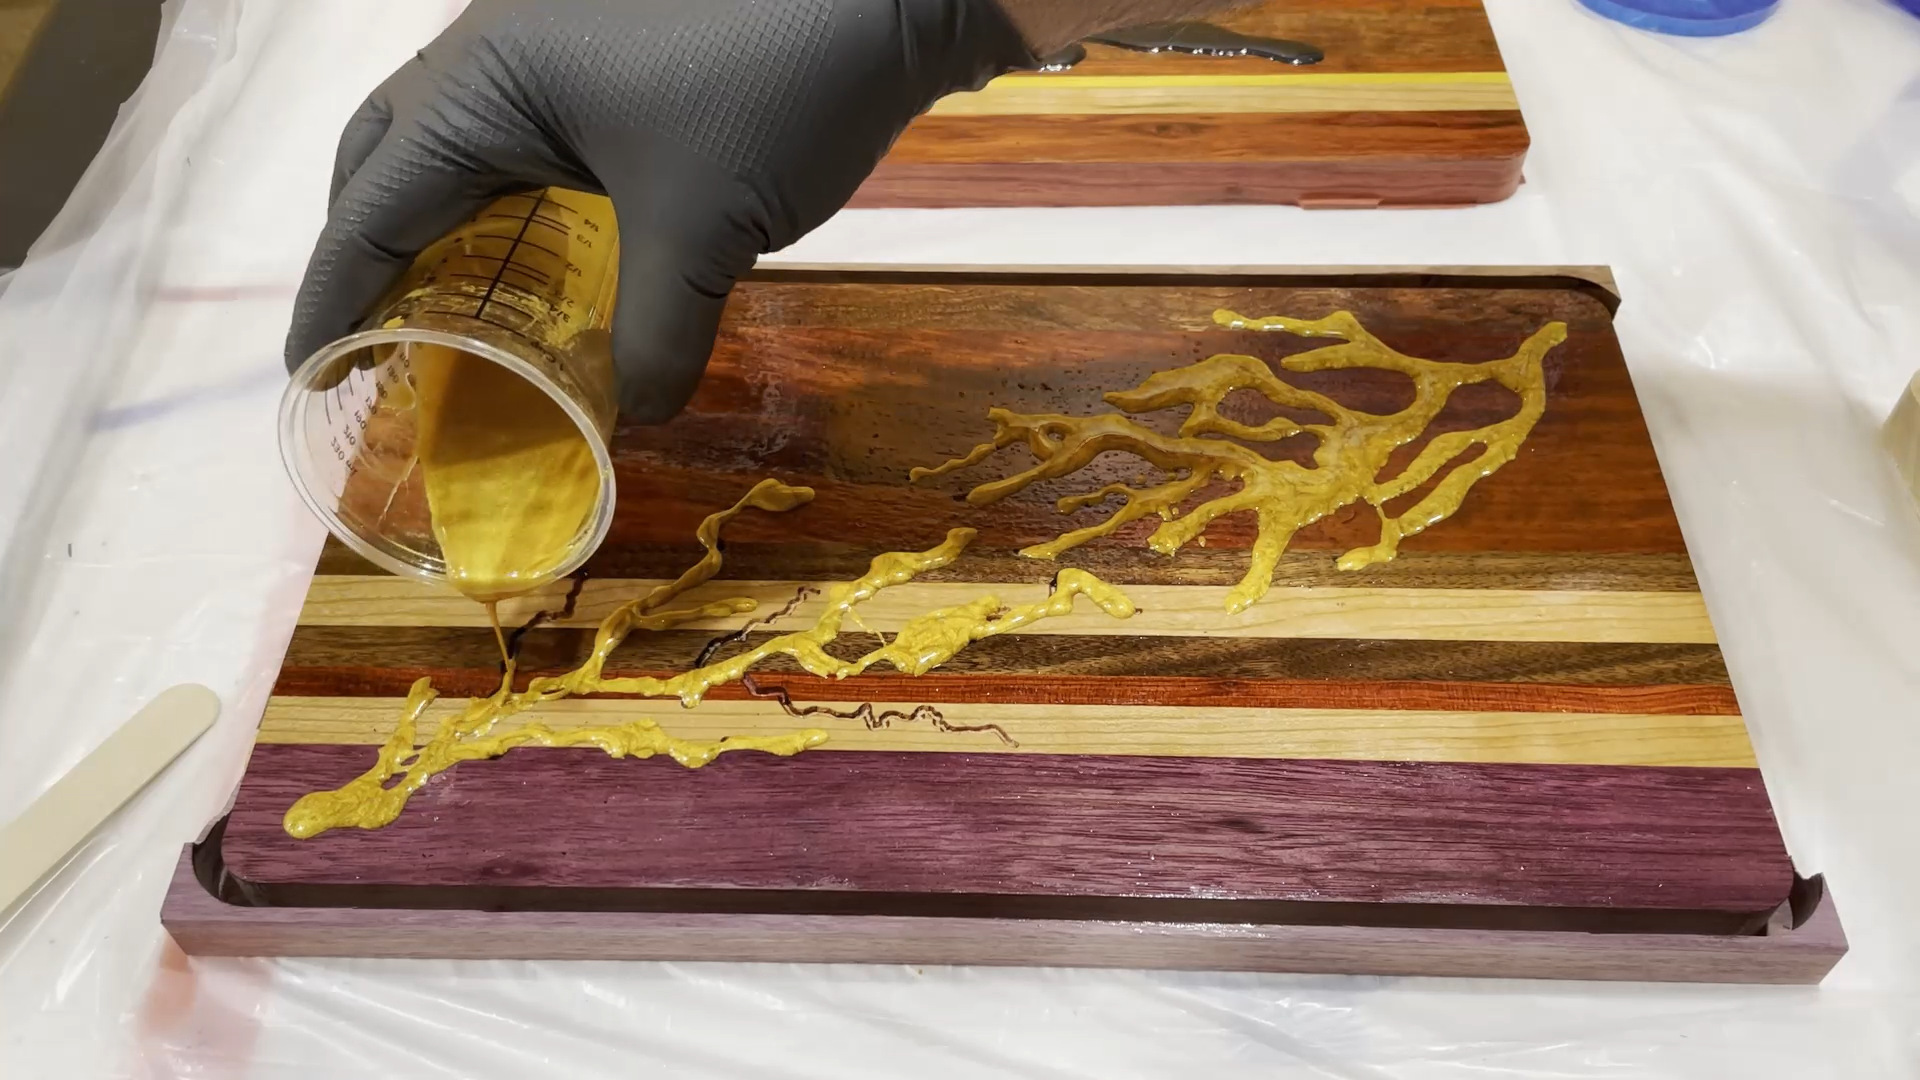
I put quite a bit of the pigment powder into the epoxy since I wanted the color to be thick as some of the thin lines in the lightning pattern are shallow.
I poured the epoxy so it was above the surface of the wood. Again, since some of the carved lines are shallow you might lose some of that detail if you have to remove much of the wood top surface with a surfacing bit or planer in order to get a flat surface.


30 minutes
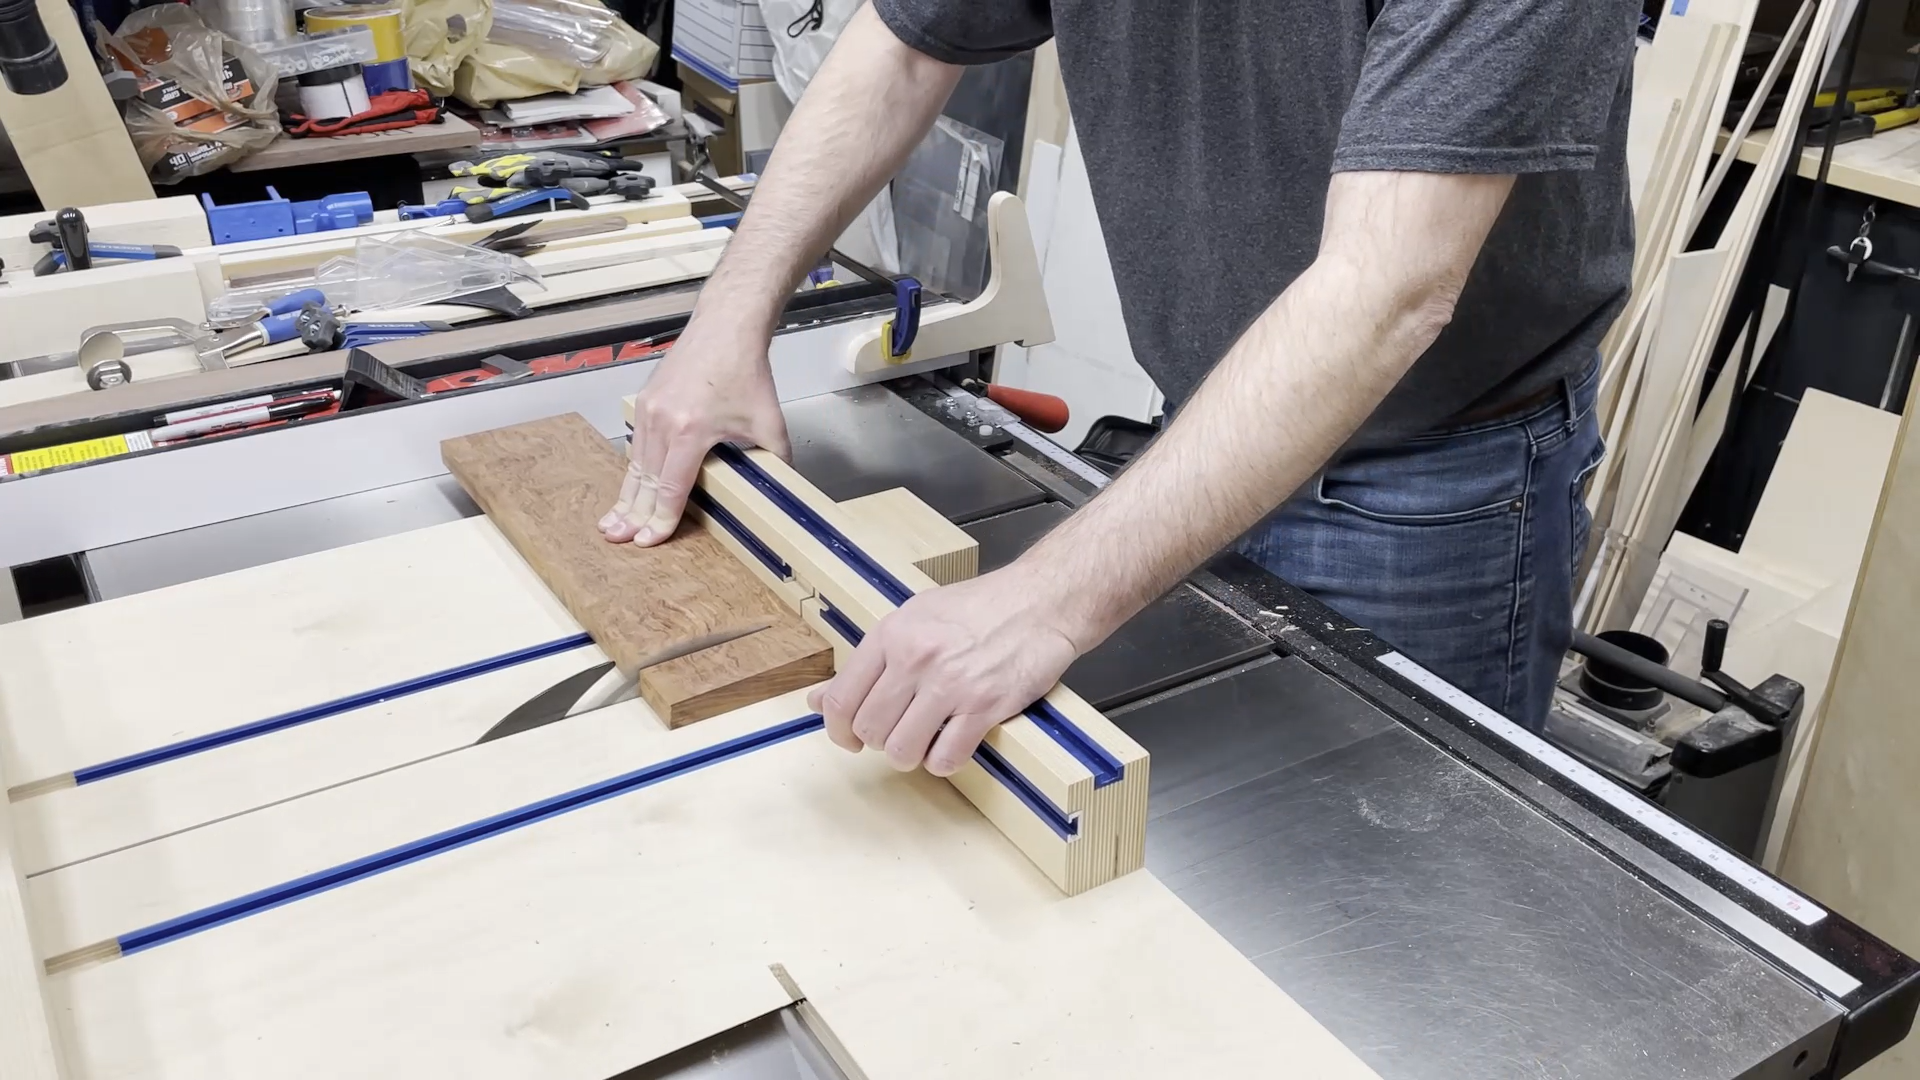
After removing the excess epoxy with either a flattening bit or a planer I needed to do something with the edges of the boards.
I wasn’t sure if I wanted to use a chamfer or a round over for the treatment of the edges. I decided to go with the chamfer for two of the boards and a round over for the other one.
I typically run cut off pieces of wood or another sample piece of wood through the chamfer or round over bit to make sure I like the depth setting.


30 minutes
The next step is to sand the boards and give them a coat of protective finish.
I sanded the surface of the boards with a random orbit sander up to 800 grit because of the epoxy. In hind sight, I could probably have gotten away with going to 400 grit. I also hand sanded the sides of the boards up to 220 grit. I did wipe the boards down with a wet rag in order to raise the grain.
Once they dried, I sanded them down again and added two coats of Odie’s Oil finish over a couple days period. If you haven’t tried Odie’s Oil then you need to as the finish is really easy to apply. You just wipe it on with a white (polishing) scotch-brite pad, wit 15 to 20 minutes, and then wipe off the excess and buff out the wood with a clean soft rag. It’s super easy to do and hard to mess up.


20 minutes
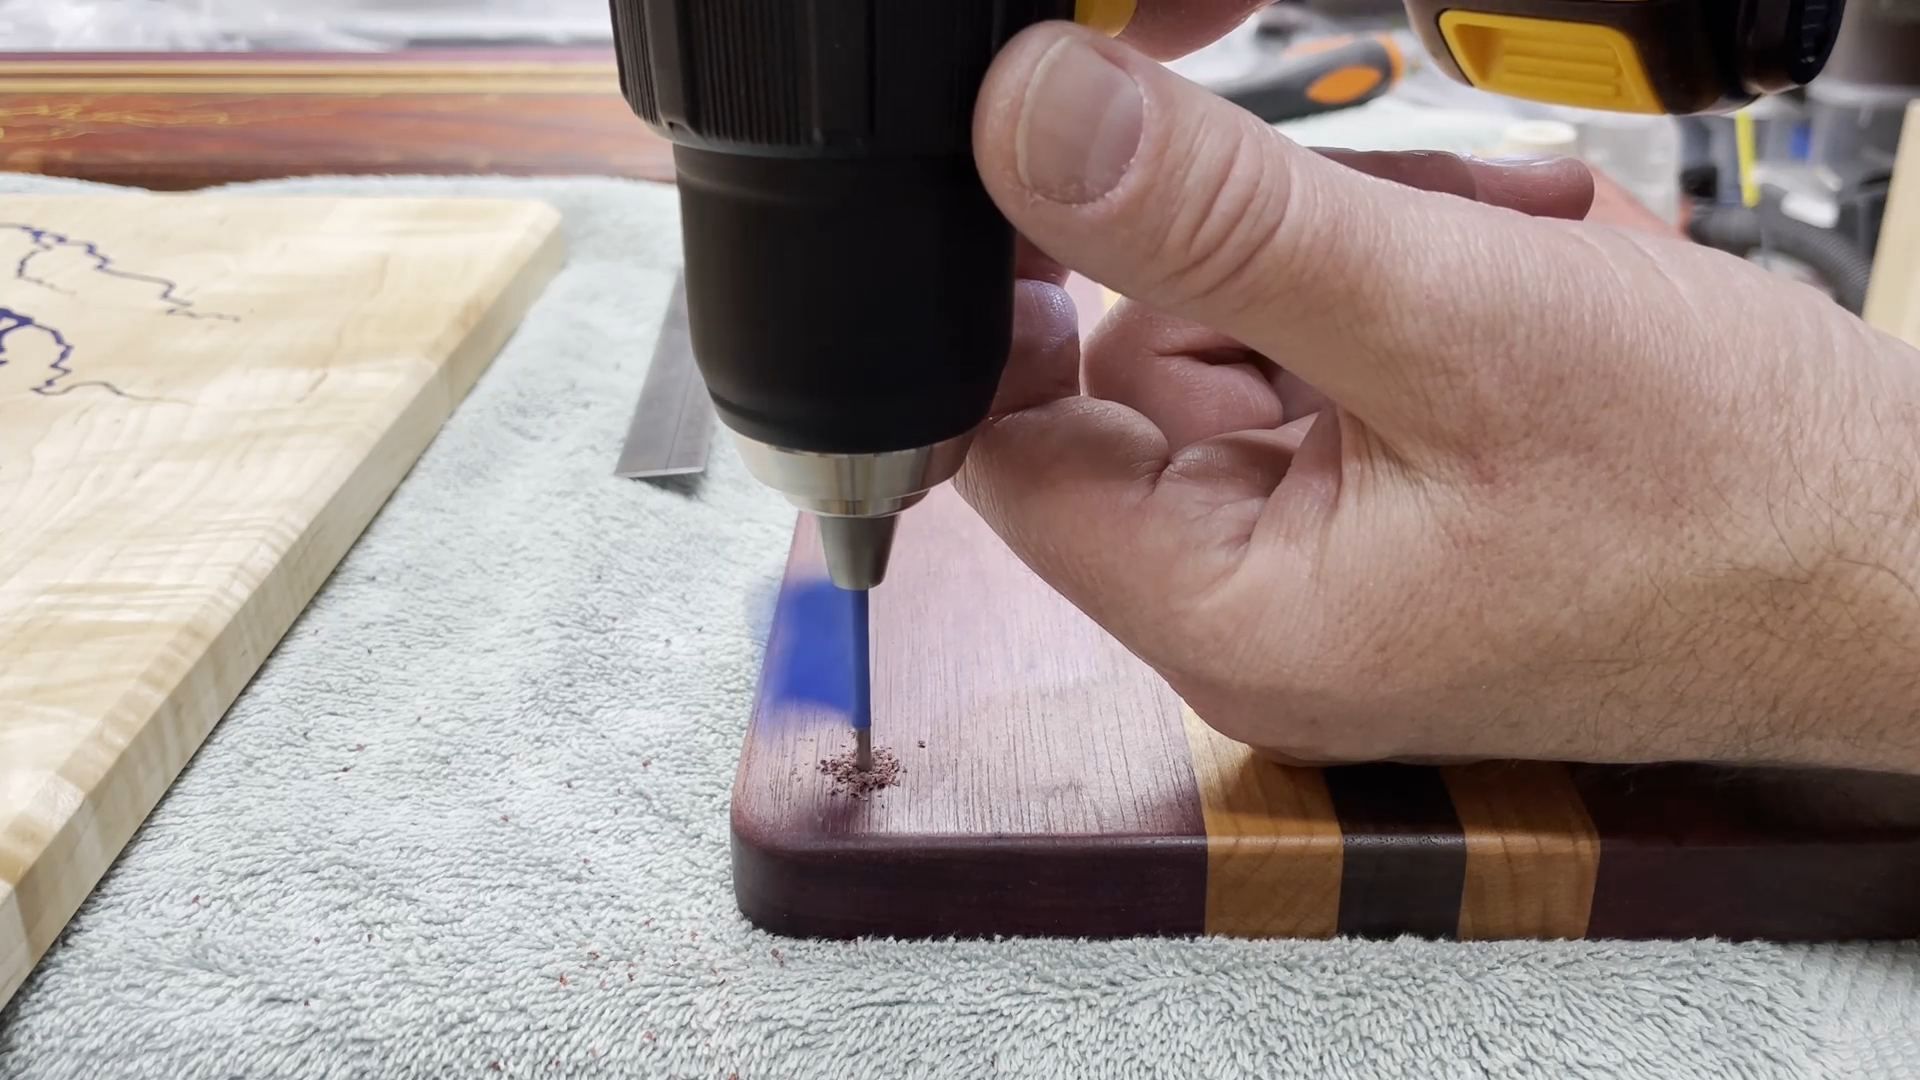
Cutting boards have a tendency to slide around on a table or countertop if they don’t have feet. I used the feet available from Home Depot. These are easy to install with just a screw up through the center and will keep your cutting board stationary while in use.
I used a strip of blue painters tape on the drill bit to set the depth of the drill so I wouldn’t drill too deep and risk going through the surface of the board.
I also used some #6 × 3/4" long screws for attaching the rubber feet as the screws that came with them were too fat for my liking and tended to break the grain around the screw hole when I drove them into a sample board.

I was able to import some other lightning designs that are available to download at the Inventables web site. One is somewhat larger so it could take a while to process and carve compared to the other ones I used for my boards.


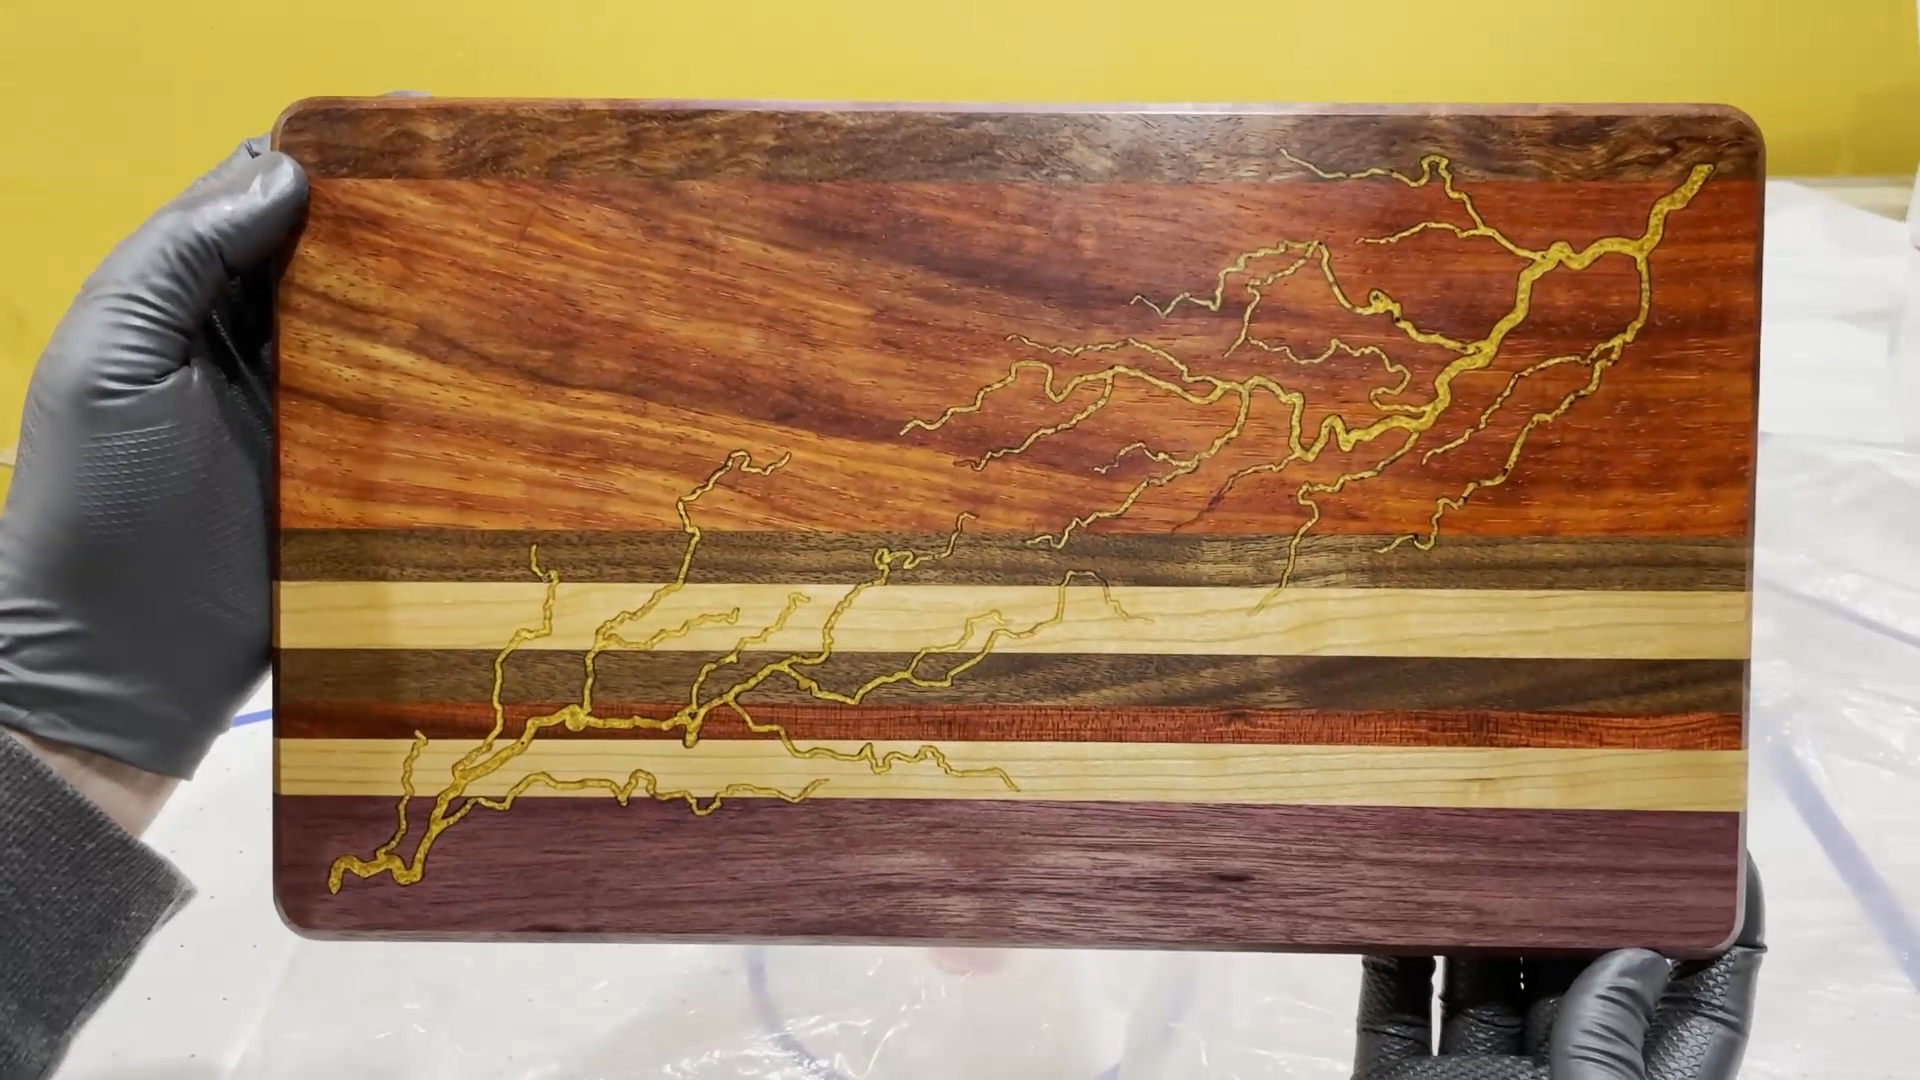
I wasn’t sure how the epoxy would look in the lightning bolt grooves, but I am thrilled with how these cutting boards turned out. I think it makes a big difference in the more shallow grooves to have the epoxy really stand out.
Since some of the lines in the lightning images are thin, it is sometimes necessary to set the carving surface depth slightly lower than the surface of the board so the v-bit would carve deeper.
If you use the file I provide on the Inventables web site you need to make sure you adjust the thickness and the dimensions of the wood pieces before you carve anything.


Patrick McKinley
Steve Moseley