
David Strout
Natick, United State
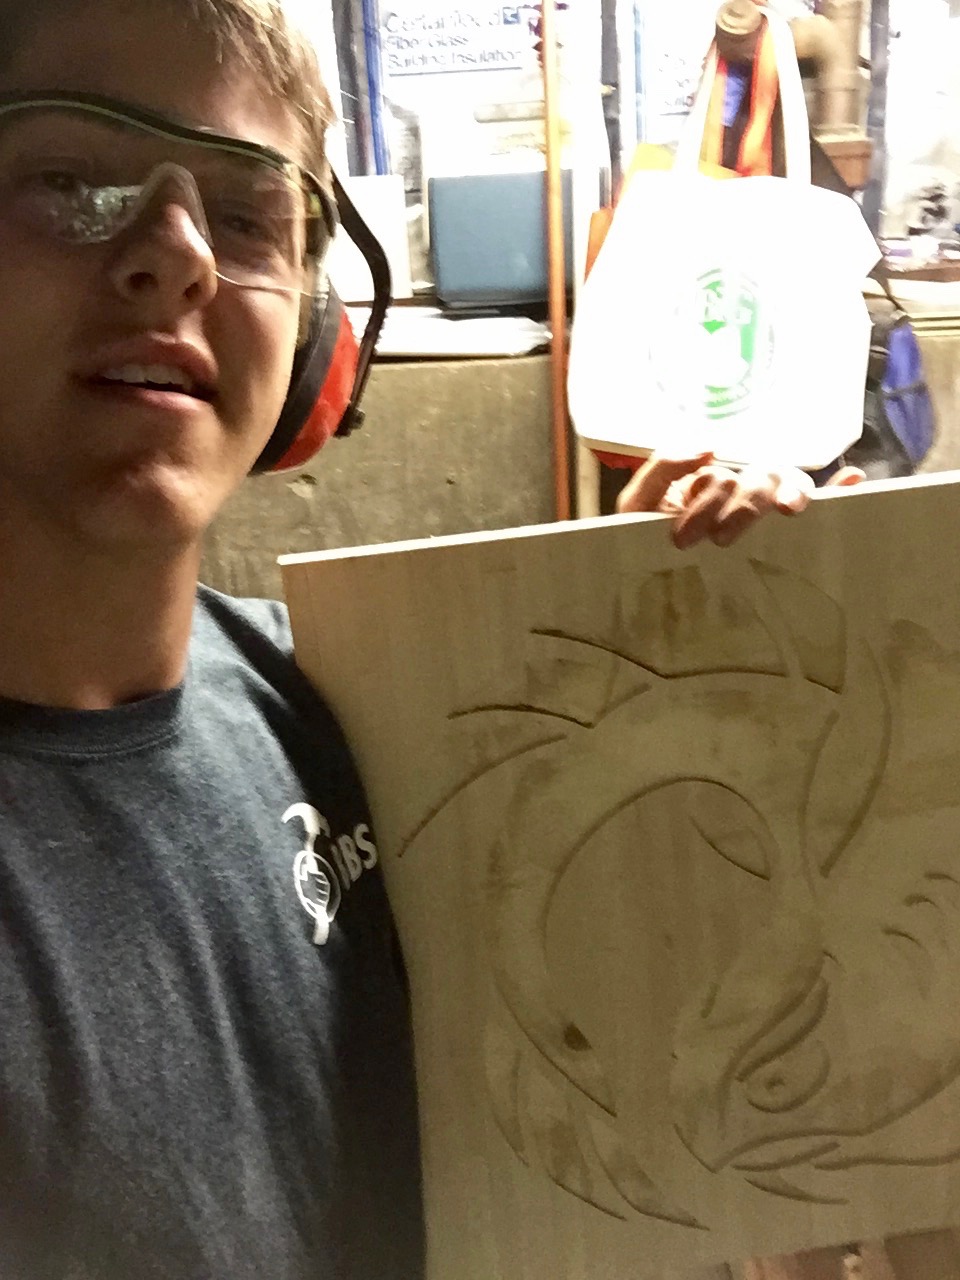
The design is actual the logo of the Men’s Ultimate Frisbee team at Brown University. The main body is plywood which I covered in many thin maple strips and the inlays are made from walnut. I sanded the piece in such a way to leave a smooth but rippled surface.
The first step is to mill the plywood to 21″ × 21″. I did this using a table saw, but any other method will work.
Next I ripped all of the maple strips (again with the table saw) to 1/8" thick. I used these strips to cover the front face of the plywood using wood glue.
After the strips had dried I trimmed them all flush with the plywood.
I then added a walnut border around the edges to the plywood to hide the veneers.
The first step is carving the majority of the pocket with a 1/4" bit. Then I swapped out the bit for a 1/16" bit and ran the program again to carve out the corners. This may be a lengthy process but it is still much quicker than trying to carve out the entire shape with the 1/16" bit.
I set the final depth of cut to 1/8".
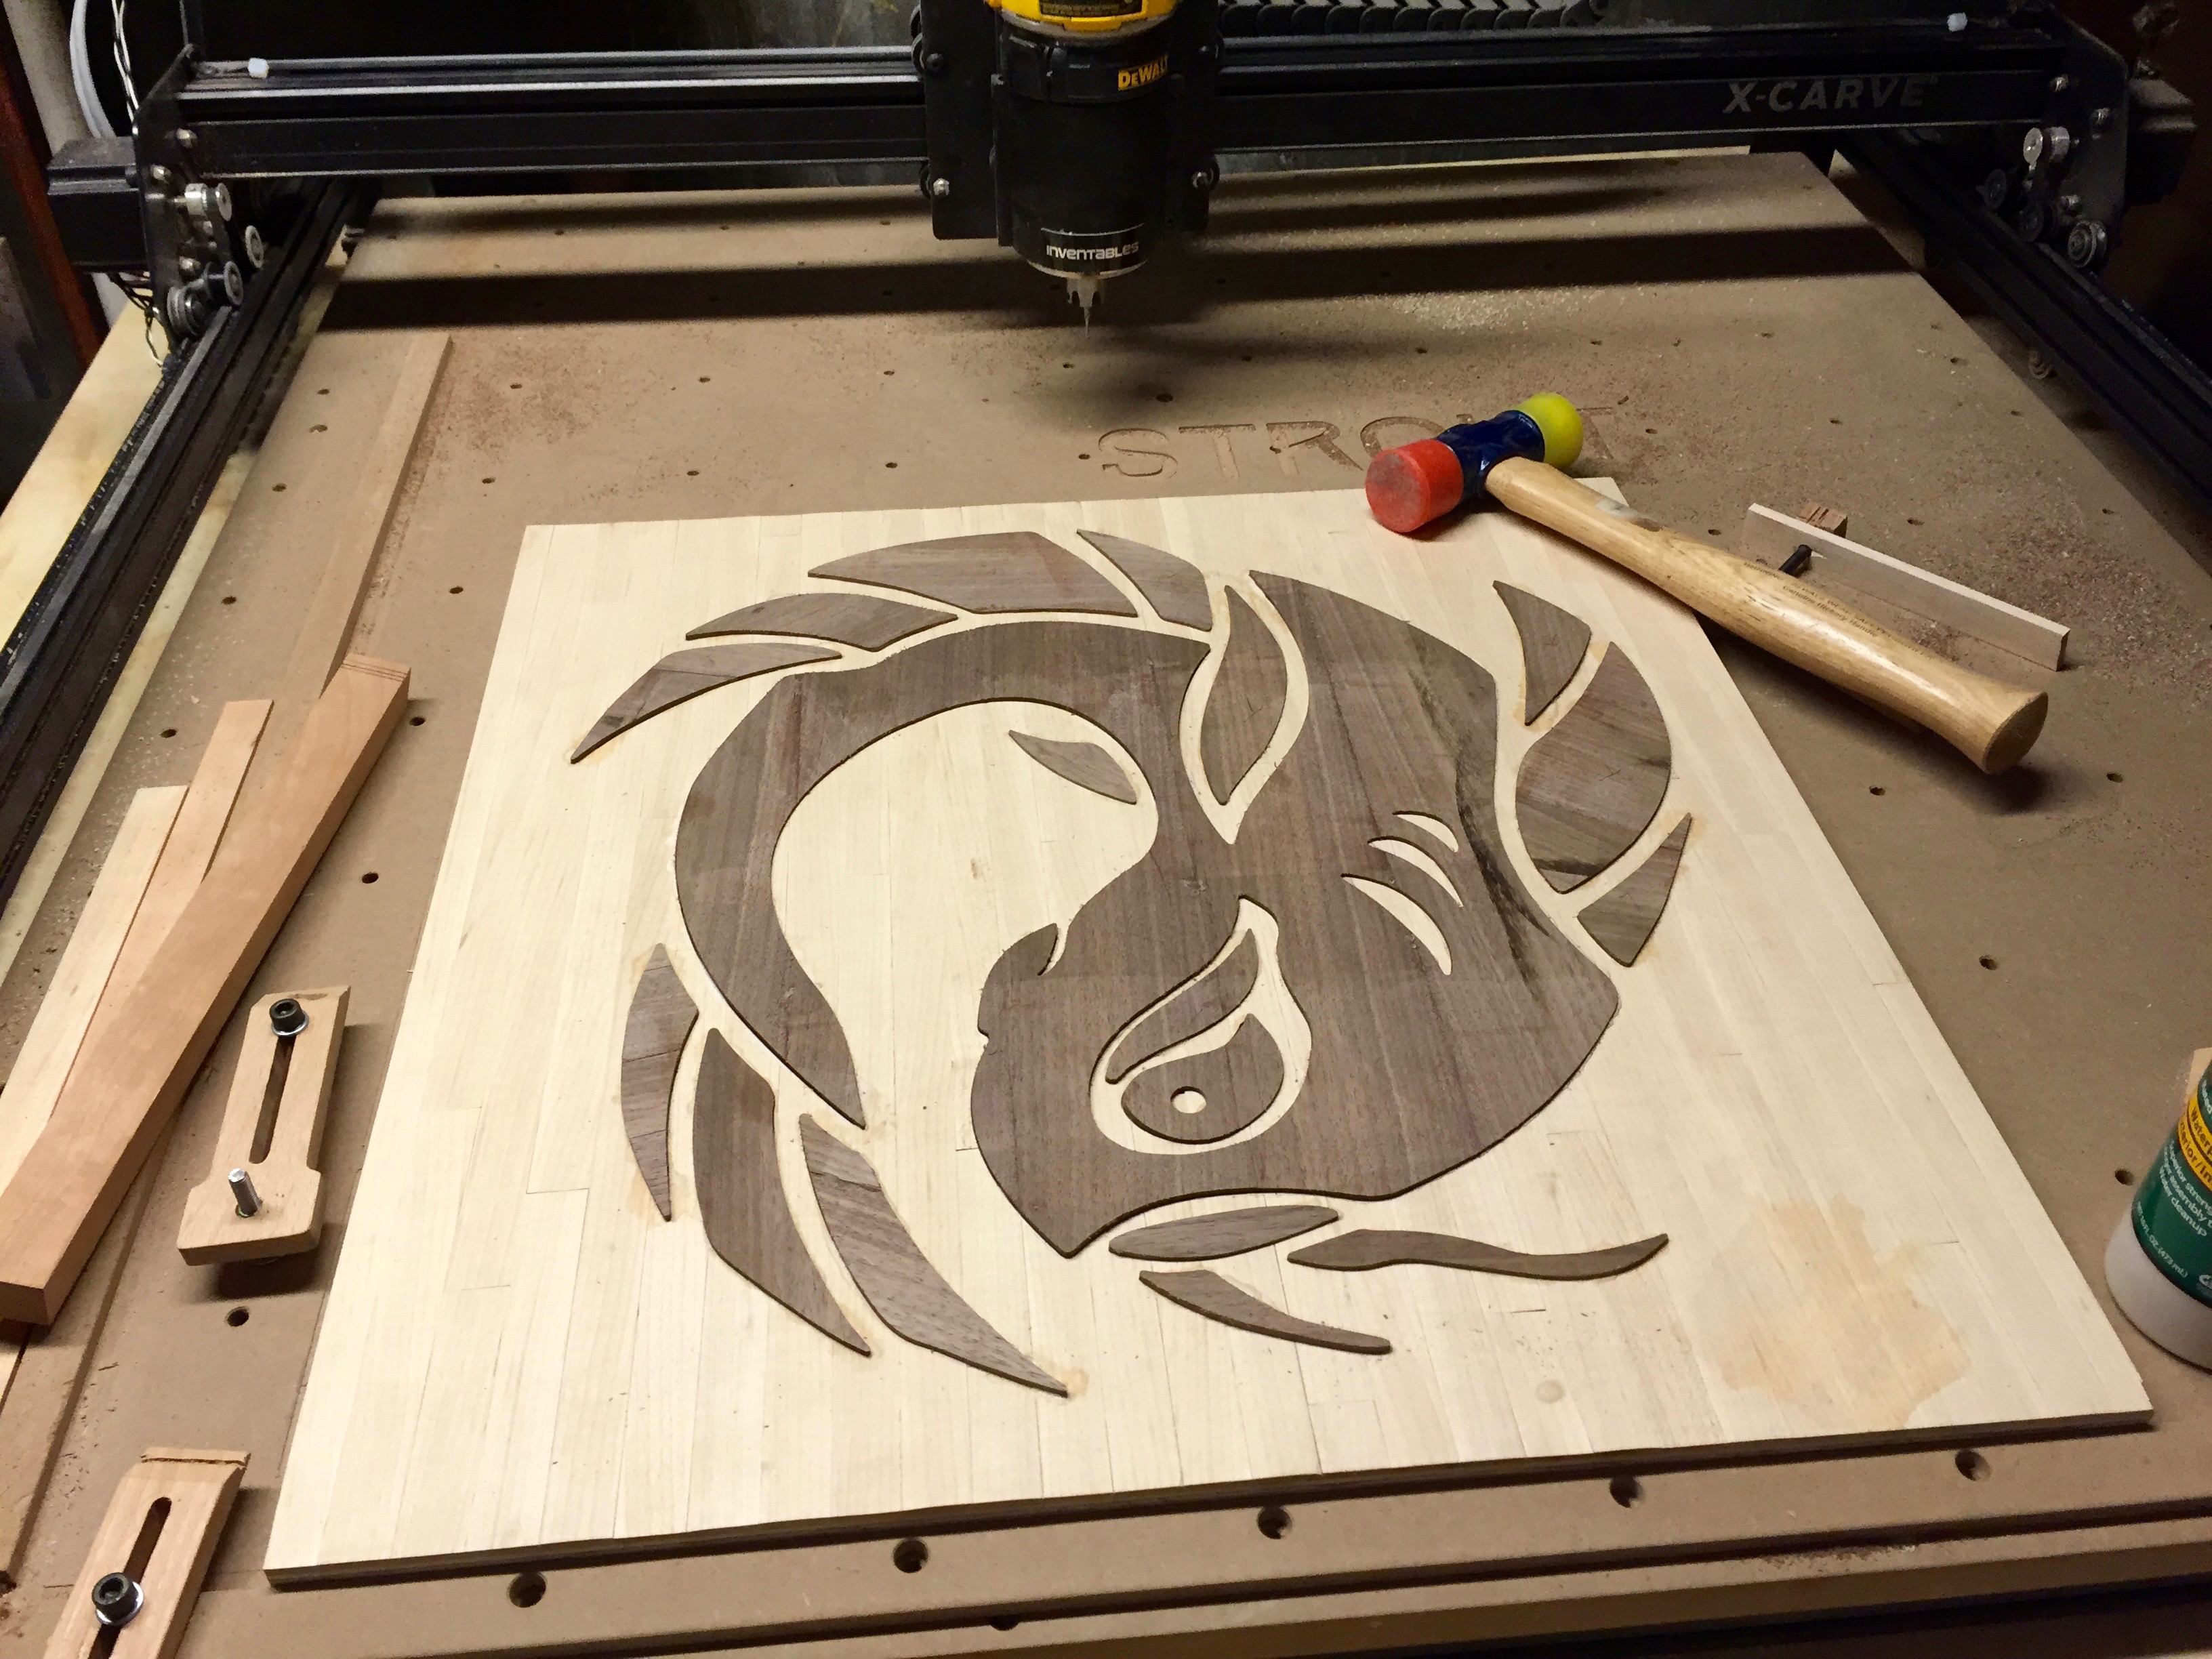
The inlay SVG has all of the pieces realigned to maximize space efficiency. However this does change the grain alignment in some of the pieces.
This carve only used the 1/16" bit to cut the perimeters of the inlays.

I used Titebond III to glue the inlays into the pocket. Make sure you have a good coat of glue on the pieces before you install them.
I took this opportunity to fill some gaps in the piece. I used the wood glue and some dust from sanding to create a wood filler. This was then pushed into the cracks and left to dry.

I wanted this piece to feel good as well as look beautiful so I opted to create an interesting textured finish.
With my initial grit (80 I believe) I sanded off all of the glue squeeze out but also created little ruts and bumps by holding my orbital sander at an angle. I then progressed through the grits up to 220 grit. This left the surface incredibly smooth but also rippled and wavy.
For a finish I applied a few coats of Watco Danish Oil. This left a beautiful satin sheen on the wood.
I installed two eyebolts in the back of the piece and strung a piece of picture hanging wire between them. And I was done! Now off to play some ultimate!


