
Steve Carmichael
MONROE, GA
This simple Headphone Stand takes less than an hour to carve and it keeps my headphones, 1/4" plug adapters, and cord organized.
| Material | Description | Price | ||
|---|---|---|---|---|

|
Walnut (×2) |
6" × 12" × 3/4" Walnut |
$22.86 |
|
| Add to Cart |
$22.86 |
|||
Watch my video to see how I designed and made this Headphone Stand with my X-Carve, then make one yourself!
26 minutes
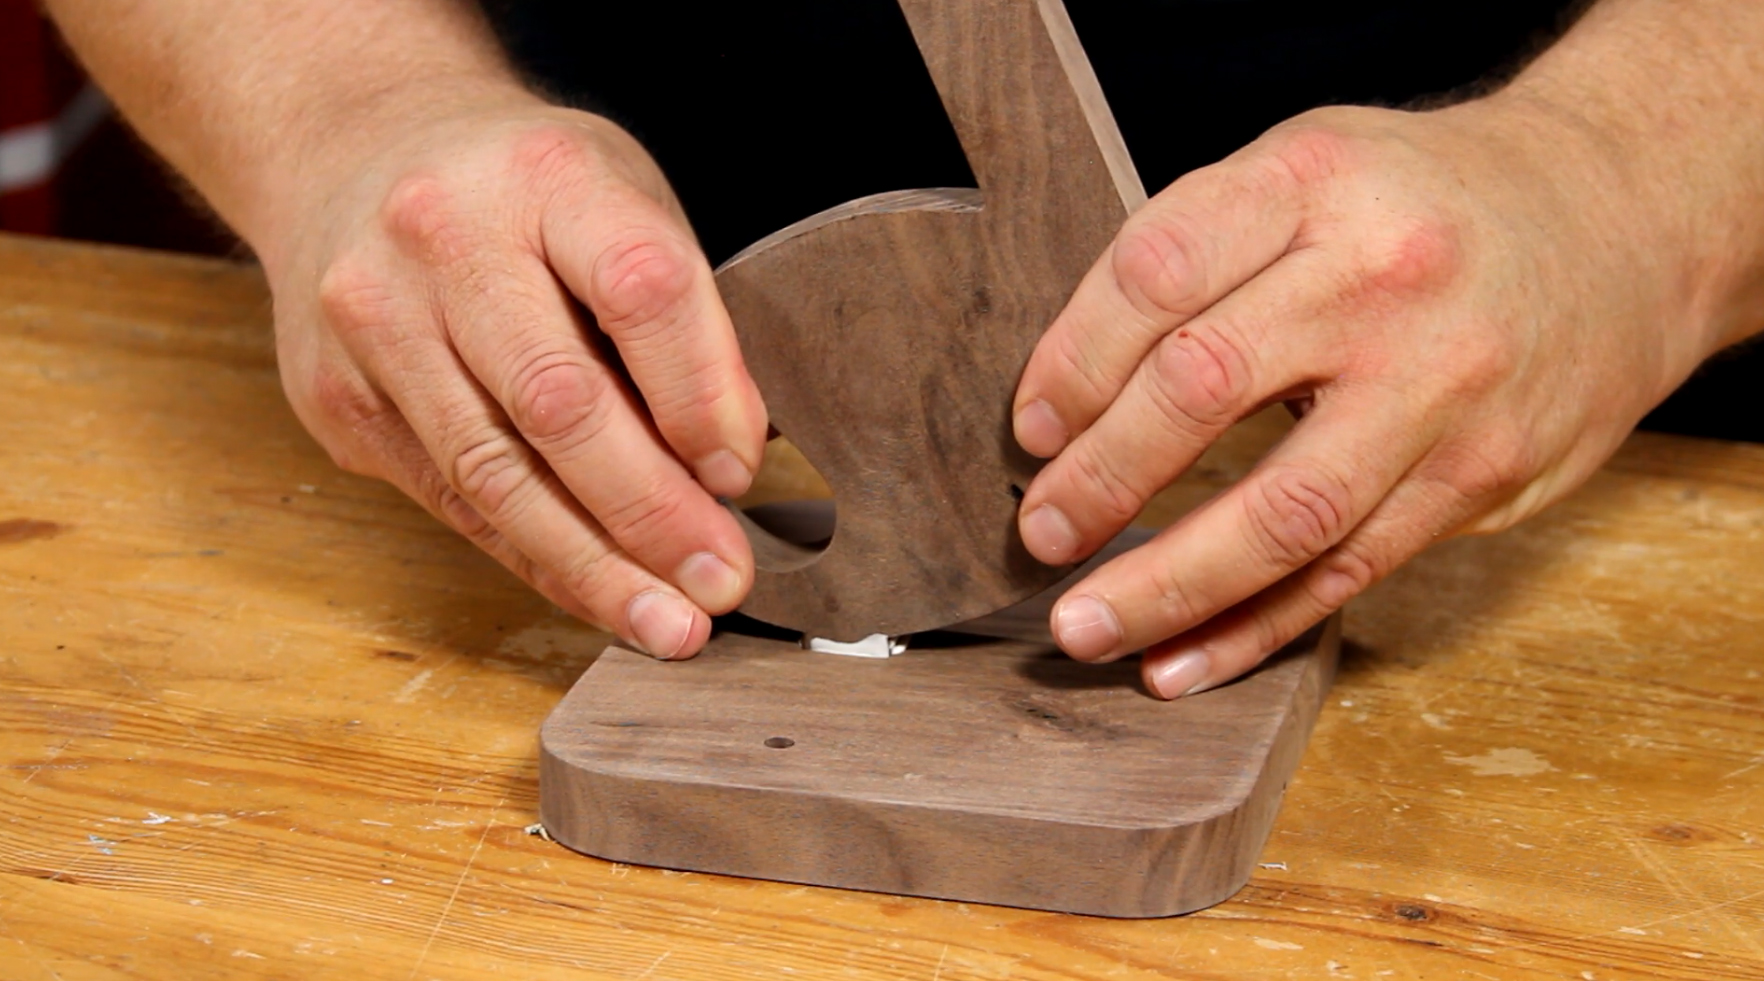
The top of the stand is shaped like a music note. It has a hole for the cord and a tenon to glue it to the base. The tenon is designed to fit into a 3/4" square mortise in the base. If using lumber with a different thickness, adjust the size of the mortise in the base.

22 minutes
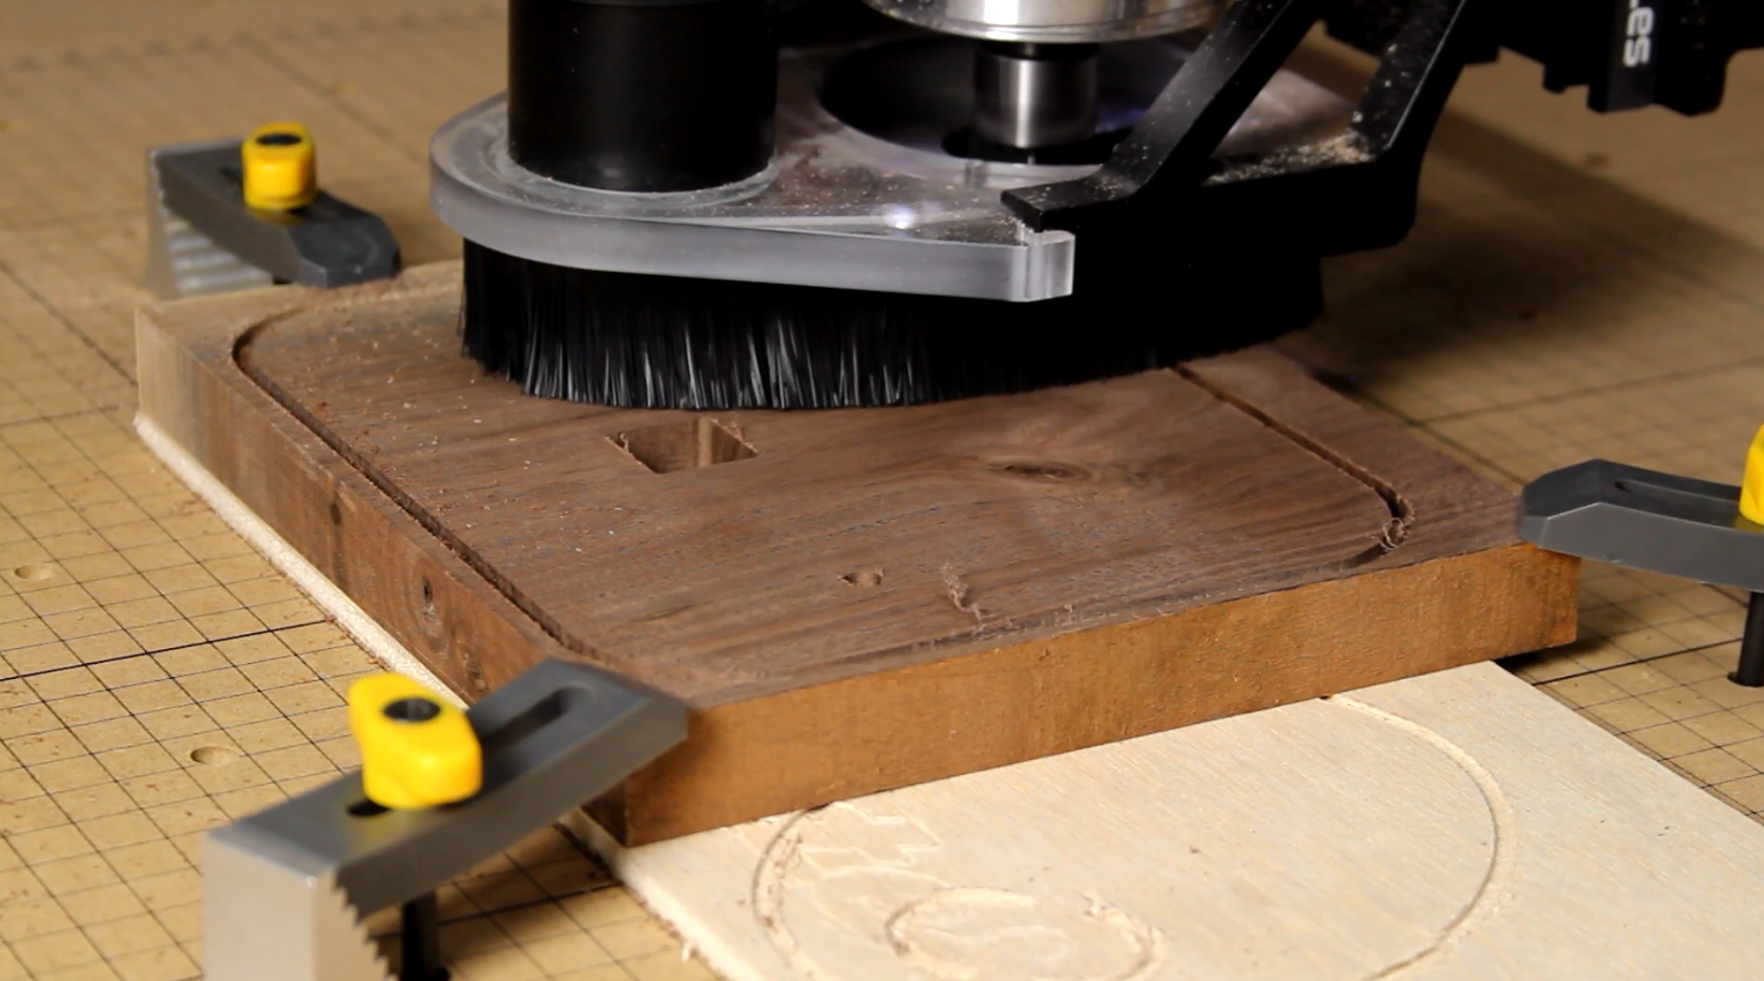
Carve the base from 3/4" lumber. It has two partially drilled holes for 1/4" adapter plugs and a mortise to accept the tenon in the top piece.
Sand the top and the base smooth. Sand off the tabs. Since the round bit leaves rounded corners in the mortise, sand the corners of the tenon for the best fit.

5 minutes
Use wood glue to glue the top and base together. Wipe away excess glue.
30 minutes
Finish the headphone stand with your choice of finished. I used spray shellac to bring out the nice color of the walnut.

5 minutes
Cut a piece of self-stick felt and stick it on the top to add a soft landing spot for your headphones.

5 minutes
Hang your headphones on the stand. Wind up the cord and insert it into the hole to keep it tidy. If you have a 1/4" adapter plug or two, then they now have a home too! Enjoy!
I have lots of other project videos on my YouTube channel. Click here to check them out and Subscribe!
Thanks, Steve…


Matt Slaga
Steve Carmichael
waylon remington
Steve Carmichael