
In this tutorial I go through the steps that I took to make these DIY wooden earrings from Padauk, Walnut and Maple.
Obviously these earrings need to be as thin as possible and to get the laminated (Sandwitched) look I was after I needed the three pieces of stock to be about 1/16". To accomplish this I started off by resawing the stock to slightly less then 1/4". NOTE: I ran each piece over the jointer before resawing so I had one side already squared up, I ran this side of the stock against the bandsaw fence.
I have a youtube tutorial where I go through all these steps showing you how I made these earrings. Check it out and let me know what you think!


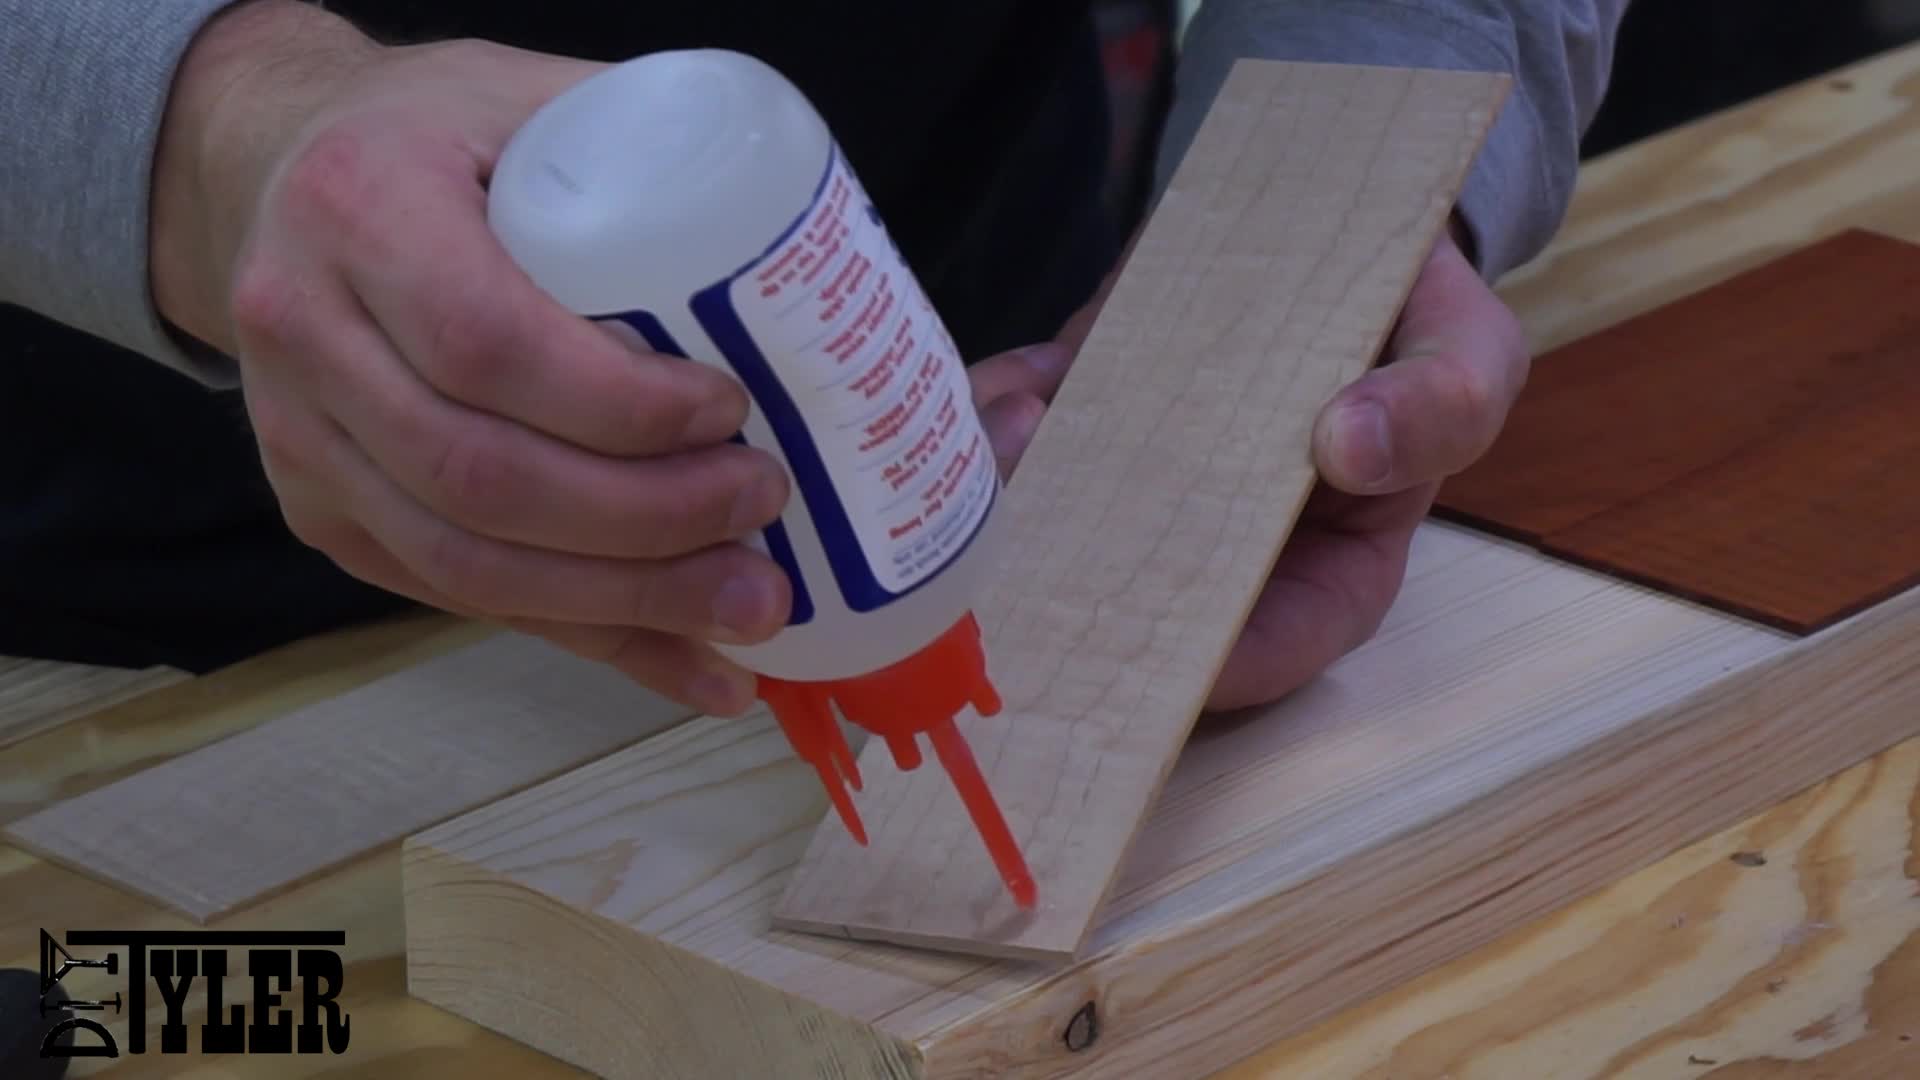
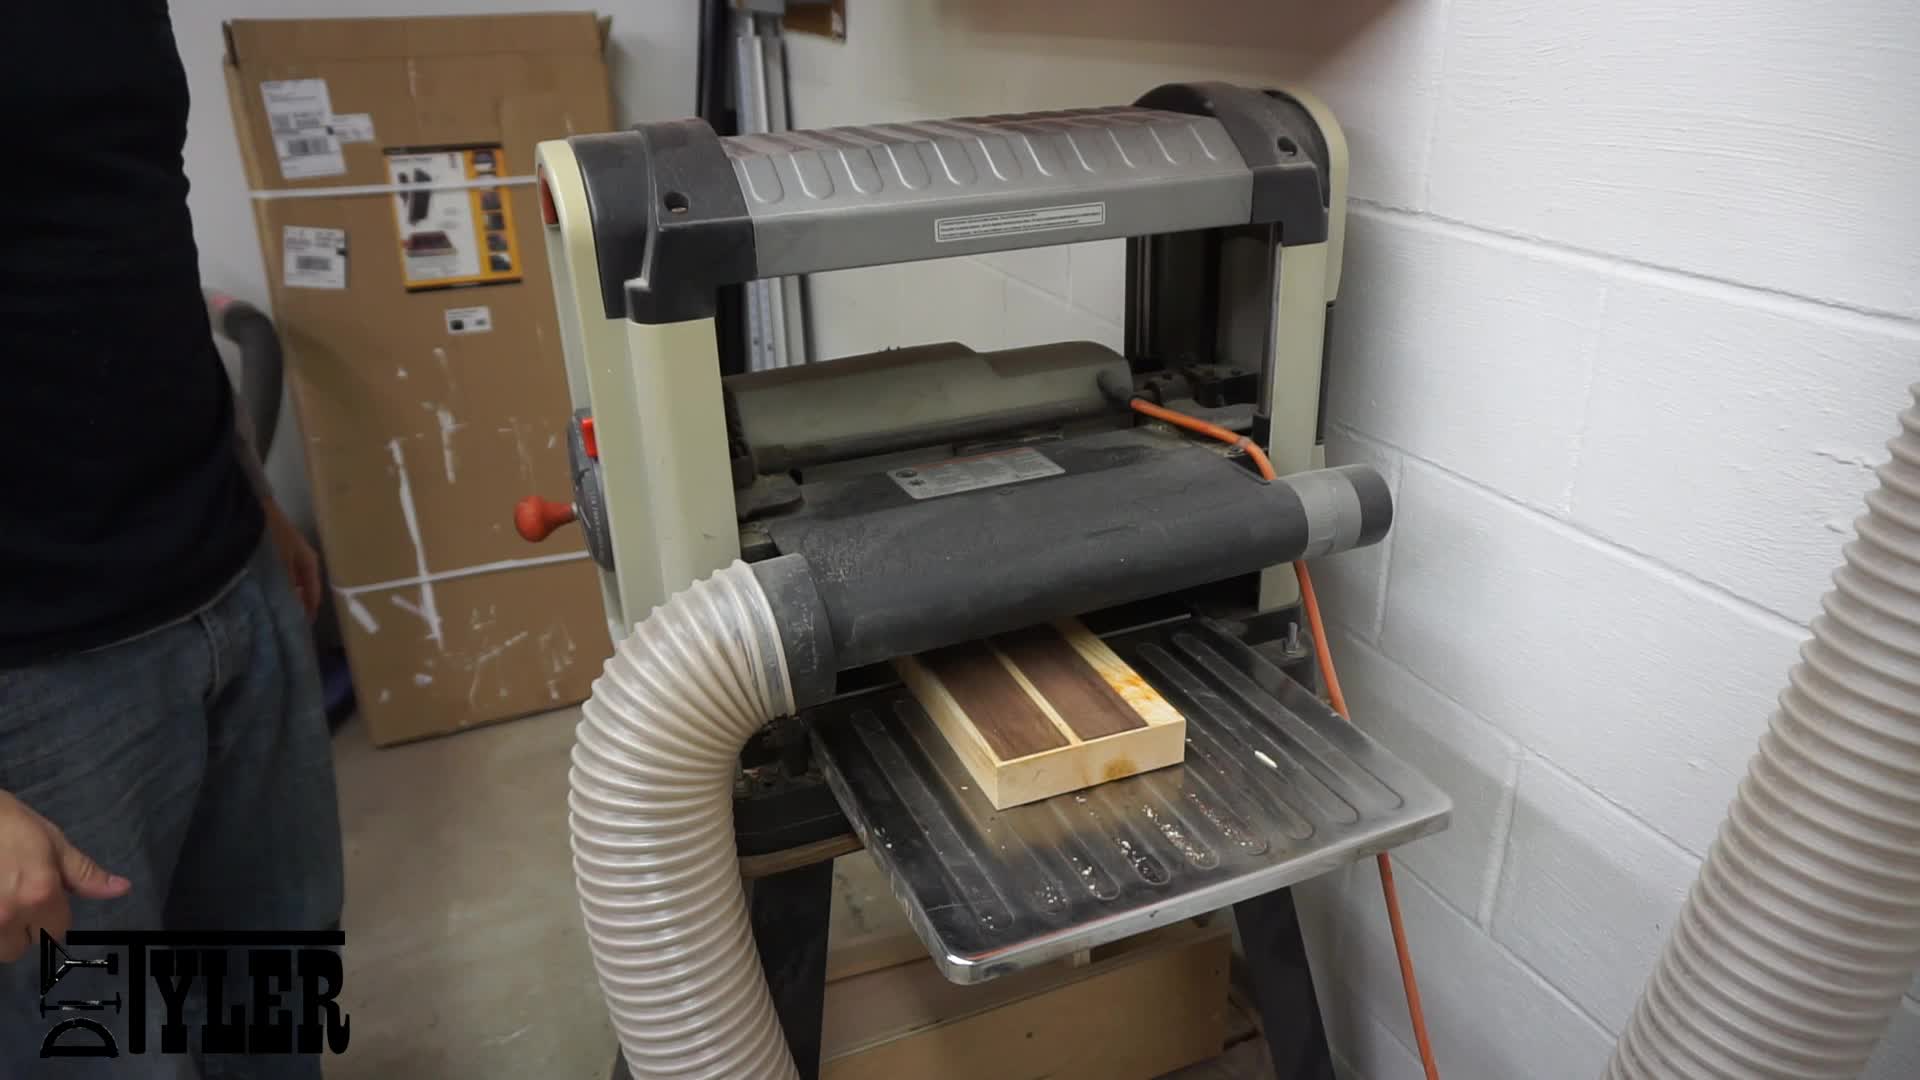
To safely plane this boards down to the 1/16" I used a few dabs of CA glue to adhere them to a squared piece of stock that I used as a planer sled. I then ran the sled through the planer until the boards were approximately 1/16".
I used a foam paint roller to spread a thin layer of glue on the boards and layered them in the pattern I was after. I glued three laminations using these patterns; Padauk, Maple, Padauk: Maple, Padauk, Maple: Walnut, Maple, Walnut. I then clamped the three separate laminations in parallel clamps and let them dry overnight.


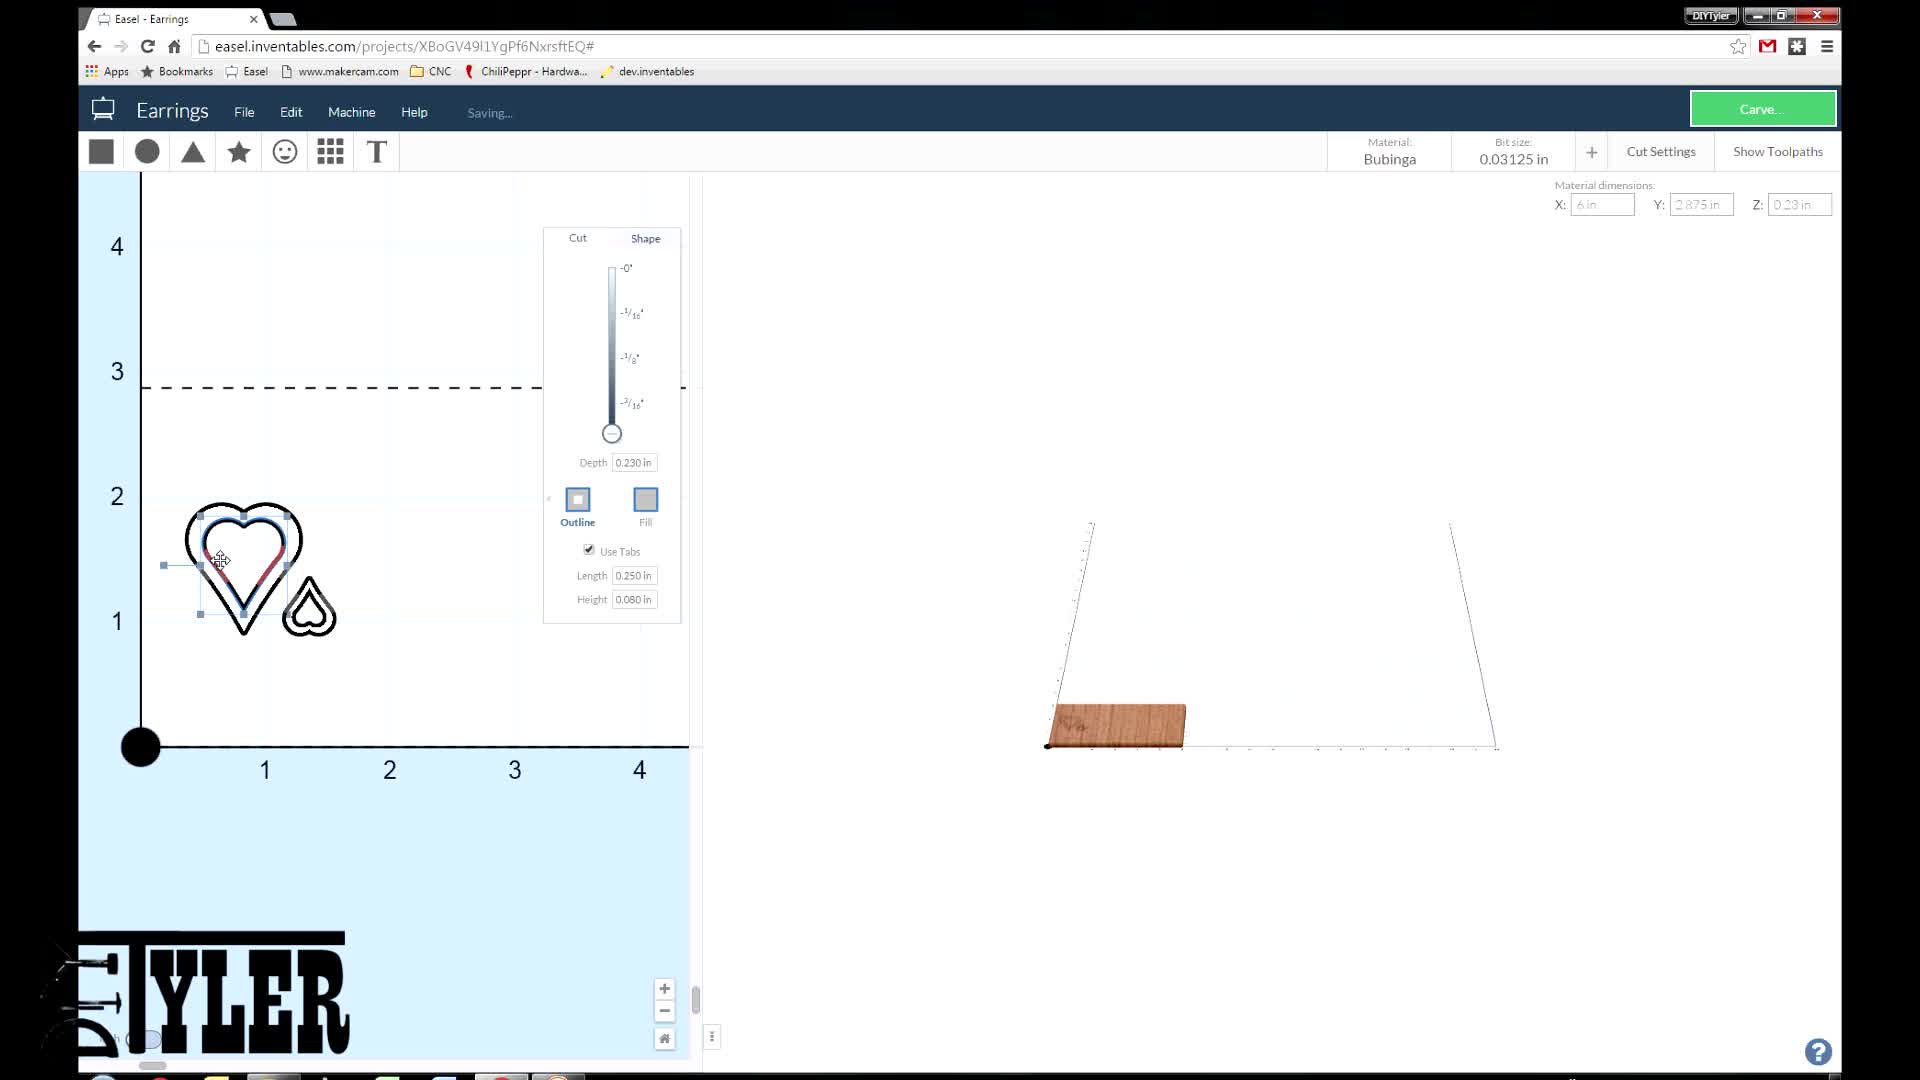
I have the privilege of having a CNC in my shop so I used that to cut the hearts out but I am sure a scroll saw would suffice. I designed the cutouts using sketchup, imported and adjusted using Easel and let the X-Carve go to town!

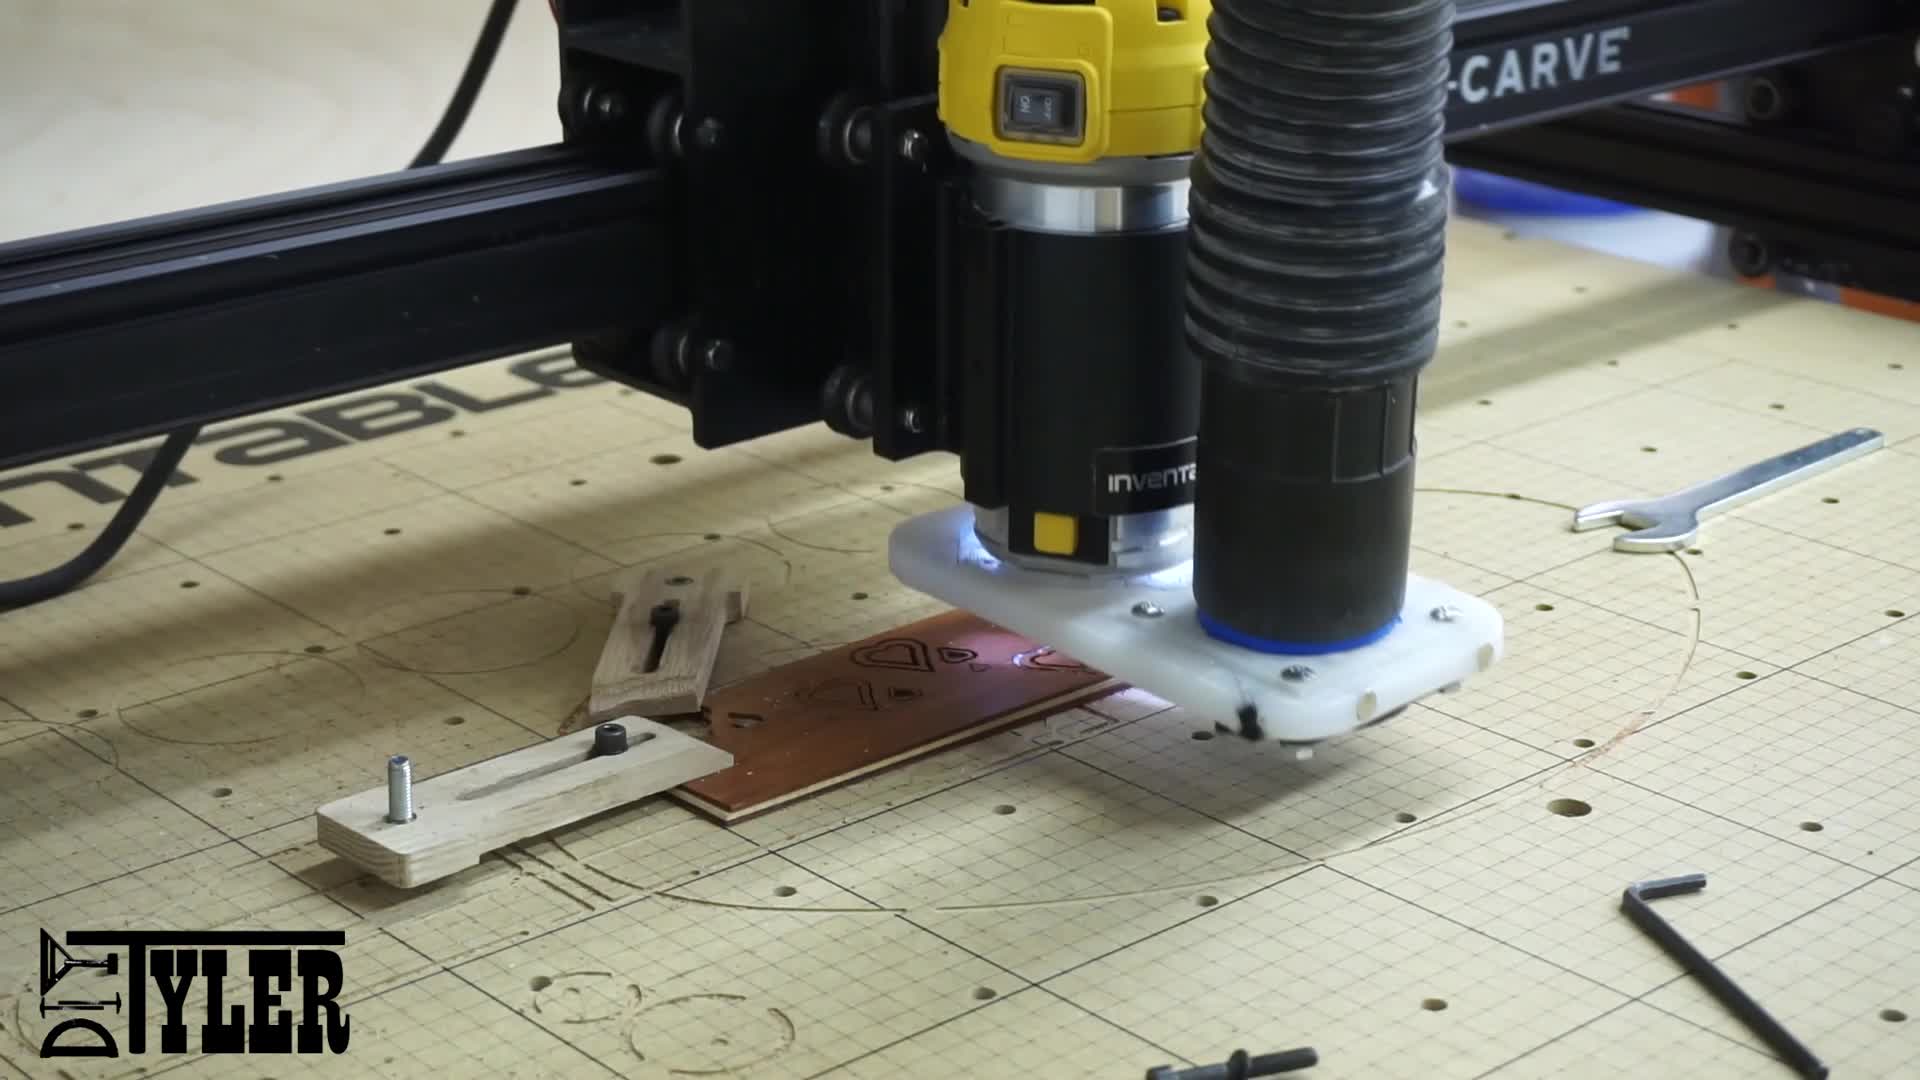
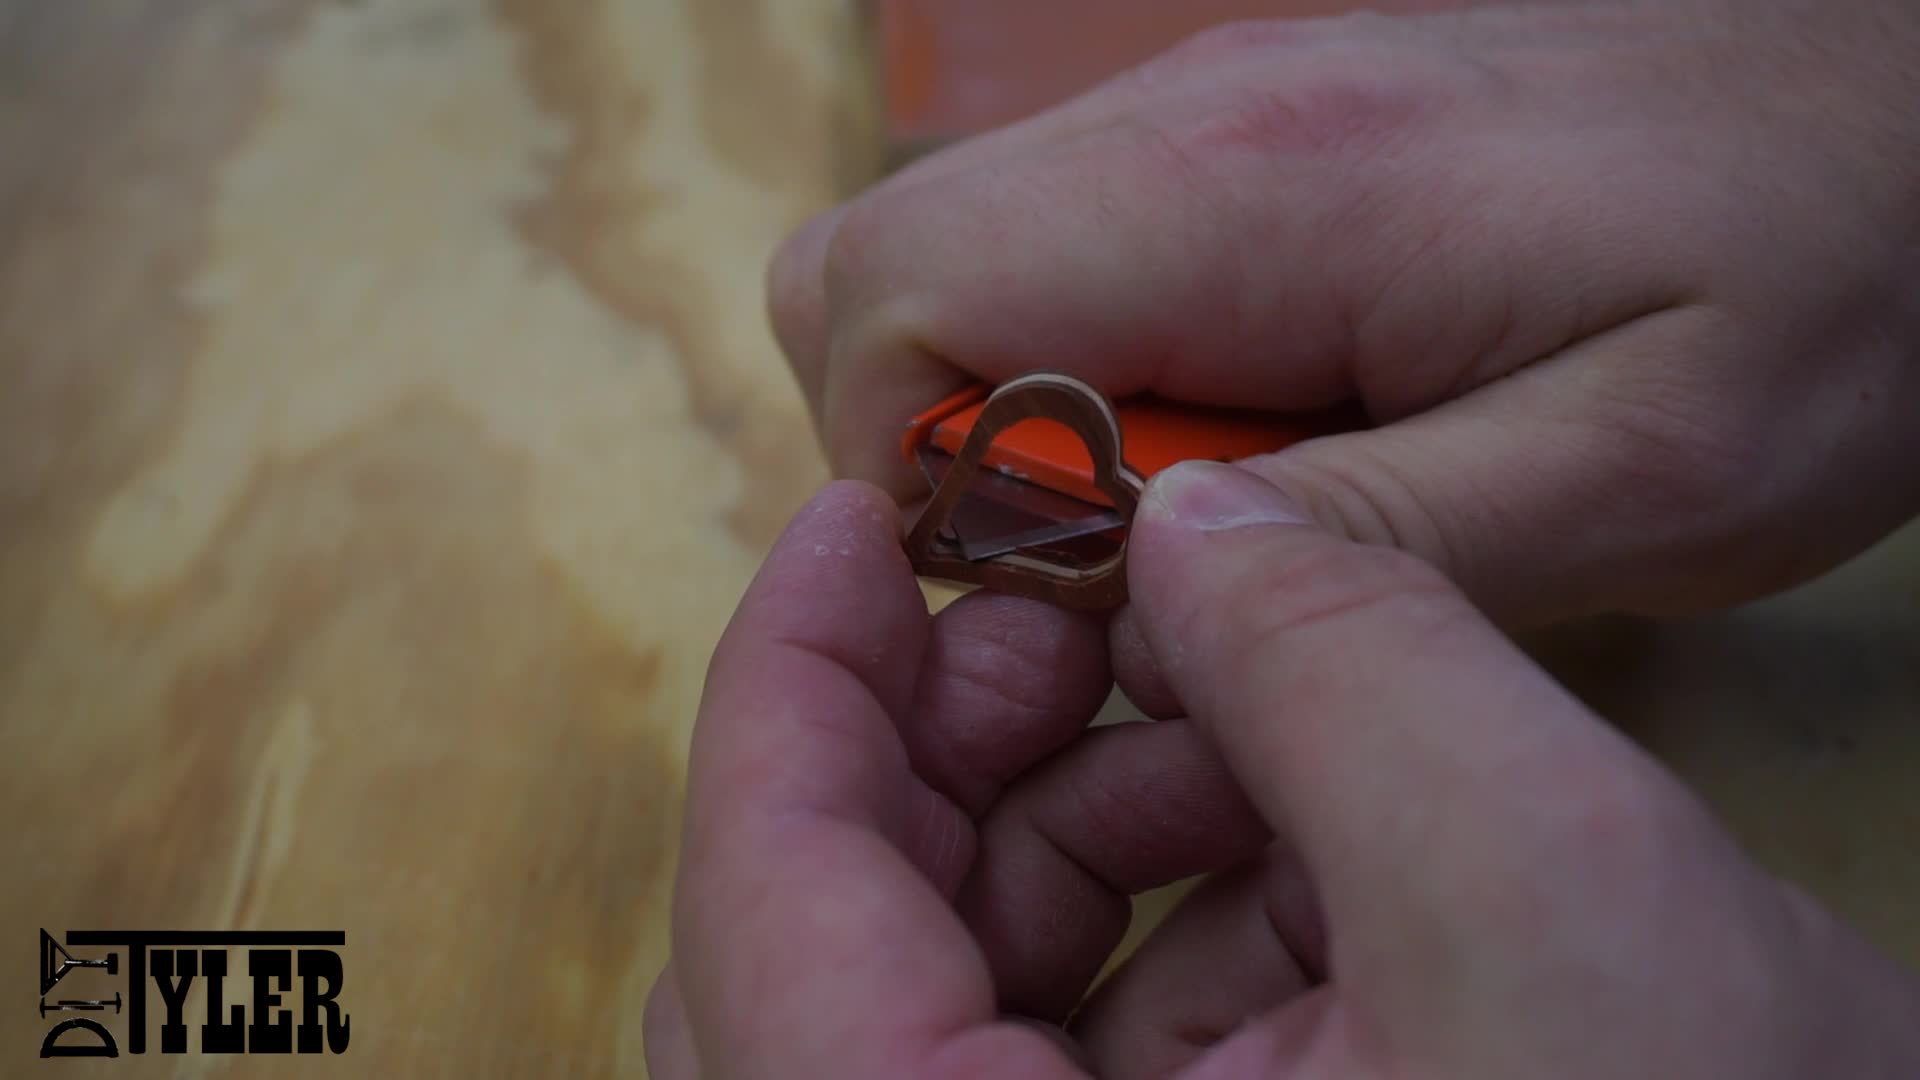
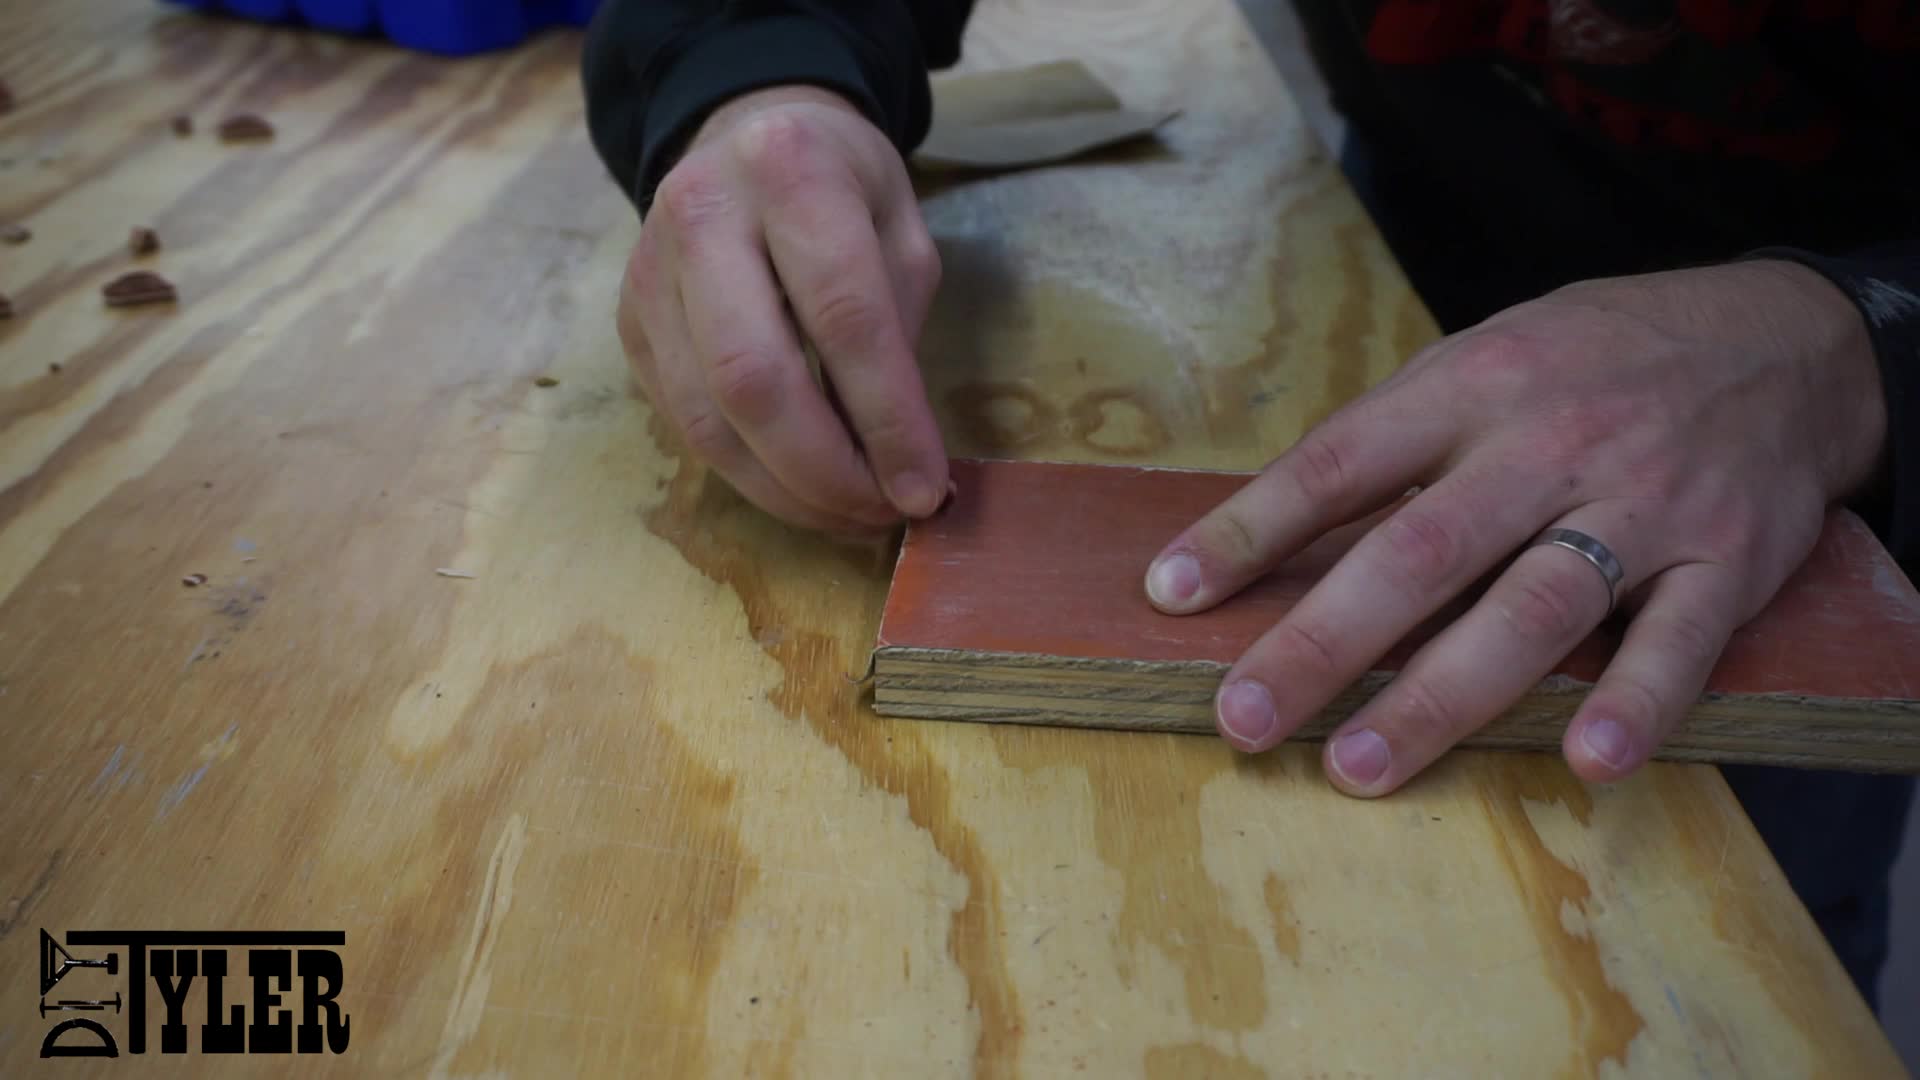
When the CNC finished it’s paths I used a sharp utility blade to cut the tabs holding the hearts into the board and then I cleaned the majority of the tabs off using the knife as well. When the hearts were free I sanded them with 220 and 320 grit paper.


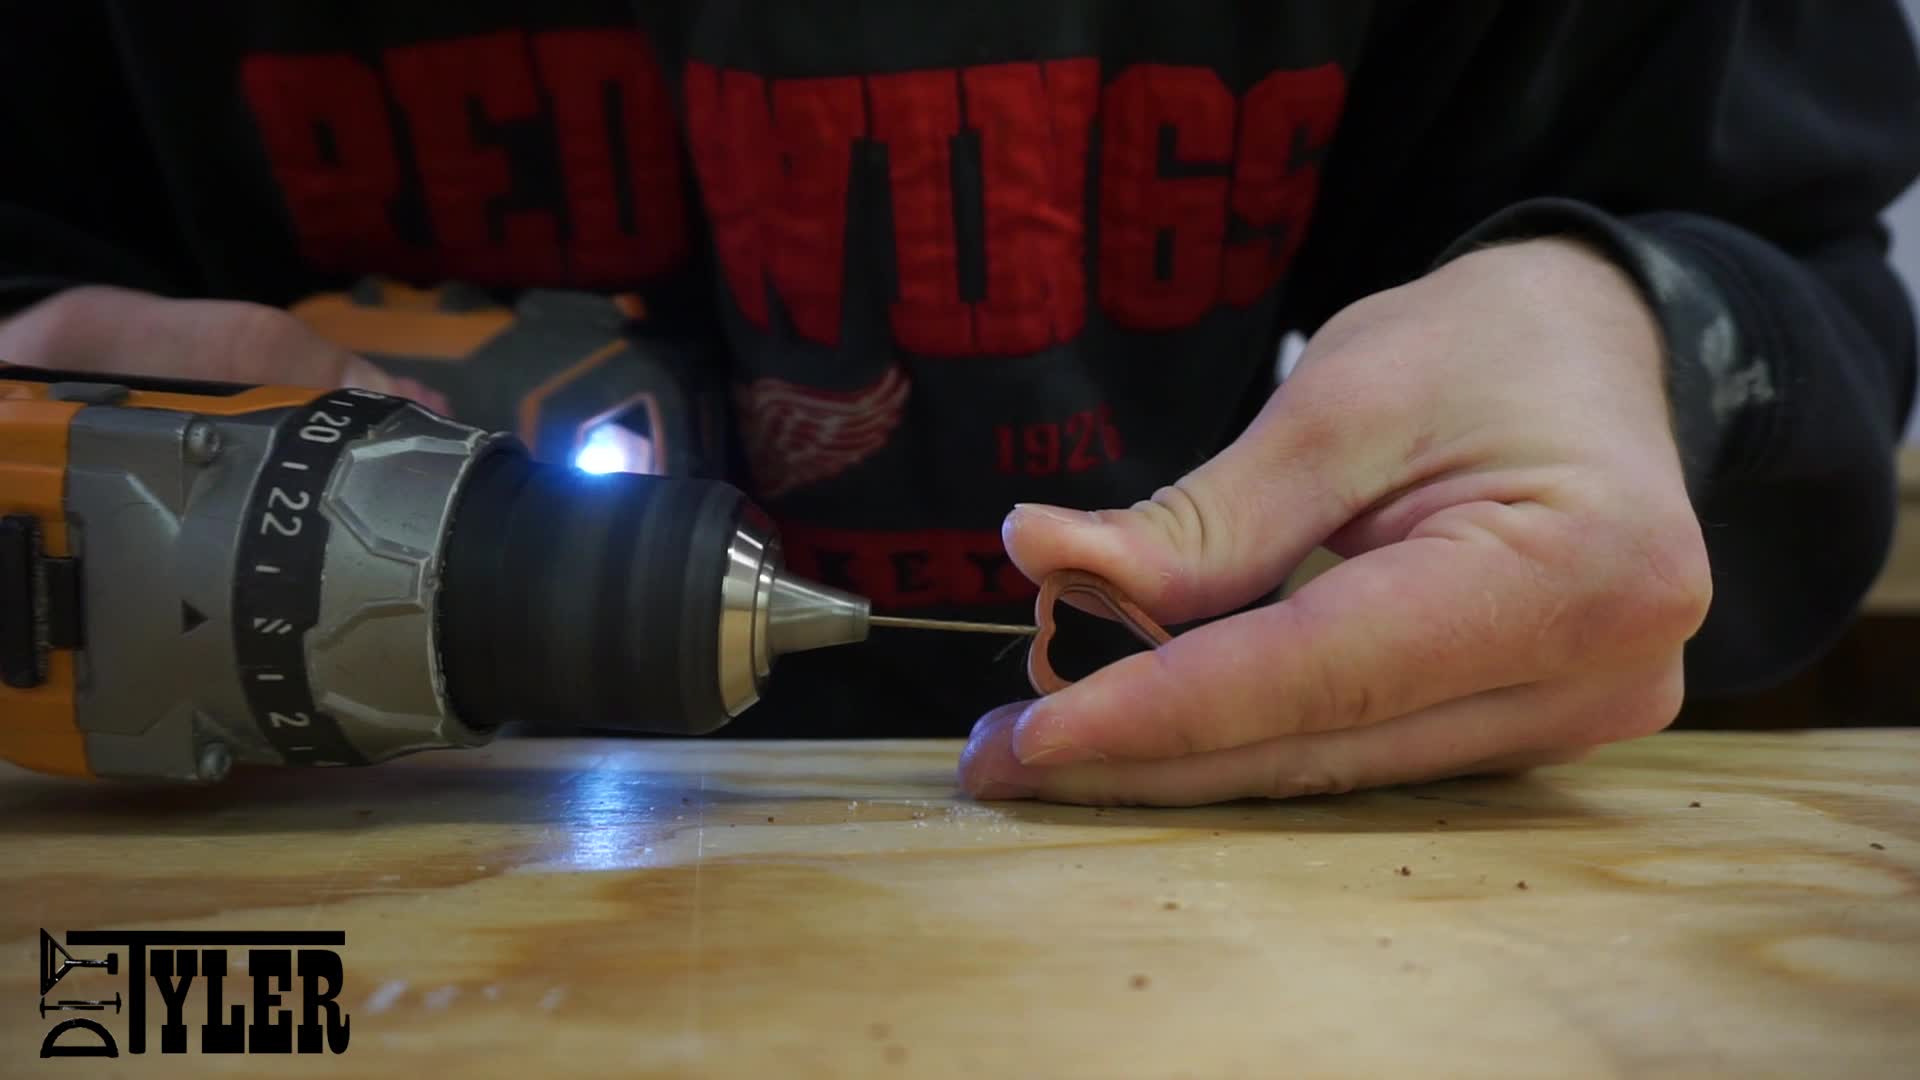
I needed a small hold in the top of the heart to pass a section of wire through to hang the earrings. I marked this hole using a awl to prevent the bit from traveling and then drilled slowly and with high RPM using a 1/16" drill bit.
When the appropriate holes were drilled I finished the hearts with several coats of spray lacquer. (Probably 8-10 light coats per side.)


To hang the earrings I used some sections of 20awg wire, bent a small eye that will go inside the heart and hold it in place. I slid this wire though a small heart and then through a big one creating a heart within a heart, then clipped off the excess wire and carefully bent another eye at the top. This top eye attaches to the earring loop in addition to holding the hearts together.


When you are finished attaching the earring loops you are done! I was extremely please with how the earrings I made turned out, they were surprisingly strong and shockingly light. They were a big hit with the ladies in my family.


Justin Haugens
DIYTyler
Cameron Asztalos
Mitchel Porter
Michael Howard